



























Welcome to Turtle Town, population: you, your pet turtle, and the DIY setup that’s going to leave your neighbor’s sad little fish tank looking like a motel room. Let’s be real: most store-bought turtle tanks are either overpriced, underthought, or suspiciously designed by someone who’s never actually met a turtle. Half of them don’t even include a proper basking area ideal for your turtle!
That’s where DIY comes in, and no, this isn’t just about saving money (although your wallet will thank you). Building your own turtle enclosure lets you customize the space to fit your home, your turtle’s real needs, and that unspoken desire to go full mad scientist with a PVC pipe and a heat lamp. The result? A tank setup that’s functional, good-looking, and actually enjoyable for your turtle.
This guide walks through clever, safe, and creative homemade turtle tank ideas that work for both aquatic and semi-aquatic species. Whether you’re housing a red-eared slider or a chill box turtle, this is the blueprint.
Understanding Your Turtle’s Needs Before You Build
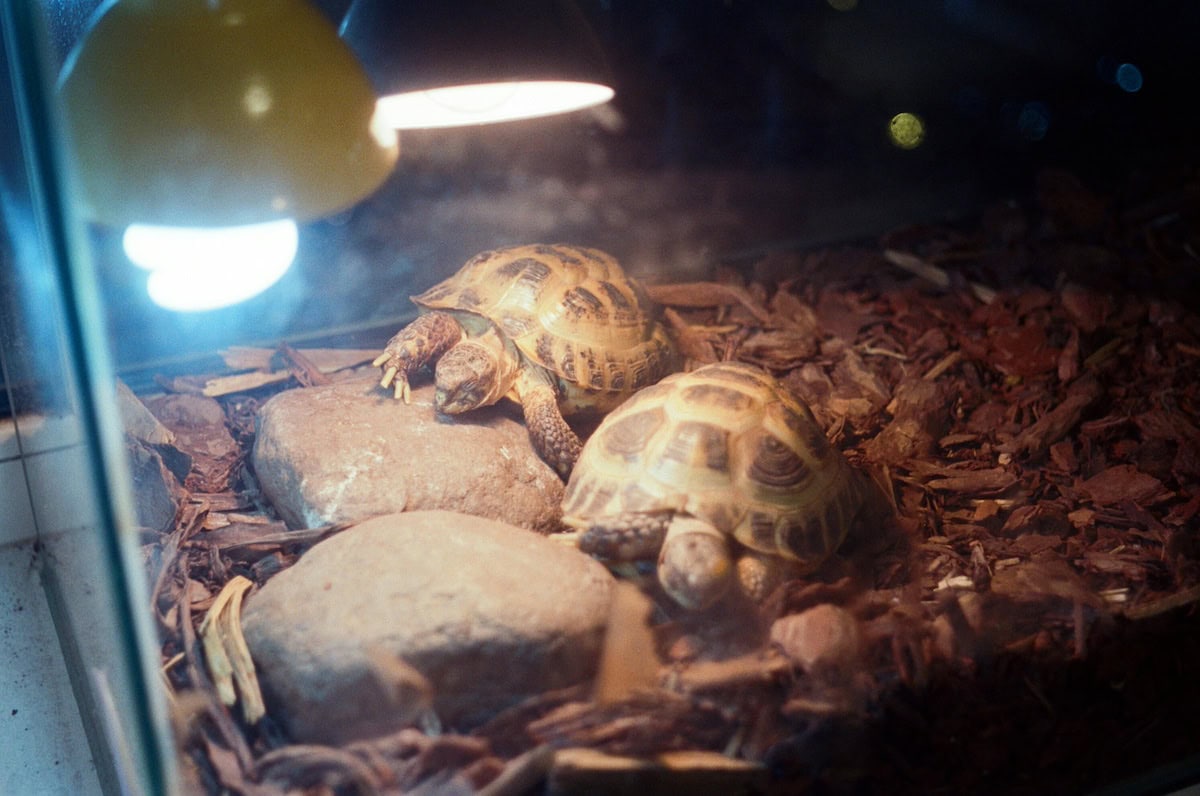
Before you break out the waterproof liner and start cutting holes in your old bookshelf, let’s get something straight: not all turtles are created equal, and their tanks shouldn’t be either. Knowing what your shelled roommate needs is step one in creating a habitat they’ll actually use, enjoy and survive in.
The Basics of Turtle Care
No matter what species of turtle you’re bringing home, there’s a universal care checklist. Turtles might be quiet, but they’re not low-maintenance.
What every turtle needs in its tank setup:
- Clean, filtered water – especially for aquatic and semi-aquatic turtles
- Dry basking area – with heat and UV lighting to regulate body temperature
- UVA and UVB light – for shell health, calcium absorption, and general mood (yes, turtles have moods)
- Enough room – rule of thumb: 10 gallons of water per inch of shell
- Stable heat – especially important since turtles are reptiles and rely on external temperatures
Turtle needs vary by species, but one thing’s always true: the tank needs to be large enough for swimming, basking, and general wandering. Don’t try to keep a full-grown red-eared slider in a 20-gallon tank that’s a bathtub, not a habitat.
Also: your turtle can’t climb vertical glass. That doesn’t mean it won’t try. Plan accordingly.
Aquatic vs. Terrestrial Turtles
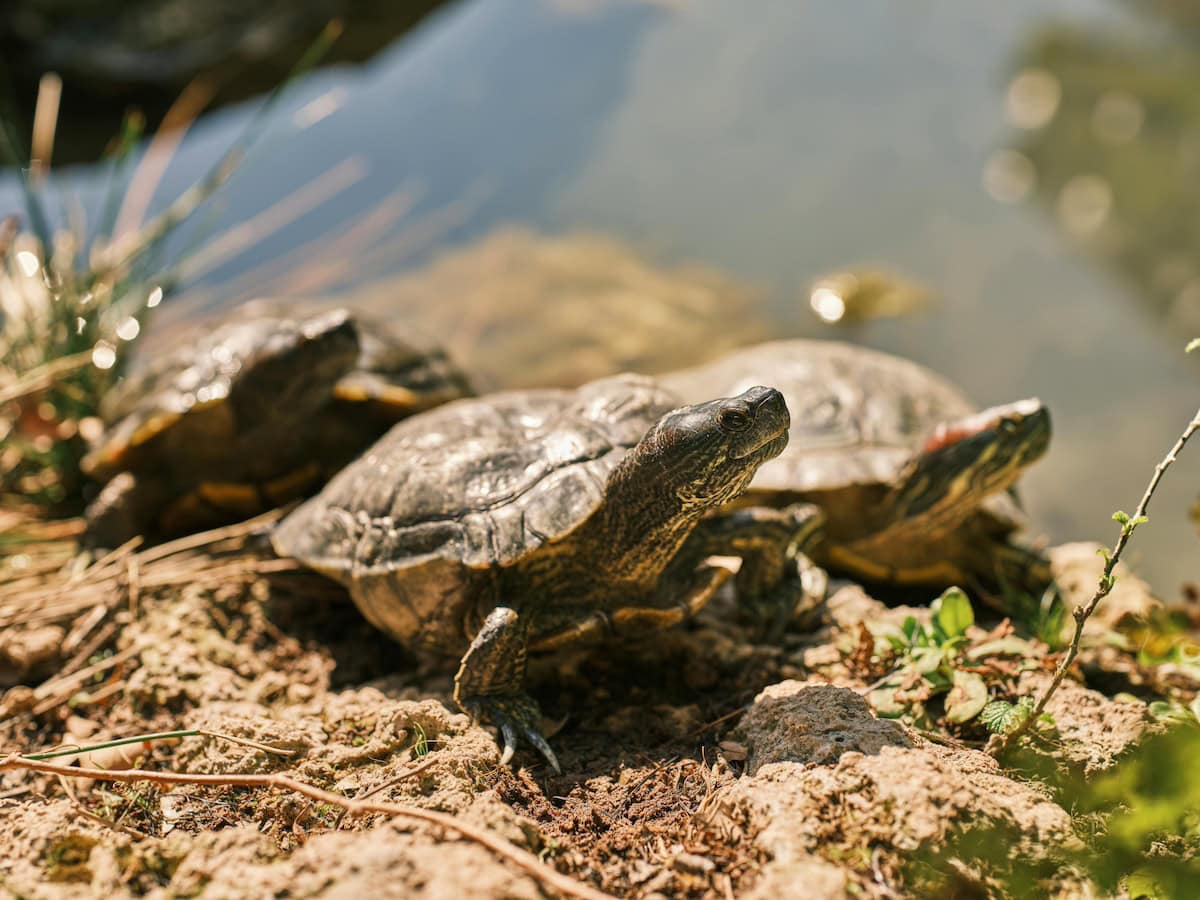
This one’s big. Know what type of turtle you’re working with — because building a beach resort for a desert dweller (looking at you, box turtle owners) is a recipe for shell shock.

Aquatic & semi-aquatic turtles (like red-eared sliders):
- Need water for swimming — ideally with gradual ramps or shallow zones
- Require a strong water filter to keep the water clean
- Must have a basking area for your turtle to dry off daily
- Enjoy a split of land and water (think 70% water, 30% land for semi-aquatics)
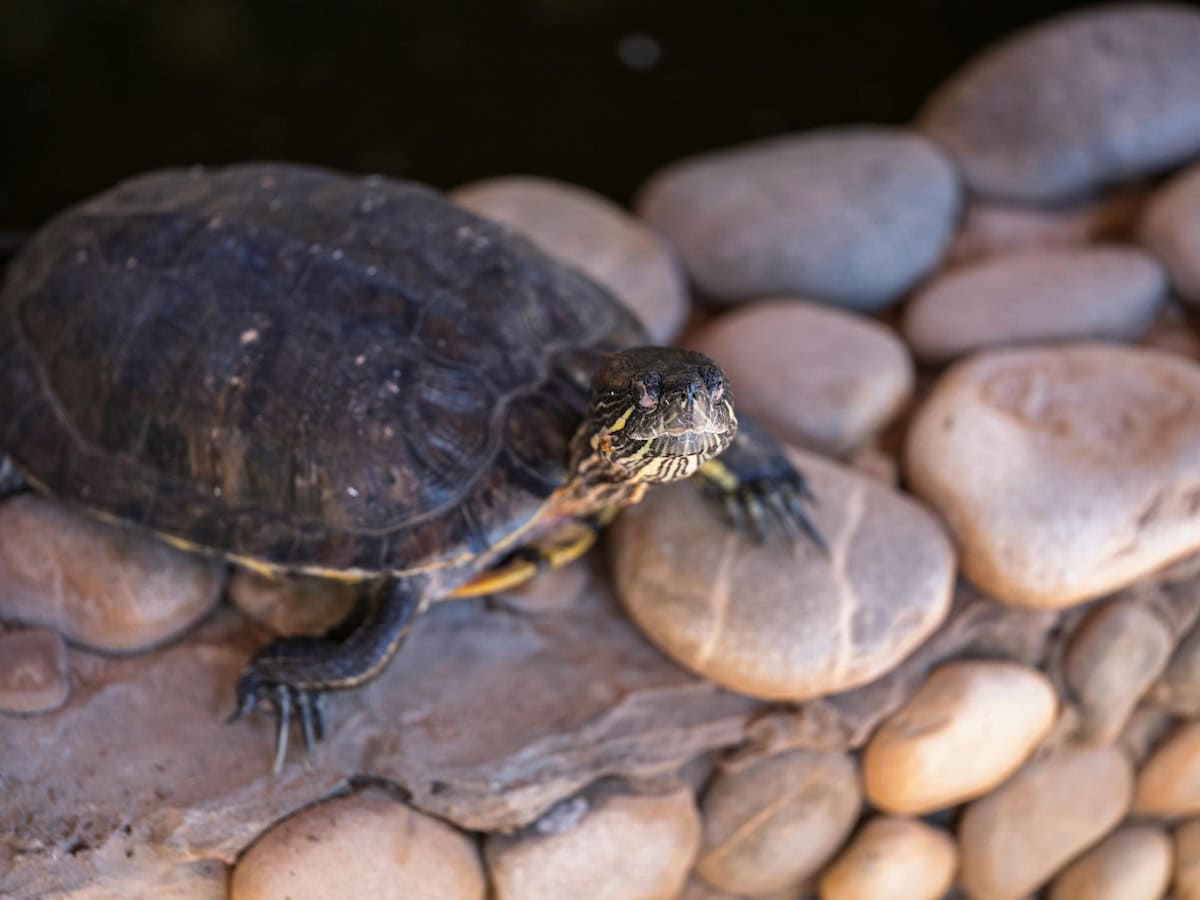
Terrestrial turtles (like box turtles):
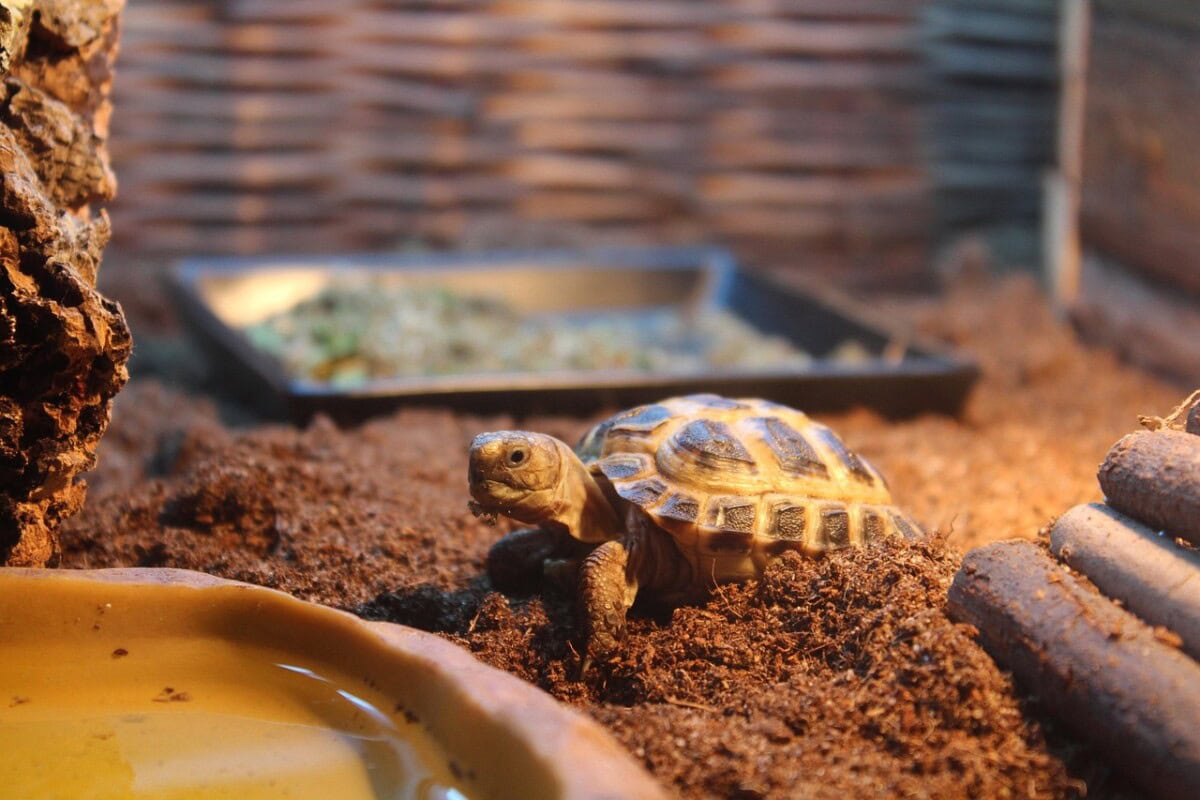
- Prefer a dry, cage-style habitat or terrarium setup
- Need a soft substrate for burrowing and hiding
- Use shallow water dishes for soaking, but not swimming
Quick comparison:
| Feature | Aquatic/Semi-Aquatic | Terrestrial |
| Swimming Area | Yes (lots) | No |
| Basking Platform | Yes | Optional |
| Water Filter | Required | Not needed |
| Substrate | Minimal | Essential |
| Habitat Style | Tank with land/water | Dry terrarium or pen |
Choosing the wrong setup can make your turtle sick — or just miserable. And a miserable turtle is a grumpy roommate.
What Can Harm Your Turtle
Once the basics are locked down, it’s time to turtle-proof your build. Because while your DIY tank might look amazing on Instagram, it needs to function first.
Common turtle hazards to avoid:
- Poor lighting setup – can lead to shell deformities and lethargy
- Overheating – improper heat lamp placement can literally burn your turtle
- Loose décor – items like rocks or plastic plants that can tip or trap
- Unfiltered water – breeds bacteria, smells bad, and invites algae
- Escape routes – if your turtle can climb, it will. Use proper lids.
Avoid these mistakes by:
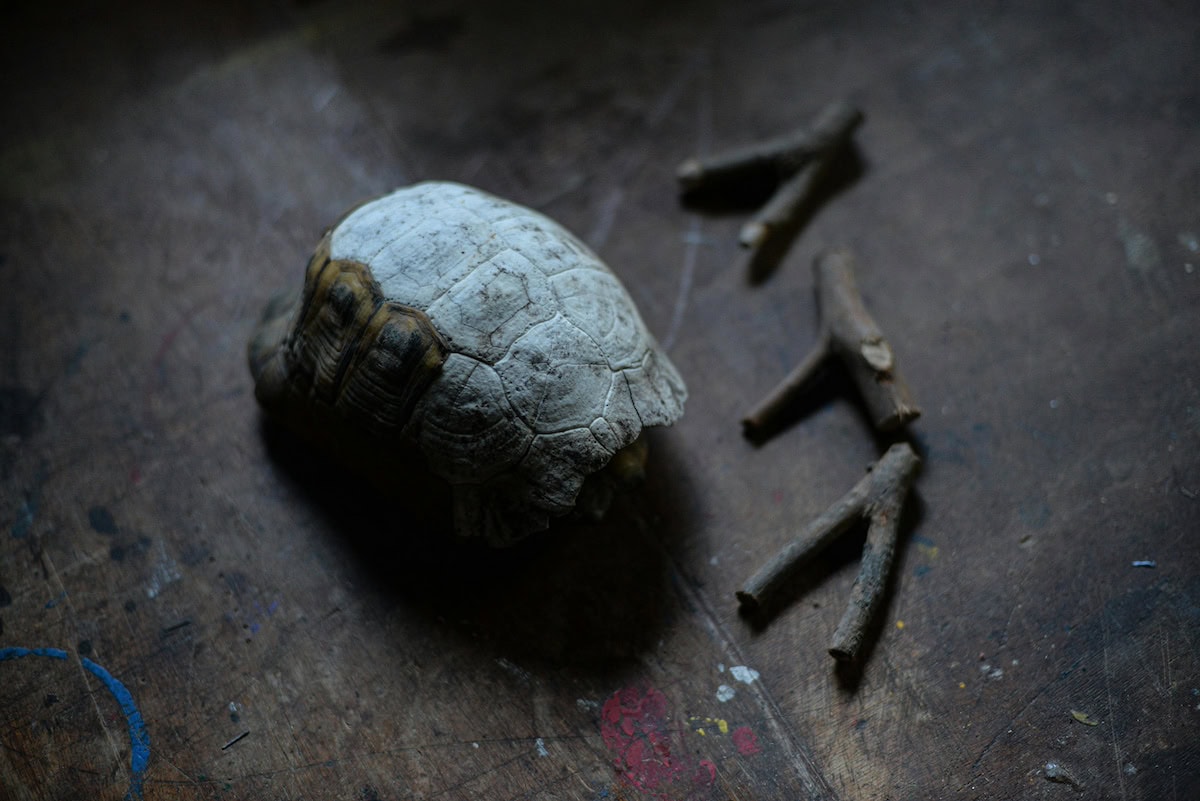
- Testing the temperature in the tank under your basking light — it should hit about 85–95°F on the basking platform
- Making sure decorations are secure with aquarium-safe adhesive or strategically placed PVC pipe
- Using a plastic container only if it’s food-safe, UV-stable, and has good depth
- Skipping the fake plants, your turtle can bite off — or at least anchor them so they don’t fall into the water
Also worth noting: your turtle cannot tell you when it’s uncomfortable, stressed, or overheating. Watch for signs like hiding all day, staying underwater too long, or refusing to bask. If your turtle spends too much time in the water, it may be because your basking platform is too hot or hard to access.
Planning the Perfect Turtle Tank Setup That Will Meet Your Turtle Needs
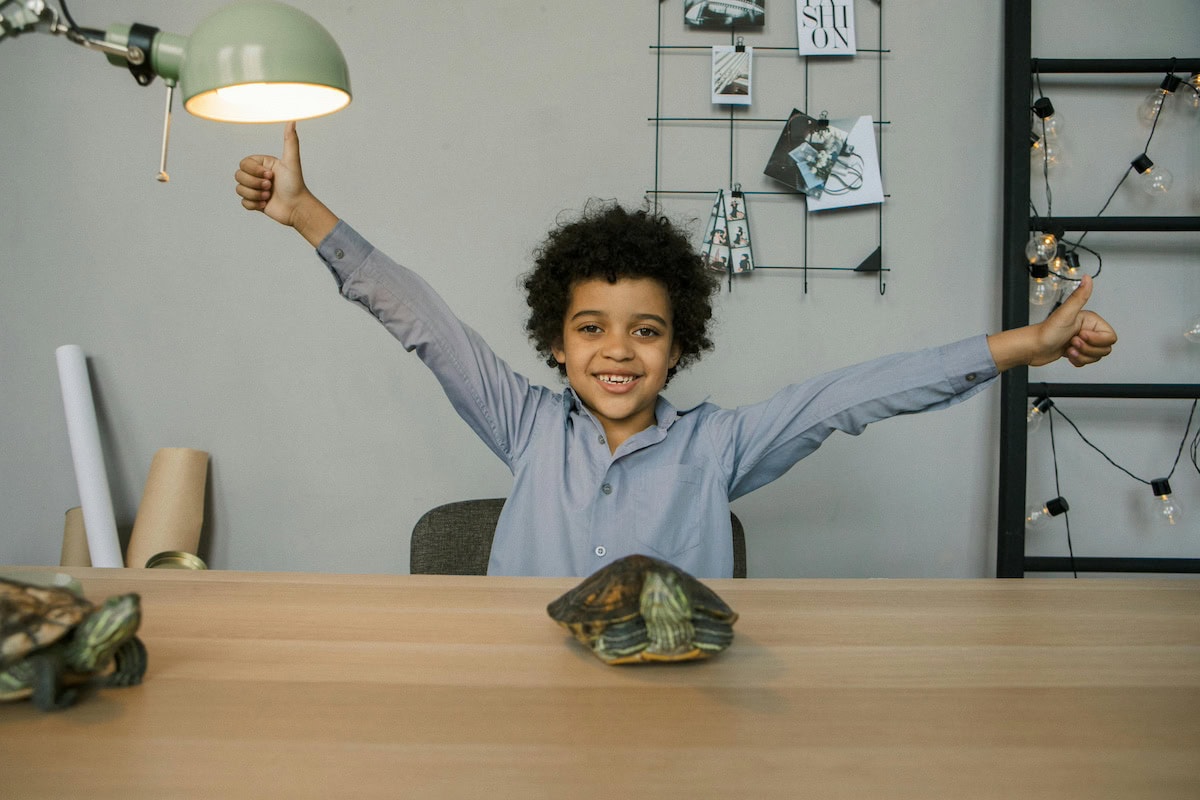
Alright, now that you know what your turtle actually needs (and what can slowly sabotage its sanity), it’s time to start planning the ultimate reptile retreat. This isn’t just about where to plop a tank in your living room. It’s about creating a home — a solid, functional, turtle-approved space where everything just works. Think of this as the blueprint before the build.
Choosing the Right Tank
First up: the tank itself. Not all tanks are created equal — especially when you’re dealing with a pet turtle that can grow to the size of a dinner plate and lives longer than most reality TV marriages.

Your best tank options:
Glass Aquarium
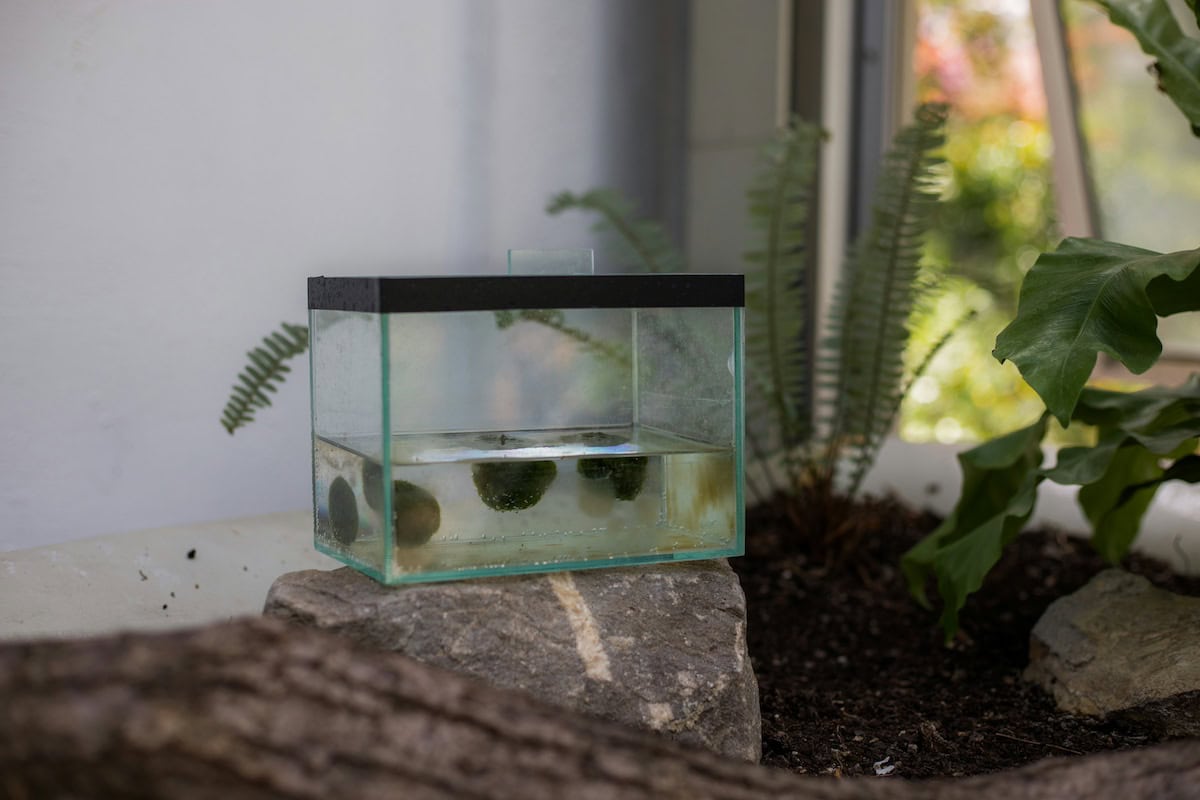
- Pros: Visually clean, easy to monitor your turtle, works well with water heaters and filters
- Cons: Heavy, breakable, and usually expensive for the size you’ll eventually need
Plastic Container or Tubs
- Pros: Cheap, lightweight, and surprisingly versatile (especially for a temporary or budget setup)
- Cons: Not always the prettiest, and you’ll need to make sure it’s food-safe, UV-resistant, and tall enough that your turtle can’t climb out
Repurposed Items (dresser drawers, storage bins)
- These work if you waterproof them properly. Line with pond liner or sealed PVC sheeting, and you’ve got yourself a turtle condo.
Quick tip: As long as your turtle has room to swim, bask, and chill, you’re doing it right. Just remember the golden ratio: 10 gallons of water per inch of shell. That means a fully grown red-eared slider (which can hit 10–12 inches) could need 100+ gallons. This is not the time to think small.
Also, don’t fall into the “starter kit” trap. Most of them are made for fish, not reptiles. They often lack proper basking platforms, don’t include UVB lighting, and are nowhere near large enough for long-term use. Buy smart — or better yet, build smarter.
When is a tank “big enough”?
- Minimum volume of water: 10 gallons per inch of shell
- Space for basking area: At least 25–30% of the total setup
- Swimming area: Deep enough for full submersion, wide enough for movement
- Height: Tall enough to prevent escape, but low enough that you can reach in without yoga injuries
Enclosure Location and Safety
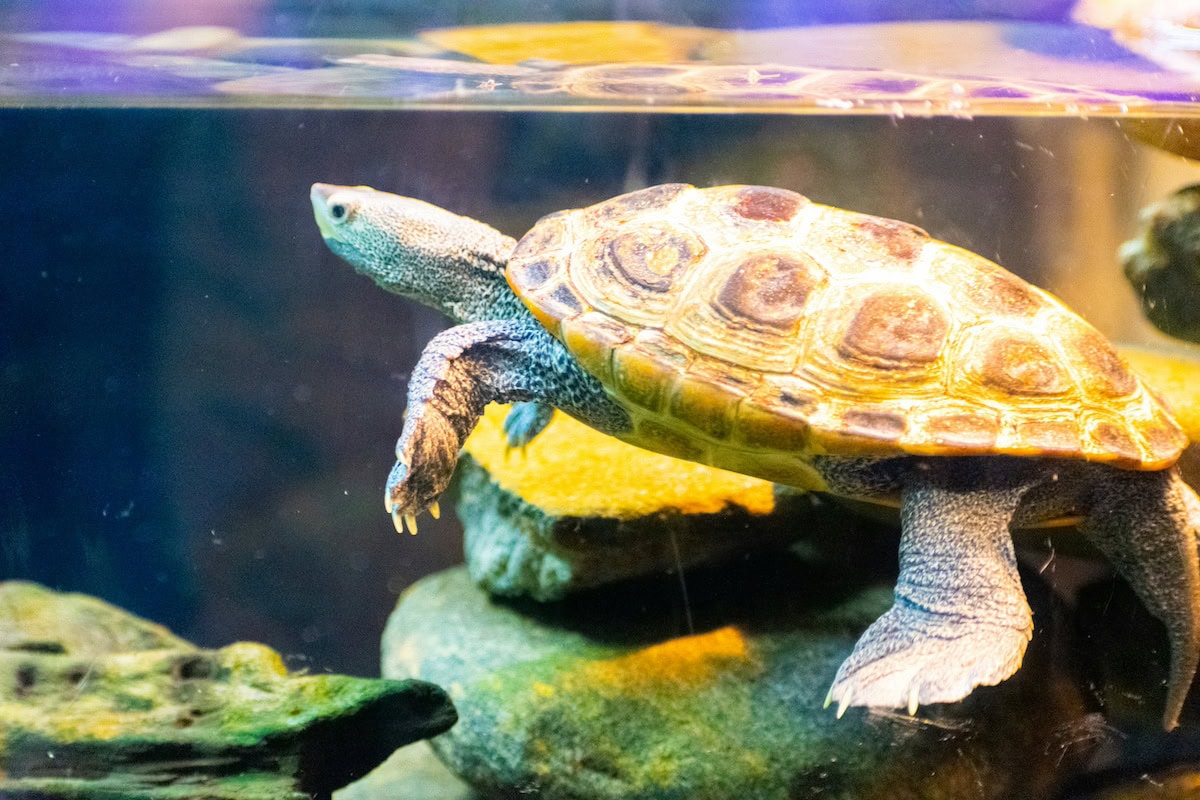
Once you’ve chosen your tank or container, next comes a surprisingly important question: where does the tank actually go? The kitchen counter? Please, no. Back of a dark closet? Worse. You want a spot that supports the turtle’s physical and psychological health — and doesn’t cause unnecessary stress (or mold).
Ideal placement considerations:
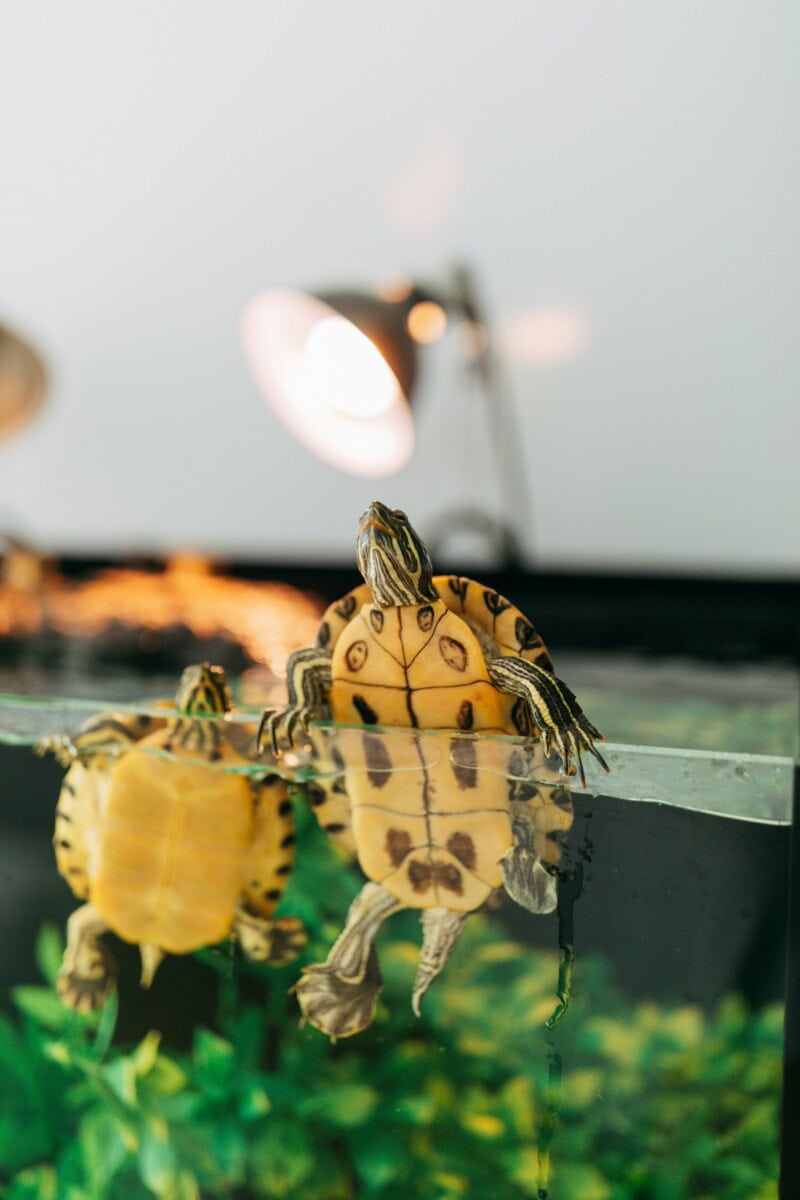
- Natural Sunlight Access
- A window nearby can help regulate a turtle’s rhythm, but avoid direct sun — it can spike the temperature in the tank faster than you think
- A window nearby can help regulate a turtle’s rhythm, but avoid direct sun — it can spike the temperature in the tank faster than you think
- Ventilation
- Especially if you’re using a lid or housing your turtle in a plastic container; stagnant air = moldy doom
- Consider drilling ventilation holes or using a mesh lid to allow airflow while keeping curious claws inside
- Especially if you’re using a lid or housing your turtle in a plastic container; stagnant air = moldy doom
- Noise & Traffic
- Avoid placing the tank near speakers, TV stands, or high-traffic areas; turtles can get stressed by loud noises and sudden movement
- Likewise, don’t put the tank in a freezing cold basement or drafty hallway. Reptiles are not fans of temperature swings
- Avoid placing the tank near speakers, TV stands, or high-traffic areas; turtles can get stressed by loud noises and sudden movement
- Electrical Access
- You’ll need plugs nearby for the basking light, water filter, and heating elements
- Extension cords aren’t ideal near open water, so plan accordingly
- You’ll need plugs nearby for the basking light, water filter, and heating elements

Pro planning tips:
- Use a low, sturdy piece of furniture as a base (avoid high shelves — turtle in an aquarium plus gravity equals disaster)
- Place the enclosure near eye level if you want to observe your turtle regularly — they enjoy the company, even if they act aloof
- Add a splash guard or protective mat under the tank if it’s sitting on wood or carpeted surfaces — trust that water changes will get messy
DIY Turtle Tank Design Inspiration

Now we’re getting to the fun part — the design phase. This is where your turtle’s home becomes more than just a container with water and a heat lamp. It’s your chance to turn a boring tub into a stylish sanctuary, a standard tank into a split-level spa, or an old bookcase into the ultimate home for your turtle.
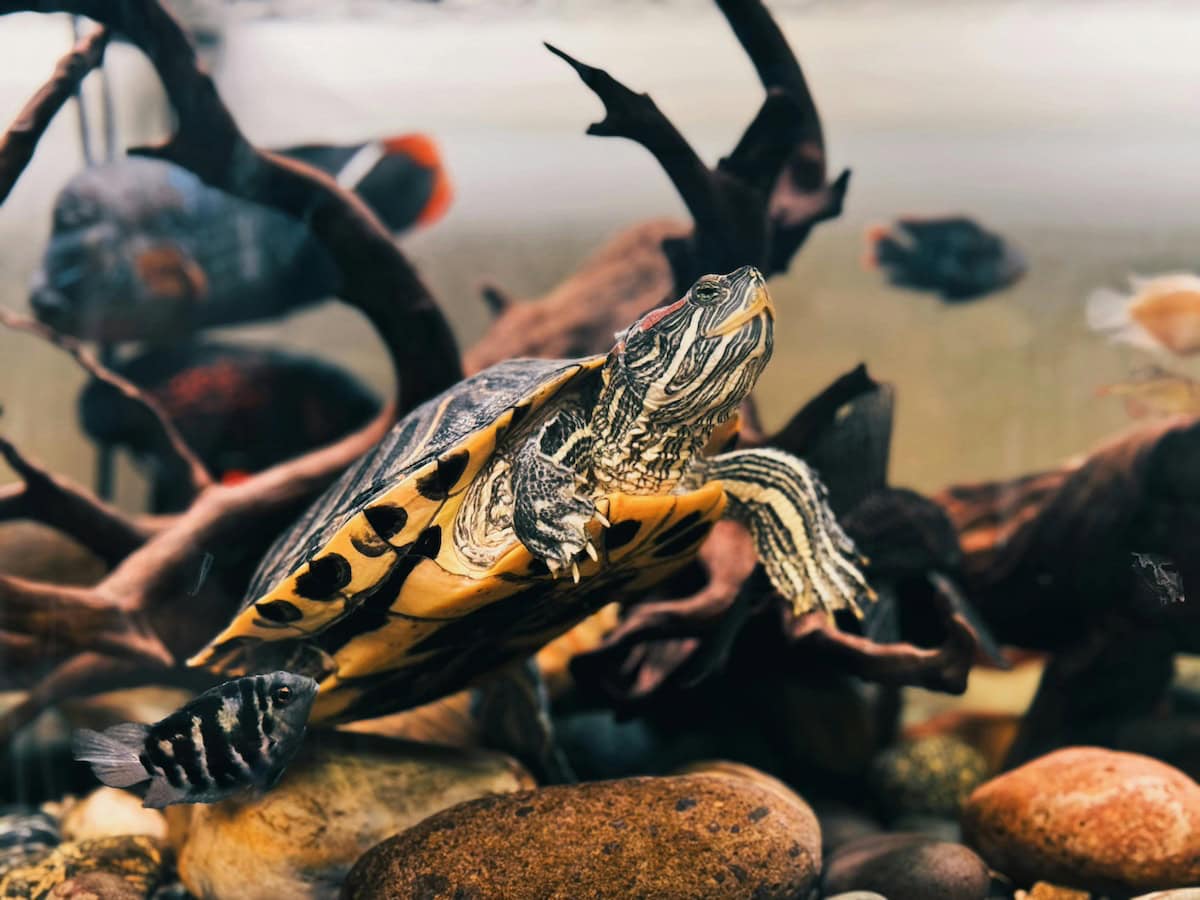
Function still comes first (always), but there’s no reason it can’t also look great. And if you’re crafty? Even better. A solid diy project not only saves money — it lets you customize every inch to your turtle’s habits, size, and species.
Low-Cost DIY Turtle Enclosure Ideas
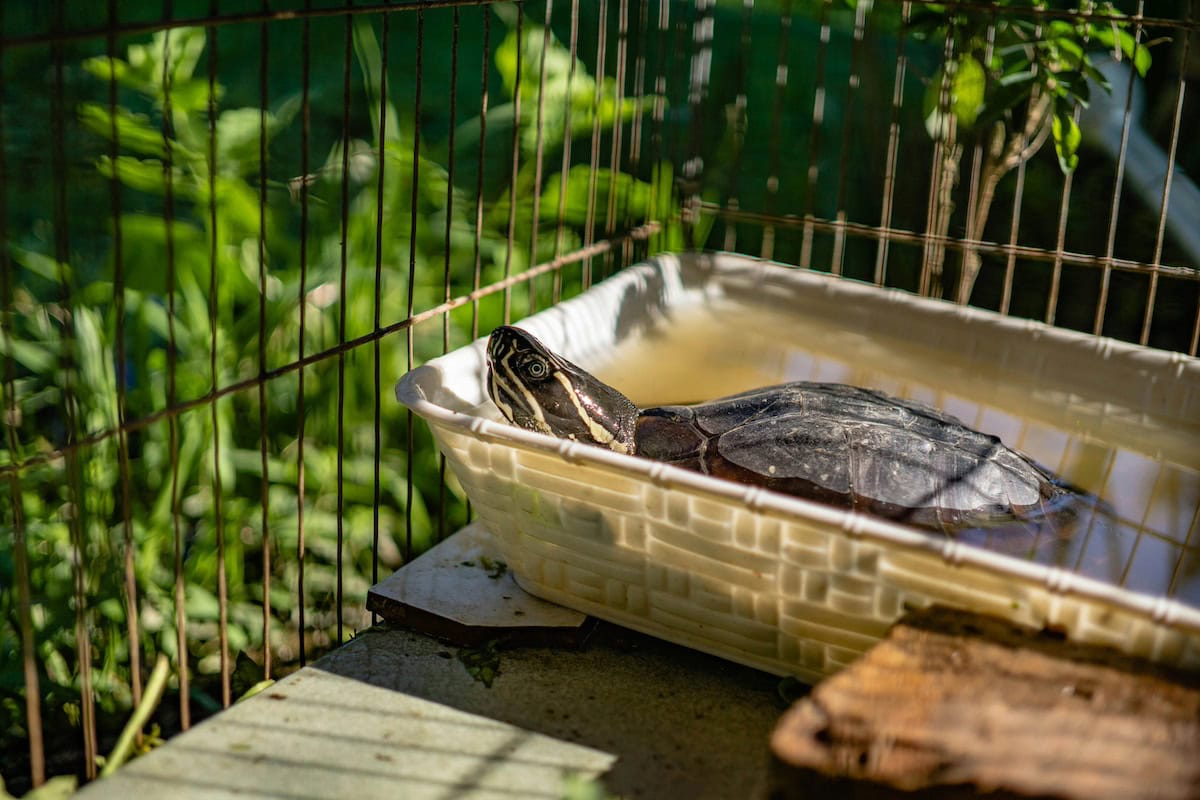
Let’s start with the budget builds — because not everyone has $500 to drop on a pre-built turtle tank that still doesn’t come with proper lighting.
Ideas for building a turtle tank on a budget:
- Repurposed furniture:
- Old dressers, entertainment centers, or bookcases can be turned into turtle tanks with a little waterproof lining and a lot of imagination
- Remove shelves and reinforce the structure, then line it with heavy-duty pond liner or PVC sheeting
- Add a sliding screen top or plexiglass front for visibility and airflow
- Old dressers, entertainment centers, or bookcases can be turned into turtle tanks with a little waterproof lining and a lot of imagination
- Storage tubs (yes, really):
- Large plastic storage bins make great temporary or semi-permanent enclosures, especially for young turtles or indoor setups
- Make sure it’s tall enough so your turtle can’t climb out and food-grade plastic so it won’t leach chemicals into the water
- Cut a hole in the lid and replace it with mesh to allow for a basking light above
- Large plastic storage bins make great temporary or semi-permanent enclosures, especially for young turtles or indoor setups
- Custom plywood builds:
- Build a box-style tank using plywood, 2×4 framing, and marine-grade waterproof sealant
- Line the interior with vinyl, shower liner, or heavy-duty pond material
- Works well for semi-aquatic turtles that need lots of land and water space
- Build a box-style tank using plywood, 2×4 framing, and marine-grade waterproof sealant
DIY doesn’t mean sloppy. Seal edges properly, test water retention, and use supports if the setup will hold a lot of weight. Bonus: These options are often larger than commercial tanks and easier to decorate creatively.
Creative Homemade Turtle Tank Ideas
Once you’ve got the structure, it’s time to bring in the personality. Want a jungle oasis? A rocky riverbank? A minimalist Zen terrarium? This is where design meets instinct — yours and your turtle’s.
Creative design themes to consider:
Jungle Hideaway
- Use faux vines, plastic plants, and driftwood
- Add climbing features made of cork bark or rock ledges
- Incorporate a waterfall feature if you’re feeling bold (just keep water changes in mind)
Riverbank Retreat
- Layered river rocks, sand, and shallow zones to mimic a natural creek
- Great for semi-aquatic turtles who enjoy lounging in shallow water and sliding into deeper areas
- Use smooth stones to prevent scratching and make it easy for turtles to move between zones
Zen Garden
- White sand, flat stones, and minimalist driftwood elements
- Keep decorations sparse and functional — nothing sharp, nothing loose
- Works well for a box turtle or terrestrial setup
Split-level setups are another hit — combining a deep swimming section with an upper basking area. Ramps made of sealed wood or PVC, layered rocks, or textured platforms work well. Just make sure any incline is gentle enough that your turtle can still climb up easily without slipping.
Functional Meets Fancy: Design & Safety
Now, let’s be honest: it’s tempting to go all-in on aesthetics. But a Pinterest-worthy tank isn’t worth much if it risks your turtle’s safety. So how do you make it look great and work well?
Design tips that keep style and safety balanced:
- Avoid small, loose décor
- Anything that can be swallowed or get lodged in your turtle’s throat = no-go
- Skip glittery gravel or tiny ornaments made for fish tanks
- Anything that can be swallowed or get lodged in your turtle’s throat = no-go
- Don’t use untreated wood or unsafe adhesives
- Anything inside the tank should be aquarium-safe, non-toxic, and sealed if porous
- Hot glue doesn’t count — especially underwater
- Anything inside the tank should be aquarium-safe, non-toxic, and sealed if porous
- Stabilize everything
- Secure basking platforms so they don’t fall into the water unexpectedly
- Use PVC pipe to build sturdy ramps, supports, or underwater tunnels that won’t shift during turtle traffic hour
- Secure basking platforms so they don’t fall into the water unexpectedly
- Add function to the form
- Need height? Stack rocks or bricks under a platform — just be sure they’re anchored
- Want shade? Create overhangs using fake plants or partial roof sections over land zones
- Need height? Stack rocks or bricks under a platform — just be sure they’re anchored
Essential Features in Any Turtle Tank Setup
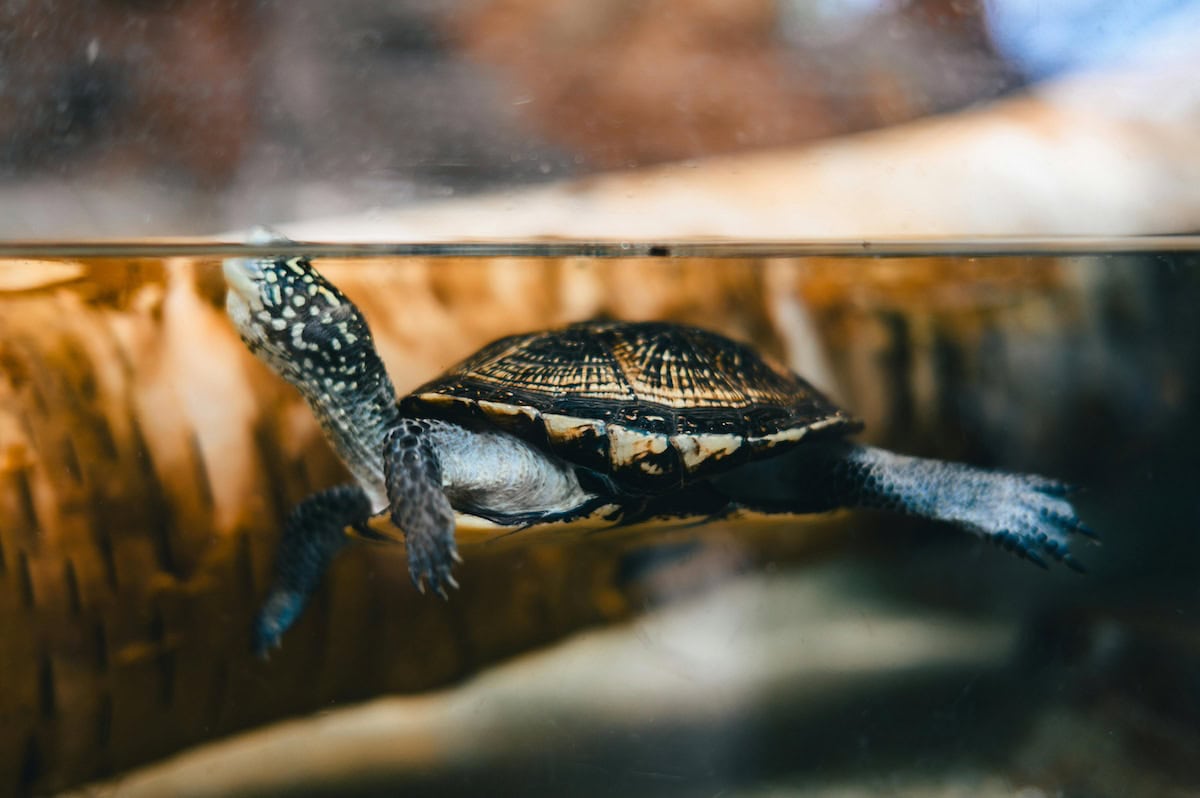
No matter how sleek or budget-friendly your tank looks, it must function like a real habitat — because your turtle isn’t just living there, it’s relying on you to get the whole ecosystem right. Think of this part as your turtle’s plumbing, heating, and lighting contractor — except with fewer power tools and more reptile responsibility.
Filtration and Water Quality
Let’s talk water — the life source of any semi-aquatic or aquatic turtle. It may look clean today, but give it 48 hours and your turtle will turn it into a slow-brewing swamp smoothie. Enter: the water filter — your best friend and your turtle’s unsung hero.
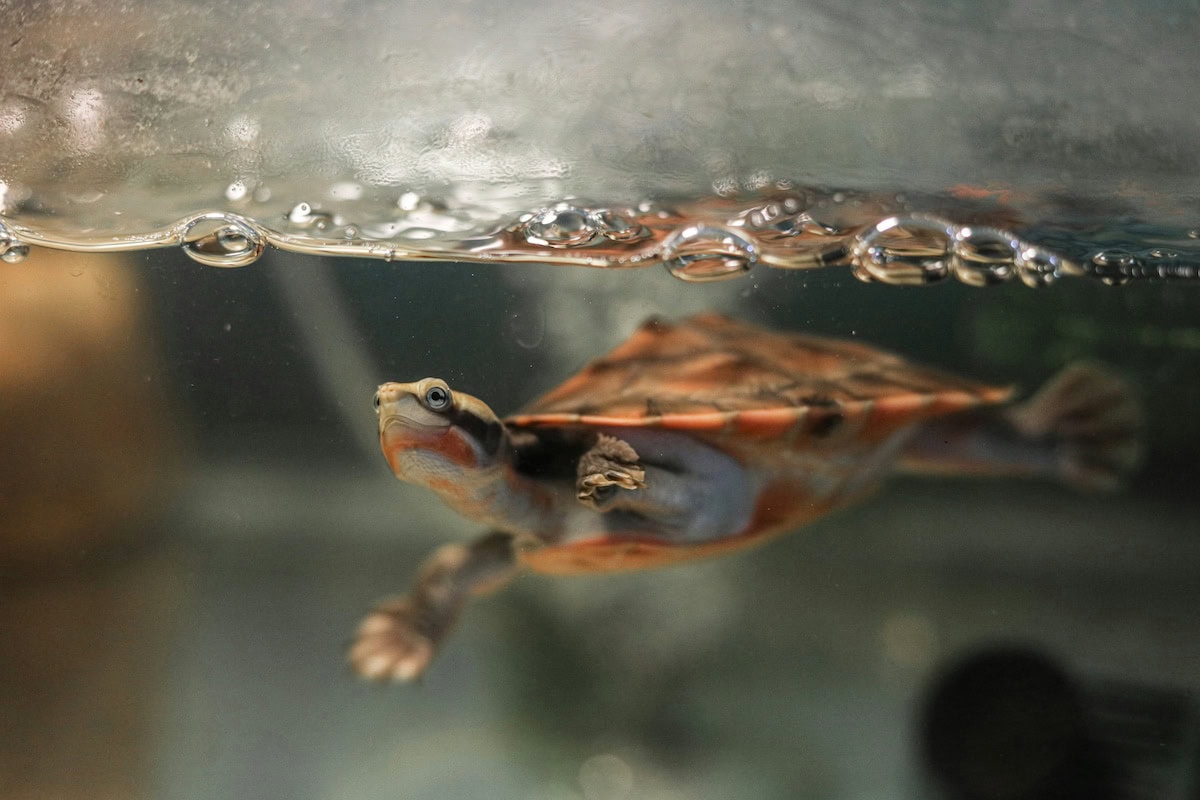
Why filtration matters:
- Turtles are messy — we’re talking leftover food, waste, and kicked-up debris
- Poor filtration leads to bacterial growth, shell infections, and a tank that smells like regret
- Clean water reduces how often you need full water changes — saving time and stress
DIY filter setup options:
- Internal power filters — good for smaller tanks or temporary setups
- Canister filters — the gold standard for larger tanks; quiet, powerful, and easy to hide
- DIY sponge filter with an air pump — cheap and efficient for smaller tanks or baby turtles
- Build your own PVC pipe system to channel water through multiple filter media layers — clever and surprisingly satisfying
Also, use filtered water if your tap water is loaded with chlorine or heavy metals. If you’re using a plastic container or tub, double-check that the materials don’t react with heat or water treatments.
Heating, Lighting, and UV
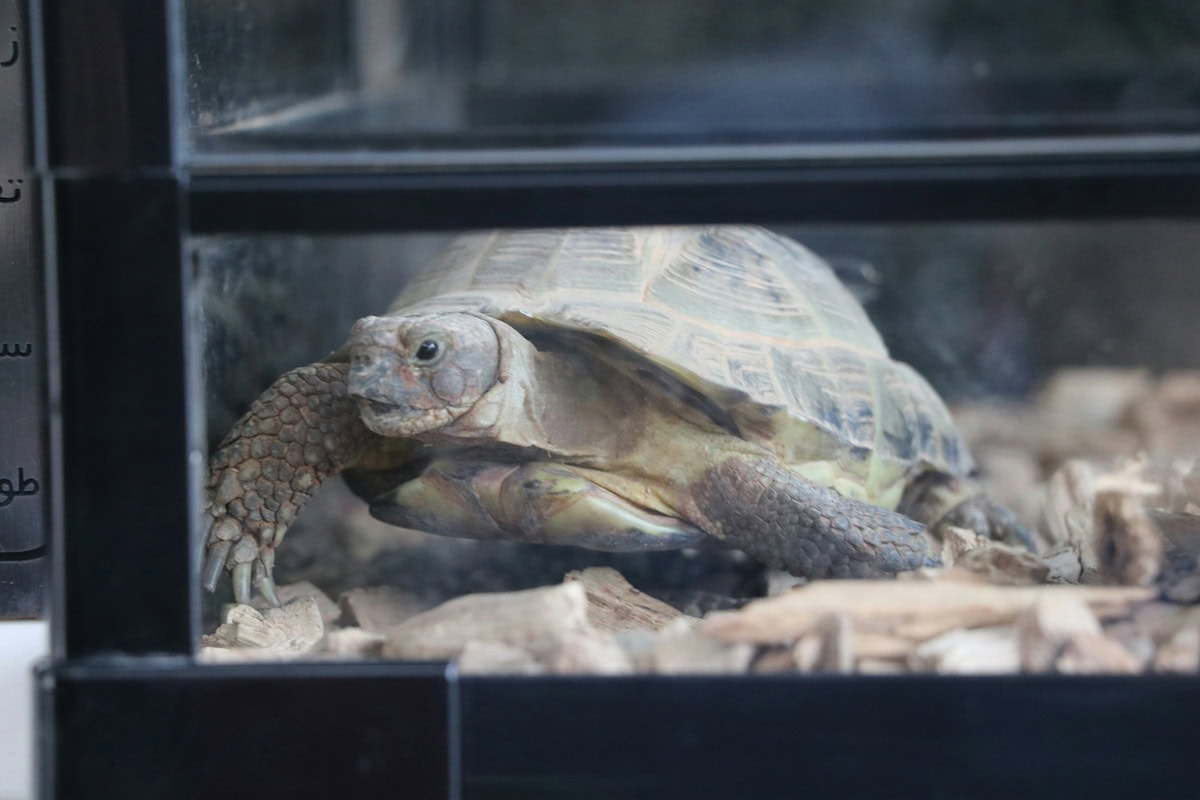
This isn’t a luxury spa — it’s basic biology. Without proper heating and UV lighting, your turtle won’t digest food, grow properly, or develop strong shells. If you skip this part, expect a slow health decline and one very grumpy turtle.
Here’s what every turtle tank needs:
- Heat lamp for basking — Aim for 85–95°F directly on the basking surface
- UVA and UVB light — UVA boosts mood and activity; UVB helps with calcium absorption and shell health
- Consistent ambient temperature — The water temperature should stay between 75–80°F (depending on species)
DIY heat and light setup ideas:
- Clamp-on lamps mounted above a basking platform — secure them so they never fall (or burn your turtle)
- Use ceramic heat emitters in colder climates to maintain overnight warmth without light
- Suspend lights using adjustable arms, or build a PVC pipe frame for precision placement and safety
Safety reminders:
- Always check temps with a thermometer — guesswork is not turtle-care
- Use light timers to mimic natural day/night cycles (bonus: less effort for you)
- Never position lights over flammable material, especially if you’ve got a custom wooden setup
One more thing: basking isn’t optional. Your turtle needs a basking area, and no, sitting near a warm window does not count. Natural sunlight behind glass lacks UVB. Go artificial, or go home.
Basking Area & Platform Design
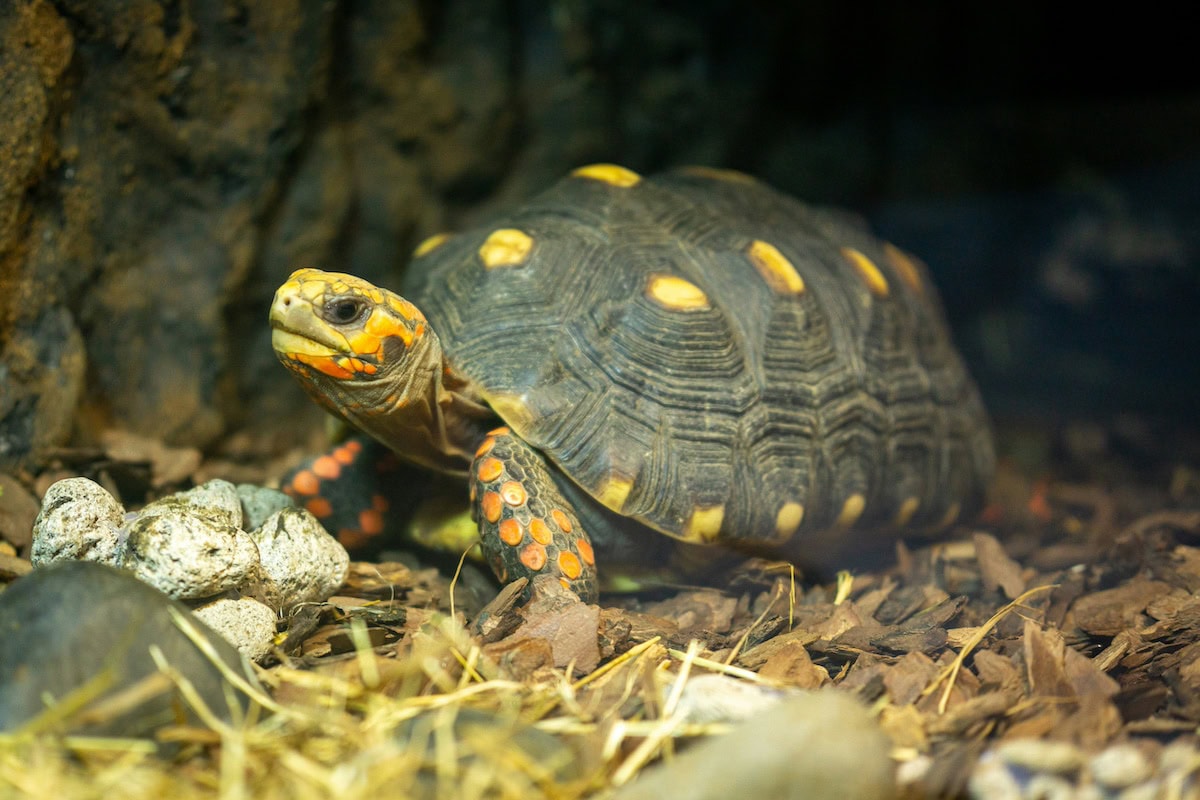
Turtles spend a surprising amount of time basking — and when they’re not, they’re usually thinking about it. So your basking platform needs to be more than a wobbly stack of rocks that looks like it’ll collapse if someone breathes near it.
Essentials for a safe, effective basking platform:
- Stable and dry — the platform should stay above water, even when your turtle climbs on dripping wet
- Non-slip surface — use textured plastic, cork, or sealed wood
- Ramp access — sloped and grippy, making it easy for turtles to climb without slipping or flipping
Materials that work well:
- PVC pipe platforms — lightweight, mold-resistant, and easy to customize
- Floating docks — great if they’re large and stable enough for your turtle’s weight
- Stacked stone with sealant — natural look, but must be secured so it doesn’t fall into the water unexpectedly
Design tips:
- Position the platform under both a heat source and UVB light
- Avoid sharp edges or tight gaps where a leg or neck could get stuck
- If you’re using rocks or bricks, make sure they’re aquarium-safe — not the kind that crumble or leach minerals into the water
And most importantly: make it comfortable. Your turtle can get cranky if the platform’s too hot, too slippery, or just plain inconvenient. A good basking area for your turtle should feel like the prime seat on a sunny beach — not an obstacle course.
Turtle Tank Decoration with Purpose
Decorating a turtle tank is the part where people either shine or spiral. On one end, you’ve got the aesthetic overachievers trying to recreate a rainforest diorama. On the other hand, you’ve got tanks that look like someone just dumped aquarium gravel and called it a day. Neither works.
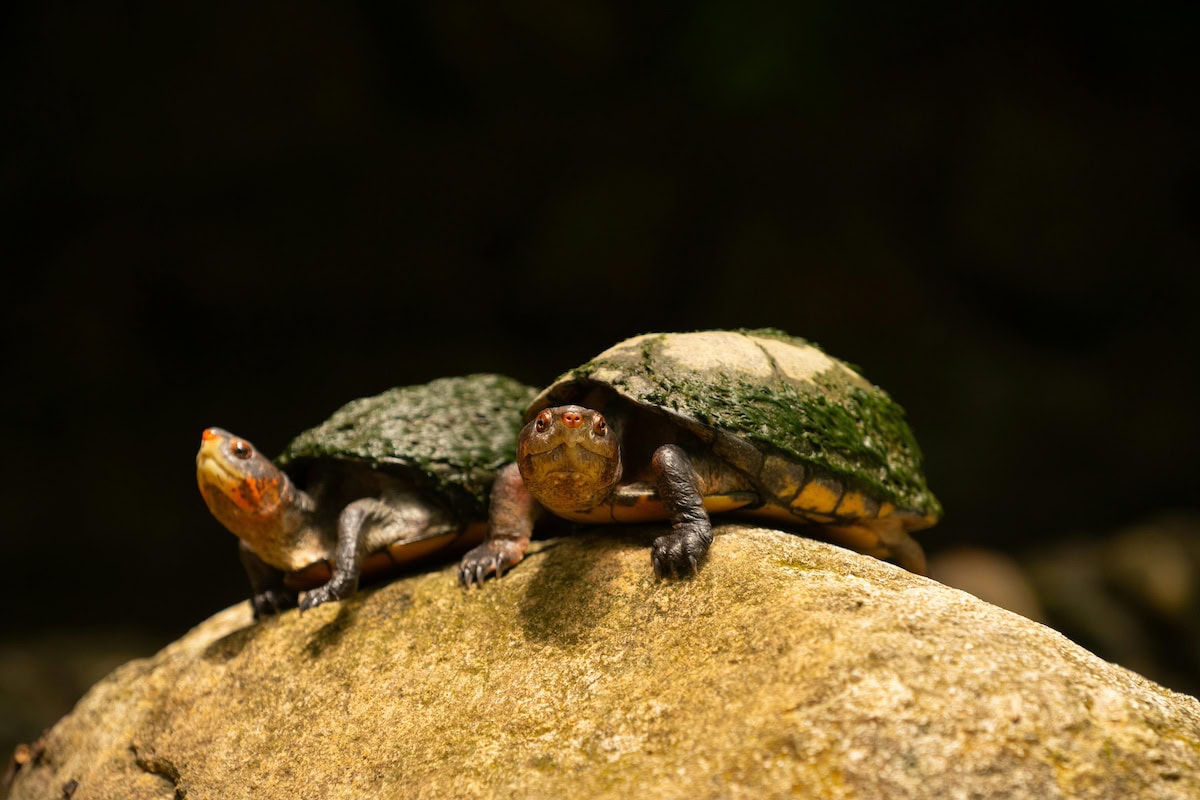
Here’s the truth: decorations should be both turtle-safe and functional, and ideally, they shouldn’t fall apart, trap limbs, or be mistaken for food. Bonus points if it actually looks good.
Safe and Stylish Tank Decorations
Let’s be blunt — your turtle doesn’t care how cute that pirate ship ornament looks. If it can chew it, wedge itself behind it, or tip it over, it’s a problem. And yet, a tank with no personality feels like a waiting room. The trick is to strike a balance: style with safety.
Here’s what to keep in mind when decorating your turtle’s tank:
- Size matters. Go big with décor — small pieces become hazards or chew toys
- Avoid glass, sharp edges, and anything hollow that can trap a curious turtle’s head or leg
- Don’t use fish tank decorations unless they’re labeled safe for reptiles and large enough that your turtle can’t bite or climb into them
- Weight it down. Anything placed in the tank — especially in the water — should be anchored or heavy enough that it won’t float or shift
- Avoid painted or coated objects that aren’t aquarium-safe — turtles love to nibble, and chipped paint is a no-go
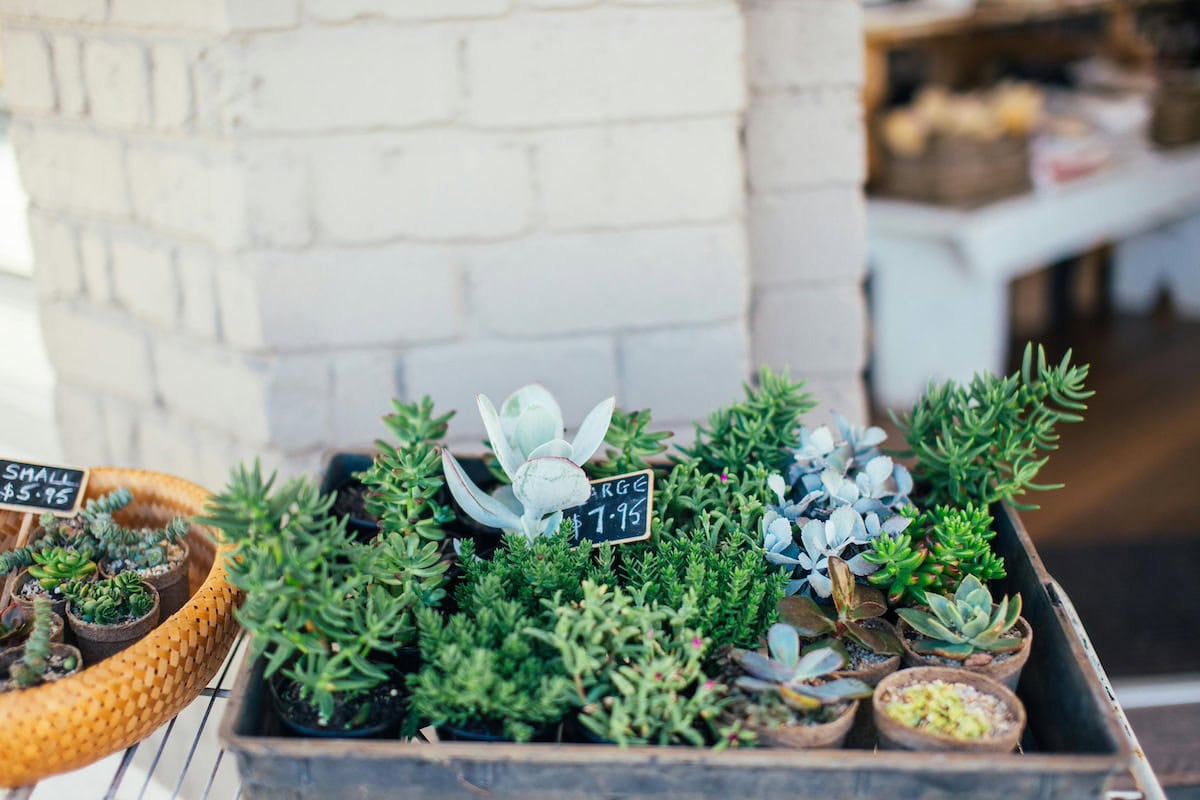
Some turtle-safe decor options:
- Large driftwood (sanitized and anchored) for climbing and shade
- Natural slate rocks for dry resting spots or basking
- Artificial plants designed for reptiles — not flimsy fish tank ones
- PVC pipe structures — use them as tunnels or hideaways; they’re durable, safe, and can be custom-built to size
And yes, you can decorate your setup to reflect a theme — jungle, riverbank, Zen — as long as function leads. Your turtle won’t appreciate your design choices, but it will notice if something gets stuck on its shell.
DIY Decoration Ideas
You don’t need a pet store haul to make a tank look good. In fact, some of the most creative turtle tank designs come from the DIY route — using affordable, safe materials you can easily modify.
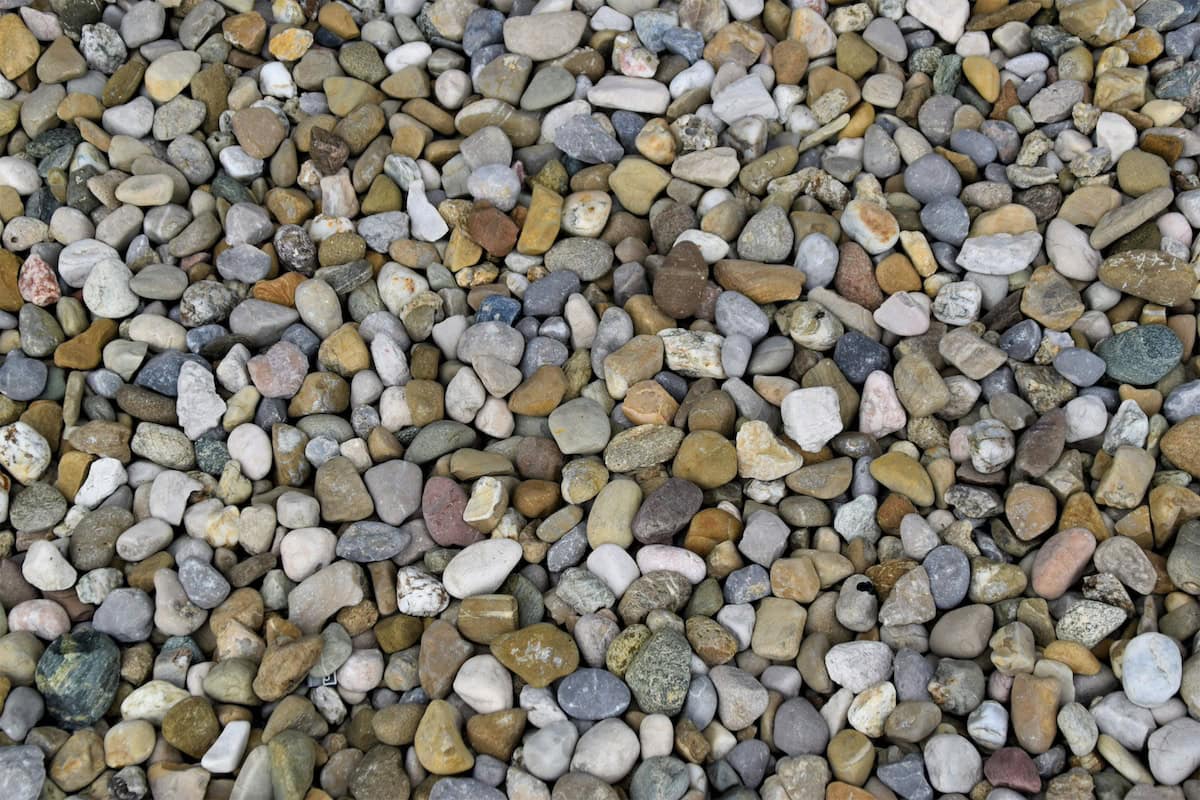
DIY decoration ideas that are budget-friendly and turtle-safe:
- Natural rocks from outside
- Scrub and boil to sanitize, then use in land areas or shallow zones
- Combine with sand or gravel to create textured flooring — just avoid anything sharp or small enough to swallow
- Scrub and boil to sanitize, then use in land areas or shallow zones
- Custom platforms or hides using PVC pipe
- Build underwater caves, above-ground hides, or even basking support structures
- Easy to clean, durable, and totally customizable
- Build underwater caves, above-ground hides, or even basking support structures
- Artificial plants with heavy bases
- Choose reptile-safe options or secure them into foam backgrounds
- Adds visual interest without needing to worry about algae or rotting leaves
- Choose reptile-safe options or secure them into foam backgrounds
- Cork bark or sealed wood planks
- Great for terrestrial areas or semi-aquatic land zones
- Provides shade and climbing texture your turtle will use more than you expect
- Great for terrestrial areas or semi-aquatic land zones
- Water hyacinth (live plant)
- For advanced setups, this floating plant can help oxygenate water and absorb waste
- Just be sure your turtle doesn’t treat it like a salad bar — some love to munch
- For advanced setups, this floating plant can help oxygenate water and absorb waste
If you’re using real plants, test for compatibility. Some turtles will ignore them. Others will strip them clean like a buffet line. Either way, keep an eye on what you put in the tank over time — and swap out anything that starts to fall apart or grow moldy.
One quick note on backgrounds: Want to make your turtle tank look like a National Geographic spread? Try adding a 3D background using foam, grout, and sealed paint. It’s a more advanced DIY, but it can turn your tank into a full-blown turtle terrarium masterpiece — without sacrificing safety.
Step-by-Step: How to Set Up a DIY Turtle Tank
You’ve got the materials, the design, the Pinterest board full of ambition — now it’s time to actually build the thing. Setting up a DIY turtle tank can look intimidating, especially when wires, filters, heaters, and rocks are piled around you like you’re prepping for reptile-themed reality TV.
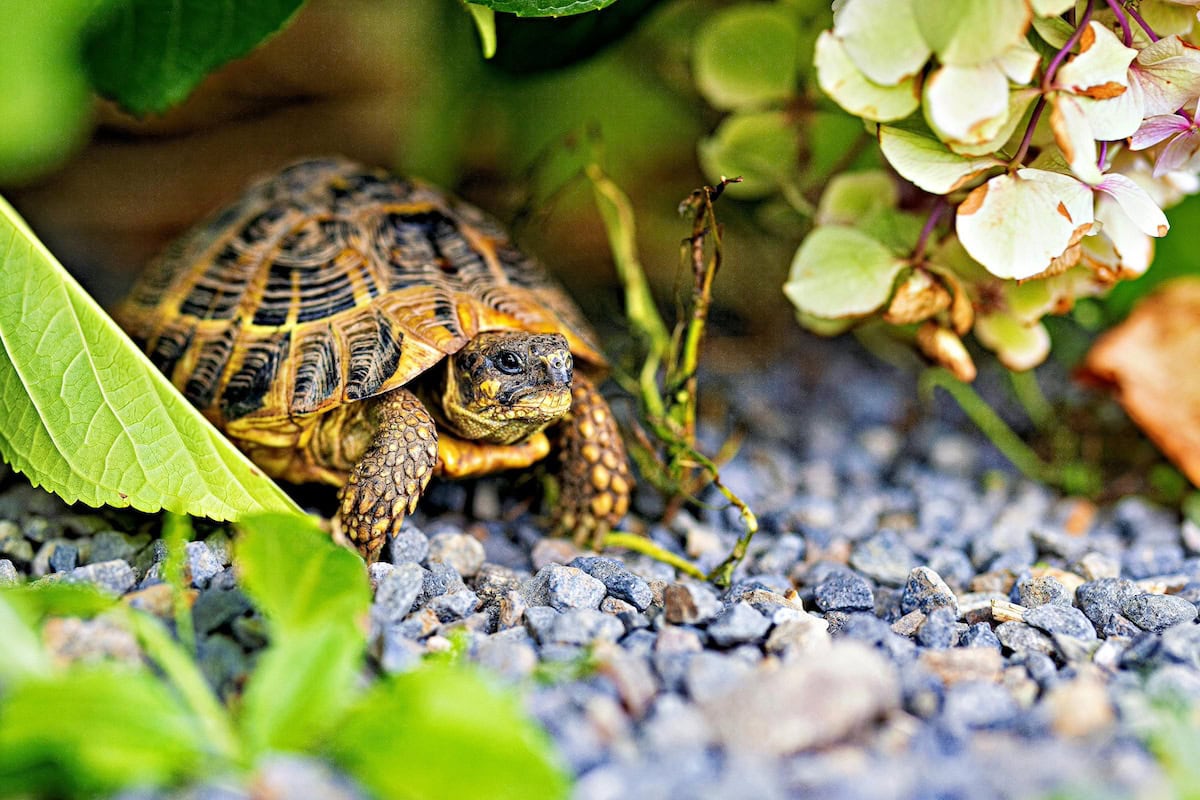
But breathe easy — if you’ve planned properly (and read everything so far), this part is more about execution than guesswork. Here’s how to pull it all together without turning your living room into a swamp.
Supplies Checklist For Your Indoor Tank
Let’s not pretend you’ll remember everything on the first trip to the store. Or the second. So here’s a no-nonsense list of what you’ll need before setup day:
Tank and structural elements:
- A size tank appropriate for your turtle’s shell length (remember: 10 gallons of water per inch)
- Stand or base that can support the full volume of water (plus decorations and substrate weight)
- Waterproof liner or sealant (if using wood or repurposed furniture)
Essential equipment:
- Water filter suitable for the tank size (canister, sponge, or DIY)
- Heater with adjustable thermostat (especially if the room gets cool)
- Basking light and UVB bulb with fixtures
- Power strip with surge protection (your turtle deserves reliable electricity, too)
Turtle’s Basking & land elements:
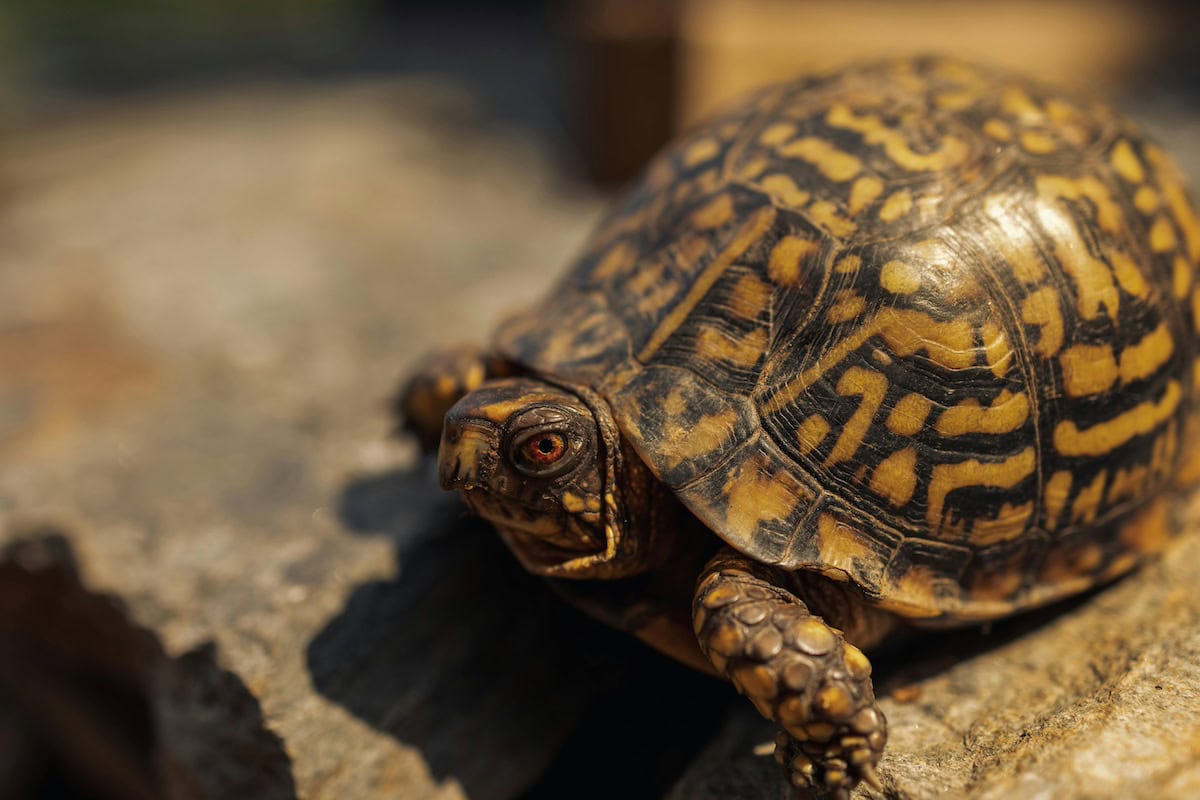
- A stable basking area for your turtle
- It’s a good idea to have an access ramp or sloped entry point from the water
- Materials like rocks, cork, PVC, or floating docks
Decoration & substrate:
- Substrate (if applicable): river rocks, sand, or bare bottom for easier cleaning
- Plastic plants, cork bark, or custom-made hides
- Anchoring materials (zip ties, aquarium-safe glue, etc.)
Water care:
- Water conditioner or dechlorinator
- Thermometer (digital or stick-on)
- Optional: live plants like water hyacinth if your turtle won’t eat them immediately
Optional but helpful:
- Gravel vacuum
- Feeding dish (especially for terrestrial turtles)
- Backup bulbs and filter media
Have all this ready before Day 1, unless you enjoy making six last-minute hardware store runs while your turtle gives you side-eye.
Setup Walkthrough
Let’s turn all that prep into a real, live turtle palace. This is your assembly phase, where patience = success, and rushing = potential reptile escape.
1. Clean and prep the tank
Even if it’s brand new, give it a rinse (no soap!) and check for leaks. If you’re using a plastic container, make sure it’s sturdy and chemical-safe.
2. Add substrate (if using)
Go with smooth river stones or sand — nothing sharp, and nothing your turtle could eat. Terrestrial turtles like box turtles will need something they can burrow into, like coconut coir or soil (reptile-safe only, obviously).
3. Position and secure the basking area
Set up the platform, ramp, and basking light. Test stability before introducing water or turtles. That means applying pressure, shaking it a little, and making sure it doesn’t budge or fall into the water.
4. Install the filter and heater
Mount your water filter and make sure intake/output is well-placed (not blocking turtle paths or basking zones). Add the heater, but don’t plug it in until water’s added and it’s fully submerged.
5. Fill with water
Use filtered water or tap water treated with a dechlorinator. Fill slowly, watching for leaks or shifting decor. Leave enough space at the top to prevent escape attempts.
6. Plug everything in and test
Turn on the lights, filter, and heater. Give it a few hours to stabilize. Monitor water temperature, basking temp, and make sure nothing is overheating or vibrating like it wants to launch into orbit.
7. Add decorations
Place your PVC pipe tunnels, fake plants, and rocks. Avoid cluttering the area for your turtle — they need swimming room and line of sight to move around confidently.
8. Final checks before introducing the turtle
- Are the temperatures right? (Water around 75–80°F, basking zone 85–95°F)
- Is the basking spot dry and accessible?
- Can your turtle enter and exit the water with ease?
- Is there a shaded zone where your turtle can cool off?
9. Bring in your turtle
Gently introduce your pet turtle to its new home and monitor for a few hours. Expect a little hesitation, exploring, and possibly some panicked swimming. Turtles aren’t known for loving change — but they do settle in quickly when it’s done right.
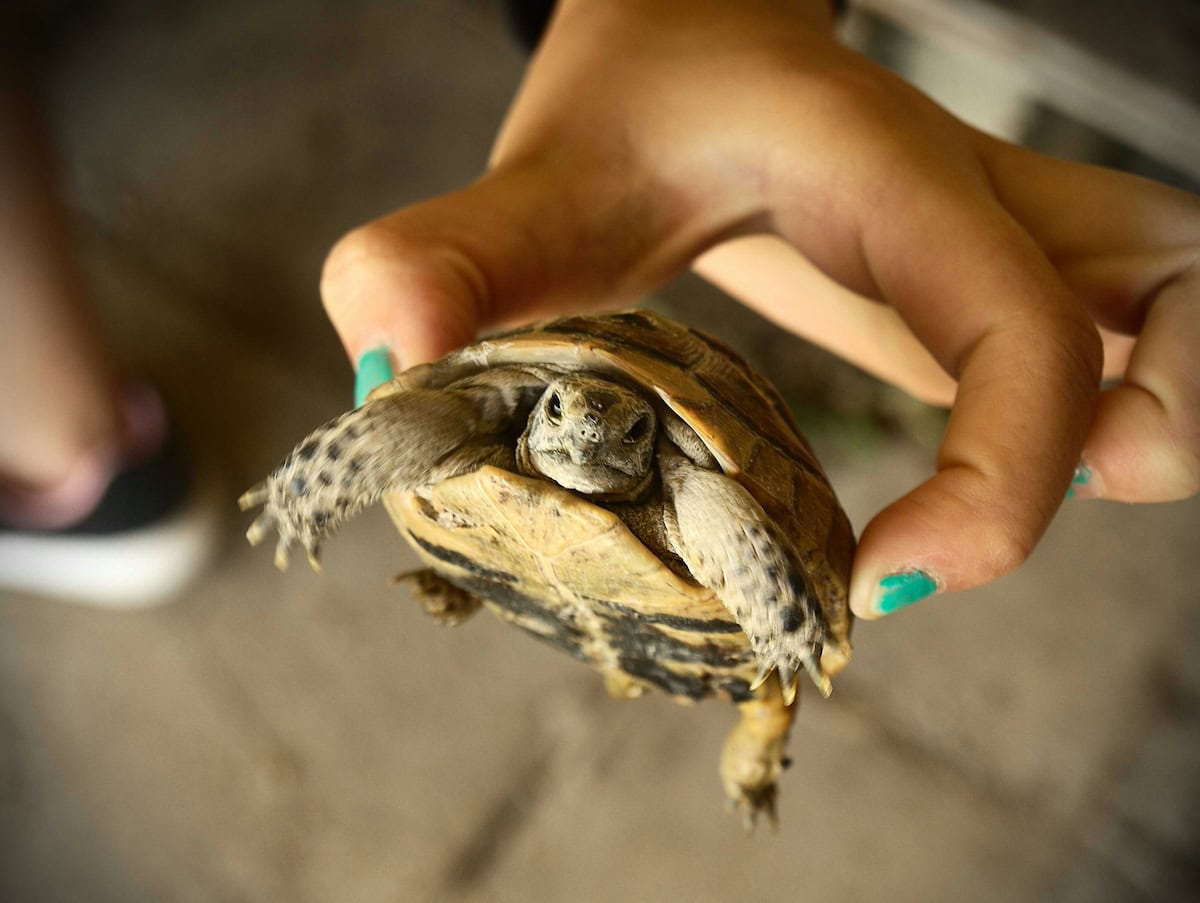
And there it is: your DIY turtle tank setup, built from the ground up with love, logic, and maybe a few trial-and-error moments.
Common Mistakes to Avoid in Homemade Turtle Tank Setups
You’ve made it this far, and your turtle hasn’t escaped into the heating vent — that’s already a win. But even the most well-meaning DIY setups can go sideways if a few key details get overlooked. It’s not just about aesthetics or size. It’s the small, easily-missed stuff that can turn a lovingly crafted home for your turtle into a high-stress, low-functioning situation.

Time to talk missteps — so you don’t make them.
Mistake #1: Using a Tank That’s Too Small
This one’s almost criminally common. Whether it’s a misunderstanding or a misled store clerk saying, “Yeah, a 20-gallon tank is fine for life,” too many turtles end up crammed into glorified puddles.
Why this matters:
- Turtles grow. Fast. A young turtle might be fine in a 20-gallon for a hot second, but blink and it’ll outgrow it.
- A cramped tank = poor water quality, aggression, and a bored, stressed-out reptile.
- It’s harder to maintain clean water in a smaller tank — more frequent water changes, higher ammonia spikes, less swimming space.
Fix: Upgrade based on your turtle’s full-grown size. Don’t wait until it’s miserable and pacing the glass.
Mistake #2: Skipping UVB and Proper Heat
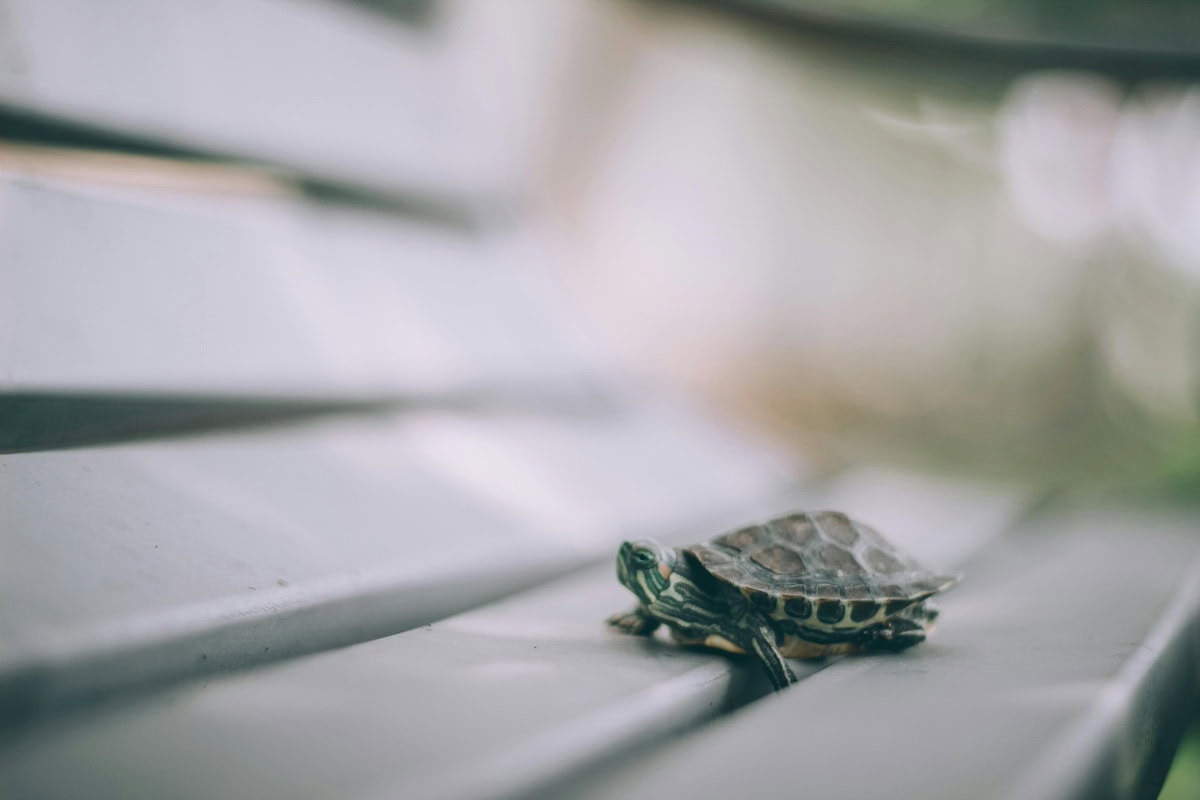
A warm lightbulb isn’t a basking setup. And don’t fall for the old “put it near a window” trick — natural sunlight through glass doesn’t give your turtle the UVB it needs. This one’s not just a preference; it’s a survival need.
Common slip-ups:
- Using the wrong kind of bulb (no UVB output = soft shell and long-term health problems)
- Placing the light too far or too close (yes, you really can burn your turtle)
- Forgetting to replace UVB bulbs — they lose effectiveness after 6–12 months even if they still light up
Fix: Use dedicated UVA and UVB bulbs, and position them correctly over the basking area. Check basking temps regularly, especially if you’re using a new basking light setup.
Mistake #3: No Land Area or Poor Basking Access
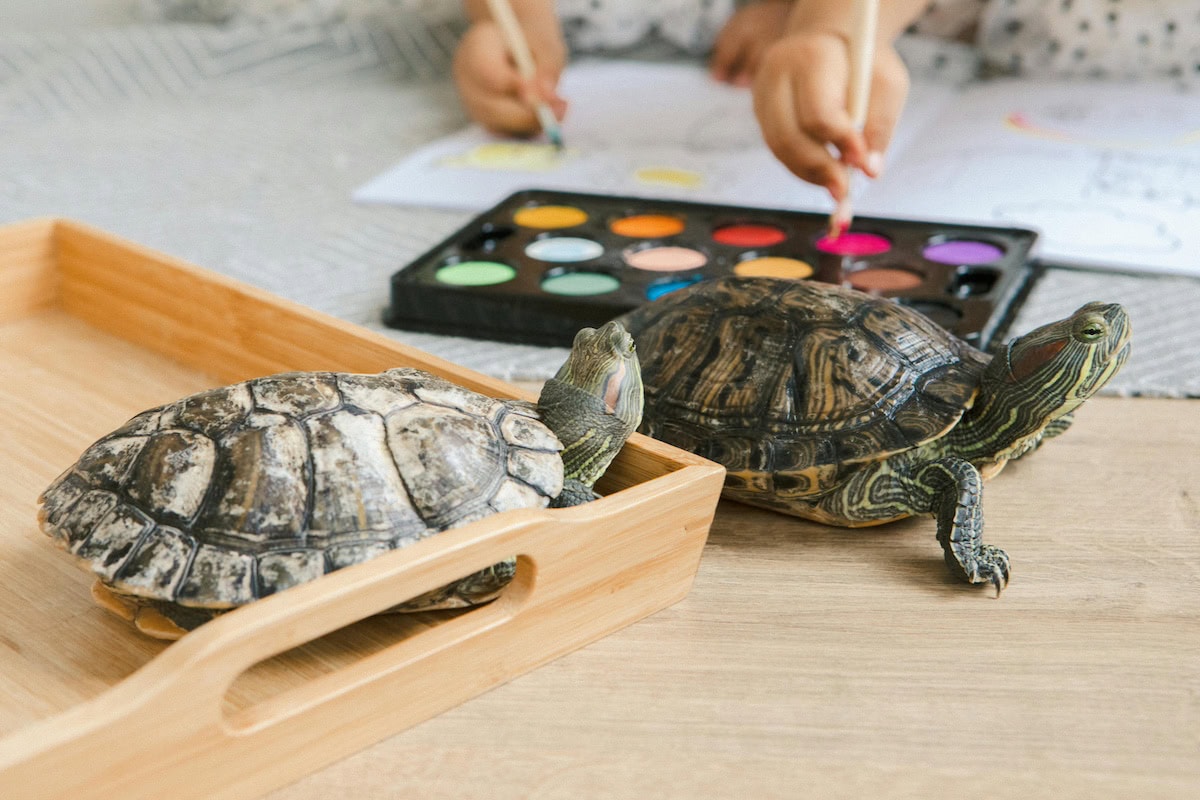
For semi-aquatic turtles, the “water only” tank is a rookie mistake — and a dangerous one. Turtles need a dry place to get completely out of the water and bask. Without that? You’re setting the stage for shell rot, stress, and more vet bills than you ever wanted.
Things that go wrong here:
- The basking platform is unstable, floats poorly, or falls into the water under the turtle’s weight
- The ramp is too steep, slick, or narrow — making it impossible for your turtle to climb
- There’s a basking light but no dry area directly beneath it
Fix: Make the basking area for your turtle easy to access, completely dry, and large enough for your turtle to stretch out under the heat.
Mistake #4: Inadequate or Improper Filtration
Yes, we’ve said it before — but it’s worth its own red flag here. People often think turtles are just hardy fish with shells. Wrong. Turtles = bio-load champions. Your fish tank filter may not cut it.
What can go wrong:
- The filter is undersized and can’t handle turtle mess
- It’s positioned poorly, so dead zones build up and create bacteria pockets
- It doesn’t have mechanical, biological, and chemical filtration — all three are ideal for long-term health
Fix: Get a filter rated for at least twice your tank’s size — and clean it regularly. If you’re going full diy project, build a PVC pipe filtration rig that distributes water flow evenly.
Mistake #5: Overcrowding the Tank
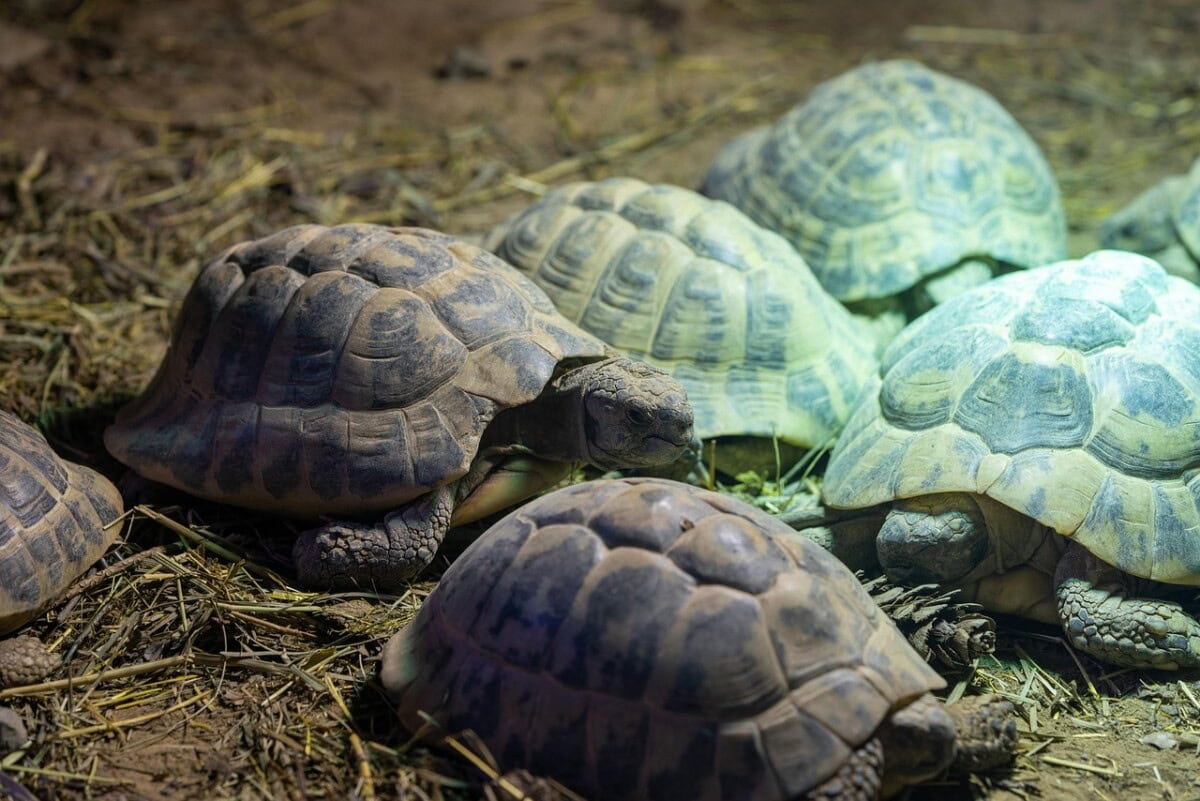
It’s tempting to add fish, more turtles, or extra tank mates just to make the tank feel “livelier.” Don’t. Most turtles are loners at heart, and they’re not great at sharing — especially when it comes to food or basking spots.
Signs of overcrowding:
- Aggression (biting, chasing, territorial behavior)
- Stress behaviors like hiding, excessive swimming, or refusing to bask
- Rapid buildup of waste and poor water quality
Fix: One turtle per tank, unless you have serious volume and experience. If you do introduce fish, make sure they’re fast, cheap, and expendable. Because your turtle might see them as snacks.
Mistake #6: Unsafe Décor and Poor Material Choices
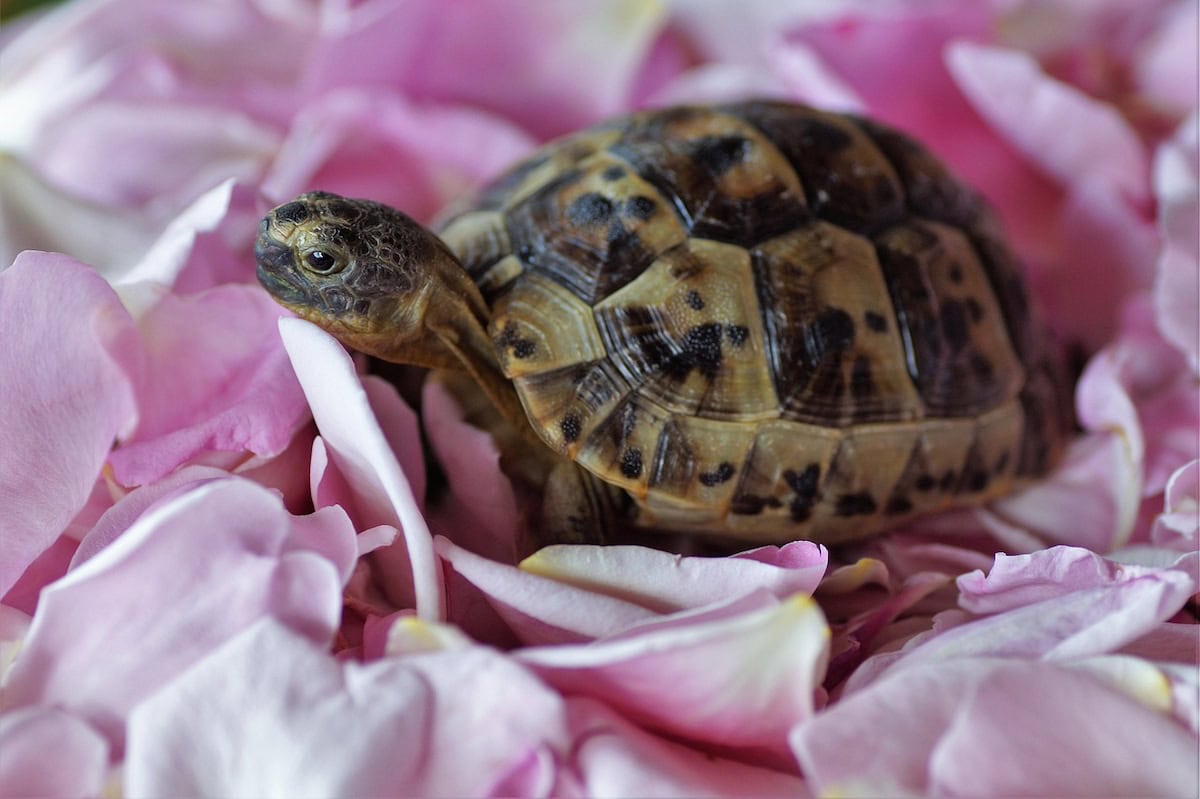
Those adorable castle props or glow-in-the-dark pebbles? Usually made for fish, not reptiles with strong jaws and curiosity-driven destruction habits. Even well-meaning plastic plants can become chew toys or choking hazards.
Red flags:
- Sharp edges or small holes where a turtle can get stuck
- Painted or glazed decorations that leach chemicals
- Loose stones or decorations that shift and trap limbs
Fix: Stick to aquarium-safe, reptile-approved materials. When in doubt, bigger and smoother is safer.
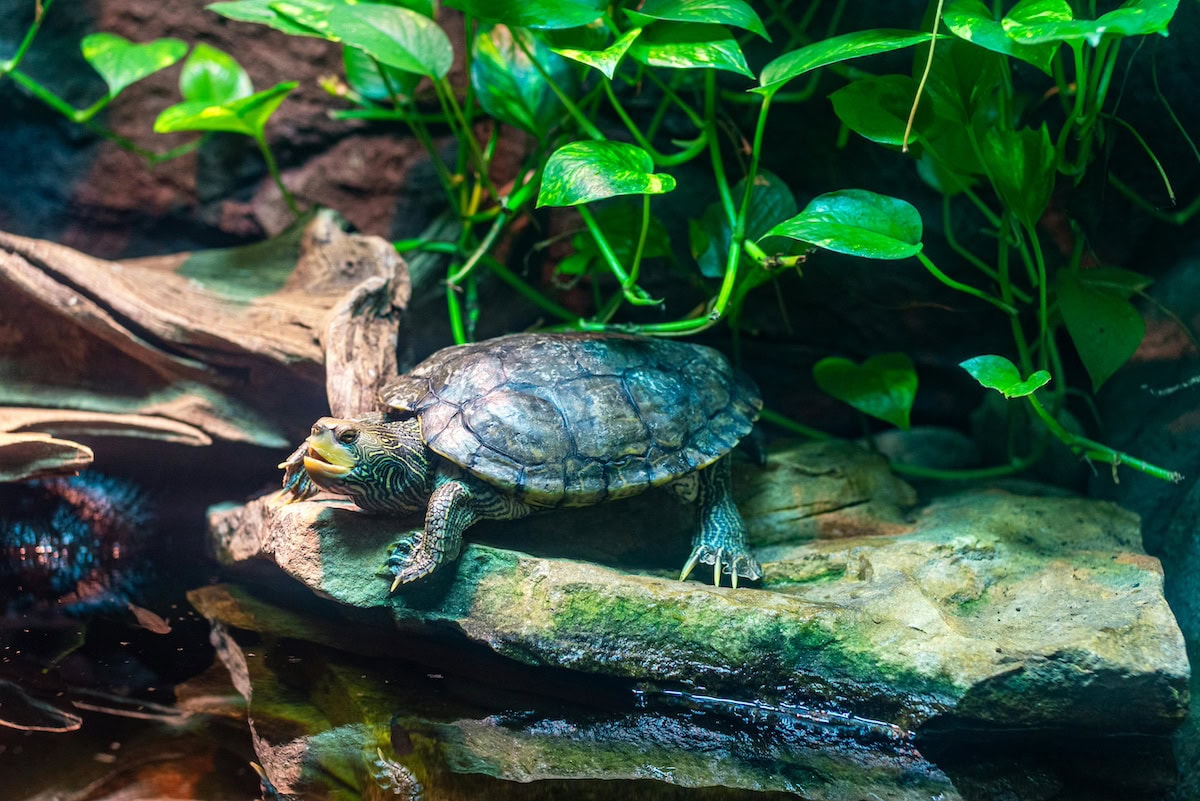
You made it — from plastic tubs to basking bulbs, you’ve now got everything you need to turn your turtle’s setup from “meh” to magnificent. The perfect turtle tank isn’t just about size or how clever your DIY project looks on Instagram — it’s about building a space that keeps your turtle healthy, active, and living its best semi-aquatic life.
Whether you’re housing a red-eared slider, a chill box turtle, or any other species of turtle, the goal is always the same: comfort, safety, and a setup that works with nature, not against it. So go ahead — experiment, tweak, redecorate, and obsess a little. Your turtle deserves more than a boring fish tank, and now? You’ve got the know-how to make that happen.
Frequently Asked Questions About Homemade Turtle Tank Ideas
1. What size tank do I need for my turtle?
The size of the tank you need depends on the species of turtle. A general rule is to have at least 10 gallons of water for every inch of your turtle’s shell length. A larger tank allows enough room for your turtle to swim and bask comfortably.
2. How can I create a basking area for my turtle?
You can create a basking area for your turtle using a turtle dock or by placing a flat rock in the tank. Ensure it is easy for turtles to climb onto and be positioned under a basking light to maintain the right temperature.
3. What are some good DIY turtle tank setup ideas?
Some DIY turtle tank setup ideas include using PVC pipes for hiding spots, adding plastic plants for decoration, and creating a land area with gravel or sand. Ensure the setup allows for both swimming and basking.
4. How do I maintain water quality in my turtle tank?
To maintain water quality, use a reliable water filter, perform regular water changes, and use filtered water. Monitor the water temperature and ensure it is suitable for your turtle species.
5. Can I keep semi-aquatic turtles in a fish tank?
Yes, you can keep semi-aquatic turtles in a fish tank, but you need to create a suitable habitat with both water for swimming and a dry area for basking. Ensure the tank is large enough for your turtle to enjoy both environments.
6. What lighting does my turtle need?
Your turtle needs a basking light to provide heat and UVB light for proper health. Ensure the basking area is warm enough, but not too hot to burn your turtle.
7. How often should I change the water in my turtle tank?
The frequency of water changes depends on the tank’s volume of water and the number of turtles. Generally, aim for a 25% water change weekly to keep the water clean.
8. What are some decoration ideas for a turtle aquarium?
Decoration ideas for a turtle aquarium include using natural rocks, plastic plants, and creating hiding spots with driftwood or PVC pipes. Make sure decorations don’t harm your turtle.
9. How can I ensure my turtle has enough room?
Ensure your turtle has enough room by providing a spacious tank setup. For young turtles, a tank should be large enough for swimming and basking, allowing them to grow without feeling cramped.
10. Can I use a plastic container for a turtle enclosure?
Yes, you can use a plastic container as a temporary turtle enclosure, but ensure it is safe and large enough for your turtle’s needs. Make sure it has a secure lid to prevent escapes.
You might also be interested in…
CONNECT WITH DAILY MOM
💖 NEWSLETTER: DAILY READS IN YOUR INBOX 💖
Sign up to receive our picks for the best things to do, see and buy so you can relax and focus on more important tasks! Let us help you be the best version of yourself you can be!
BE SOCIAL WITH US
📌 LOVE IT? PIN IT!📌