Spring has sprung and as you complete your Spring cleaning, it’s nice to add some decorative touches to your house as a reward for your hard work. Seasonal wreaths are a great way to spruce up the exterior and add some curb-appeal. Pre-made wreaths can be expensive, so why not make your own? Making your own can be much cheaper, you can customize your colors and design, and revel in the satisfaction of something you made yourself. Read on for a quick DIY Spring wreath tutorial.
For this wreath, we use fake florals from a local craft store, but you can get creative and use items appropriate for the season or holiday. Time: about 1 hour.
Supplies
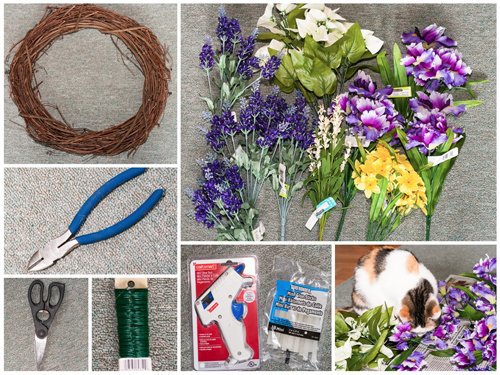
- Wreath
- Assortment of flowers in a coordinating color palette. Take into consideration the color of your front door (or wherever you plan to hang it) when choosing colors. If you want to create the look of “spokes” on the outside of the wreath, opt for some long slender flowers like the lilacs here. Choose flowers in a variety of sizes.
- Wire cutters or scissors
- Craft wire
- Hot glue gun
- Glue Sticks (for the glue gun). Plan on using about 10 mini glue sticks. Mini hot glue guns can be bought for as little as $2-5.
- Newspaper for hot gluing
- (Optional) Cat or toddler to mess up your neat piles of flowers
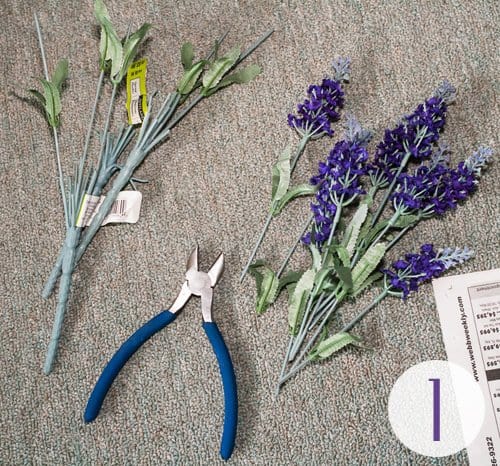
Step 1 – Prep the flowers
Use wire cutters (preferable) or scissors to cut the flowers. Leave stems long so they can be threaded through the wreath with plenty of stem sticking out the back.
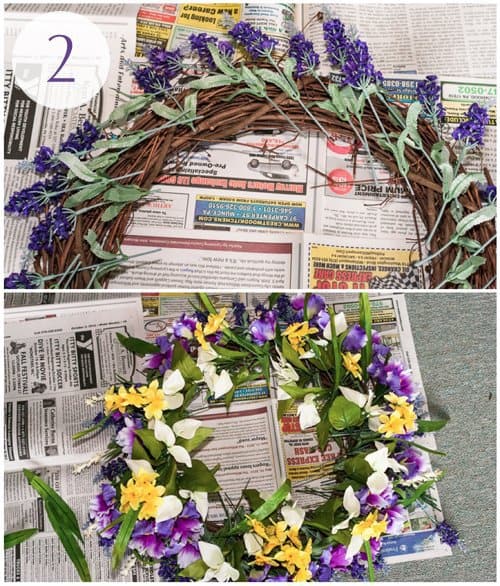
Step 2 – Plan your arrangement
Decide on how you want to arrange your flowers. Plan to layer your flowers. Long skinny varieties look good on the very outside going in the same direction and should be attached first. You may want to take off leaves on some of the flowers so they are not too crowded.
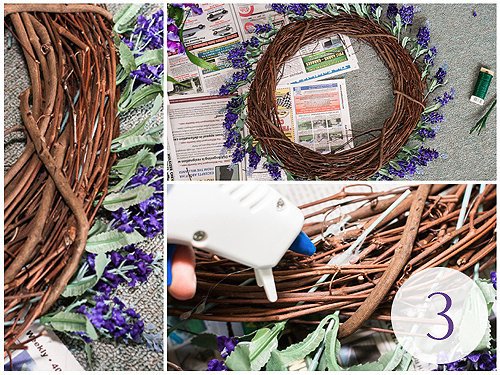
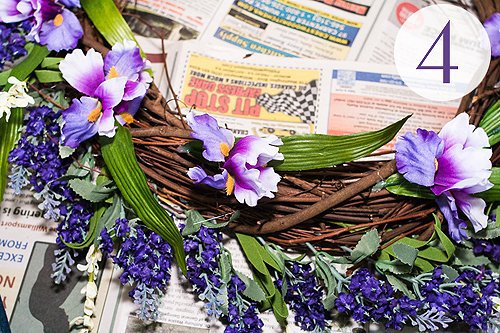
Step 3 – Attach and glue flowers
Attach first set of flowers by threading the stems through the branches so that they stick out on the back. Apply got glue to the back to attach stems to the branches. Apply glue generously! For heavier items you want to attach to your wreath, use craft wire.
Step 4 – Rinse, Lather, and Repeat
Do this for each set of flowers. Lay out your flowers first before attaching and gluing so that they are evenly spaced.
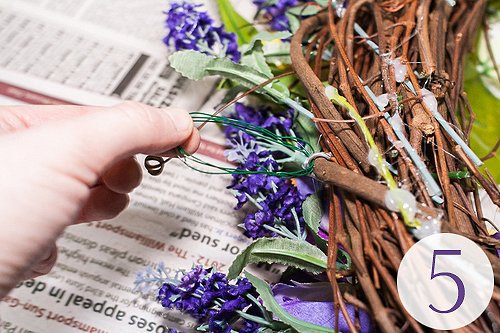
Step 5 – Create a hook
Use craft wire to create a loop for hanging. You can also use paperclips or twine or anything you have laying around.
Step 6 – Hang and enjoy!
 Photo credit: thewhimsicalphotographer.com
Step back and admire your work!


