



























Working with clay is one of the most rewarding hands-on activities for children. Whether it’s air-dry clay, polymer clay, or homemade dough, sculpting helps kids express creativity, build fine motor skills, and learn patience through art. This beginner-friendly guide to sculpting modeling clay will walk you through simple clay projects, tips for beginners, and creative ideas for family fun—no kiln or fancy sculpting tools required!
Why Sculpting Modeling Clay Is Perfect for Kids
Few creative outlets capture a child’s imagination quite like clay. Soft, pliable, and endlessly adaptable, clay invites children to explore shapes, textures, and ideas with their hands. Sculpting with modeling clay is more than just an afternoon craft—it’s a sensory experience that nurtures focus, confidence, and creativity.
Sculpting modeling clay gives children the freedom to make mistakes and start again. Because the medium is forgiving and easy to work with, it encourages experimentation and self-expression without fear of failure. Each sculpture—whether it’s a wobbly monster, a hand-shaped bowl, or a tiny animal—becomes a story told through touch and curiosity.
The Benefits Go Beyond Art
Sculpting Modeling Clay helps children:
- Strengthen fine motor skills through rolling, pinching, and kneading.
- Develop spatial awareness and hand–eye coordination while shaping and joining pieces.
- Boost focus and patience, as modeling clay requires attention to detail.
- Experience emotional grounding, since the tactile nature of clay has a calming, meditative quality.
Parents and teachers also love that sculpting modeling clay offers a screen-free, hands-on activity that balances learning with play. Whether using soft air-dry clay for quick crafts or colorful polymer clay for detailed figures, every clay project teaches children to turn imagination into something tangible—something they can proudly hold and display.
What Type of Clay Should You Use for Children’s Clay Projects?
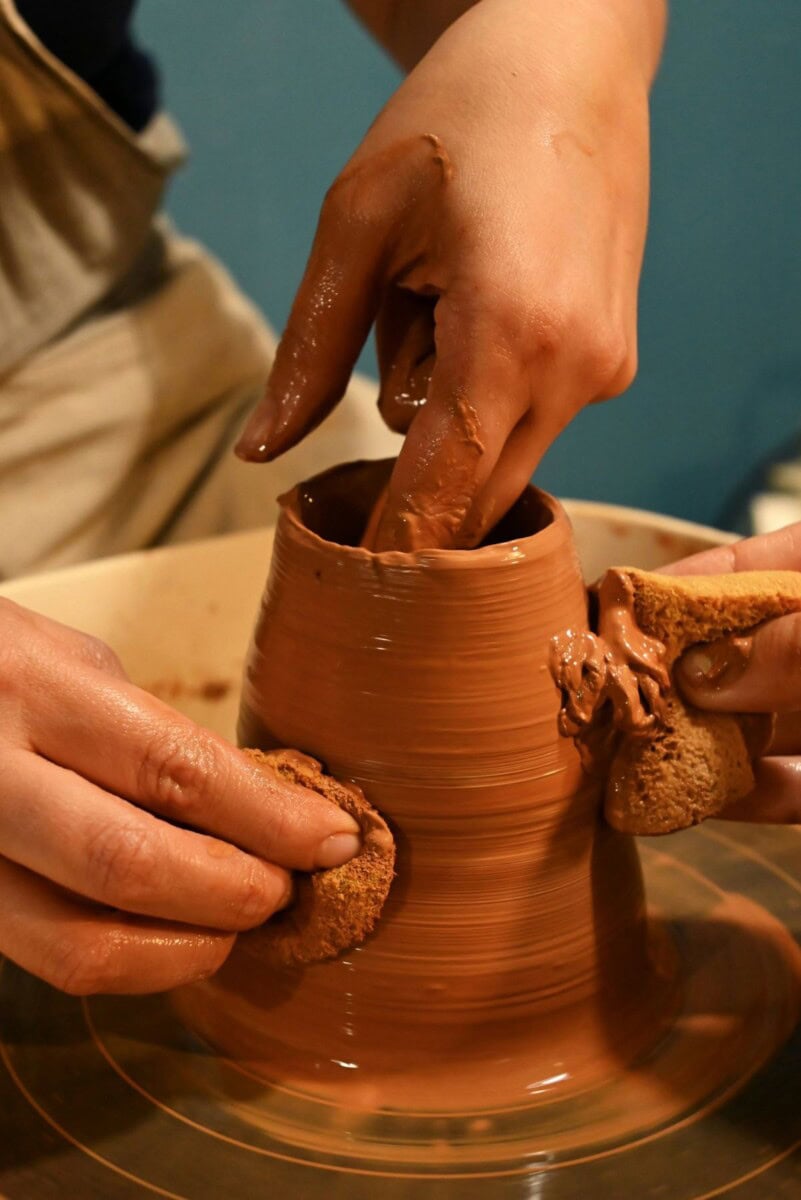
Choosing the correct type of clay makes all the difference when sculpting modeling clay with kids. Each type of modeling clay has its own texture, drying method, and level of flexibility—so the best option depends on the child’s age and the kind of project planned. Luckily, there’s a perfect clay for every creative moment, from soft homemade dough to colorful polymer clay figurines.
Different Types of Clay for Kids
Here’s a quick guide to the most common varieties used in children’s clay modeling and sculpture projects:
- Air-dry clay: A favorite for schools and homes because it hardens naturally without a kiln. It’s soft, easy to work with, and ideal for simple art projects like ornaments or small bowls. Once it’s completely dry, it can be painted with acrylic paint for a finished touch.
- Polymer clay: Best for older kids and detailed designs. Polymer clay (like Sculpey or Super Sculpey) stays soft until baked in a home oven, making it great for miniatures or figurines. It’s slightly firmer, so it holds fine details beautifully.
- Water-based clay: Traditional ceramic clay that can be fired in a kiln for lasting results. It’s not always ideal for very young children, but it’s excellent for classroom art lessons with supervision.
- Oil-based clay: This self-hardening option never fully dries out, so it’s reusable—perfect for practicing shapes or for little model makers learning to start sculpting.
Choosing the Right Clay for Your Little Sculptor
For most children’s crafts, air-dry clay or a homemade dough is best. They’re soft and pliable, easy to mold, and safe for all ages. Polymer clay is perfect for kids ready to take on more advanced clay projects or detailed sculptures.
The key is to match the clay type to the project. A soft, workable dough suits preschool art sessions, while a firmer clay encourages older children to explore structure and texture. No matter which material you choose, clay sculpting is about process over perfection—an invitation for kids to create, explore, and have fun with their hands.
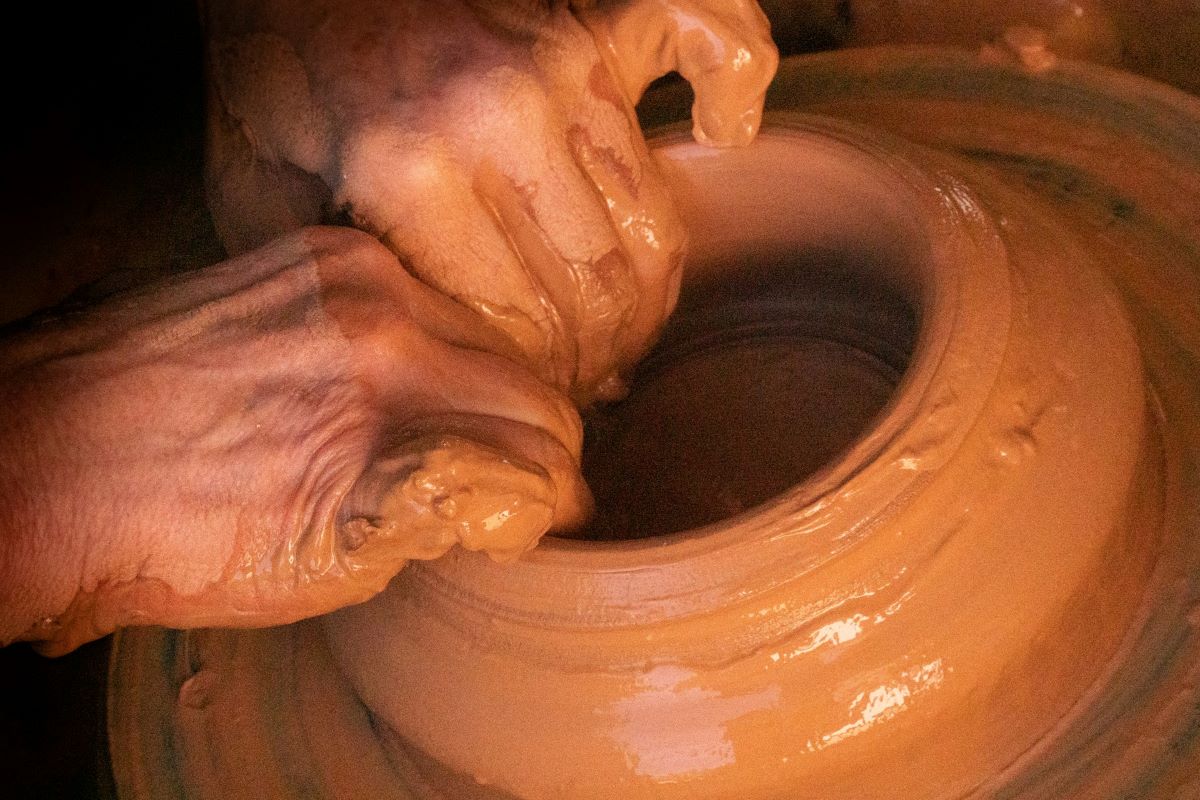
How to Start Sculpting Clay: Tips for Beginners and Little Artists
Before the first masterpiece takes shape, it helps to set the scene for a successful clay modeling session. Whether using air-dry clay, polymer clay, or a homemade dough, a few simple preparations make the experience smoother and far more enjoyable—especially for young, enthusiastic sculptors.
Setting Up the Clay Workspace
A clean, organized workspace gives children the freedom to focus on creating rather than worrying about messes.
Here’s what helps:
- Cover the table with parchment paper, wax paper, or a silicone mat.
- Keep a small bowl of water nearby to soften air-dry clay if it starts to harden.
- Have paper towels ready for quick clean-ups.
- Store unused clay in airtight containers to prevent it from drying out.
Good lighting also makes a big difference—kids love seeing the details of their clay sculptures come to life as they work.
Tools That Make Sculpting Easier
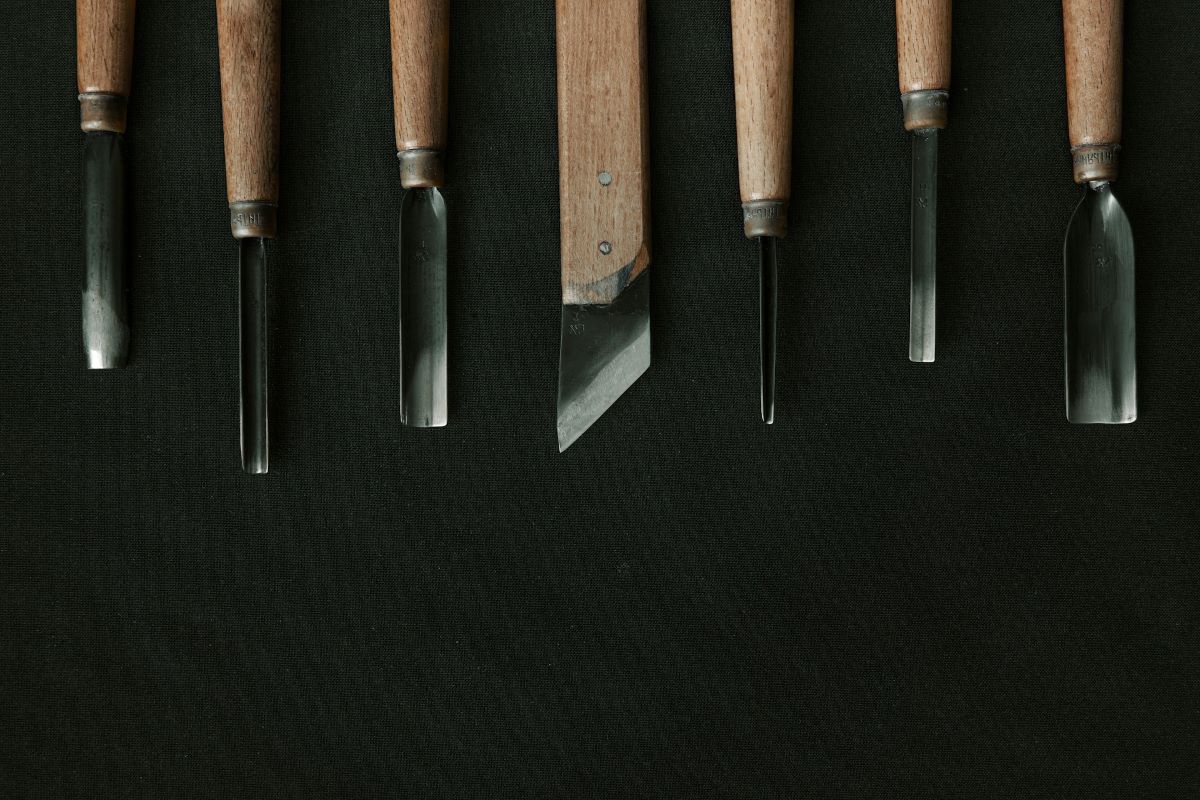
While fingers are often the best sculpting tools for beginners, introducing a few simple items can inspire creativity and precision. A basic tool set might include:
- Wooden or plastic modeling sticks for shaping and smoothing.
- Toothpicks for fine details like textures or patterns on the surface of the clay.
- Rolling pins or bottle rollers for flattening dough evenly.
- Cookie cutters for quick, easy clay shapes.
For younger children, even household objects—like bottle caps, buttons, or spoons—can become exciting sculpting tools for imprinting texture.
Teaching Basic Clay Techniques
Kids learn best by doing, and working with clay encourages hands-on exploration. Show them how to:
- Knead the clay until it’s soft and pliable.
- Roll it into coils or balls to understand form and dimension.
- Gently press or mold pieces together to make simple sculptures like animals or ornaments.
Remind beginners that clay doesn’t need to look perfect—it’s about enjoying the process. These early experiences with sculpting modeling clay spark imagination and help children build the confidence to make their own art from start to finish.
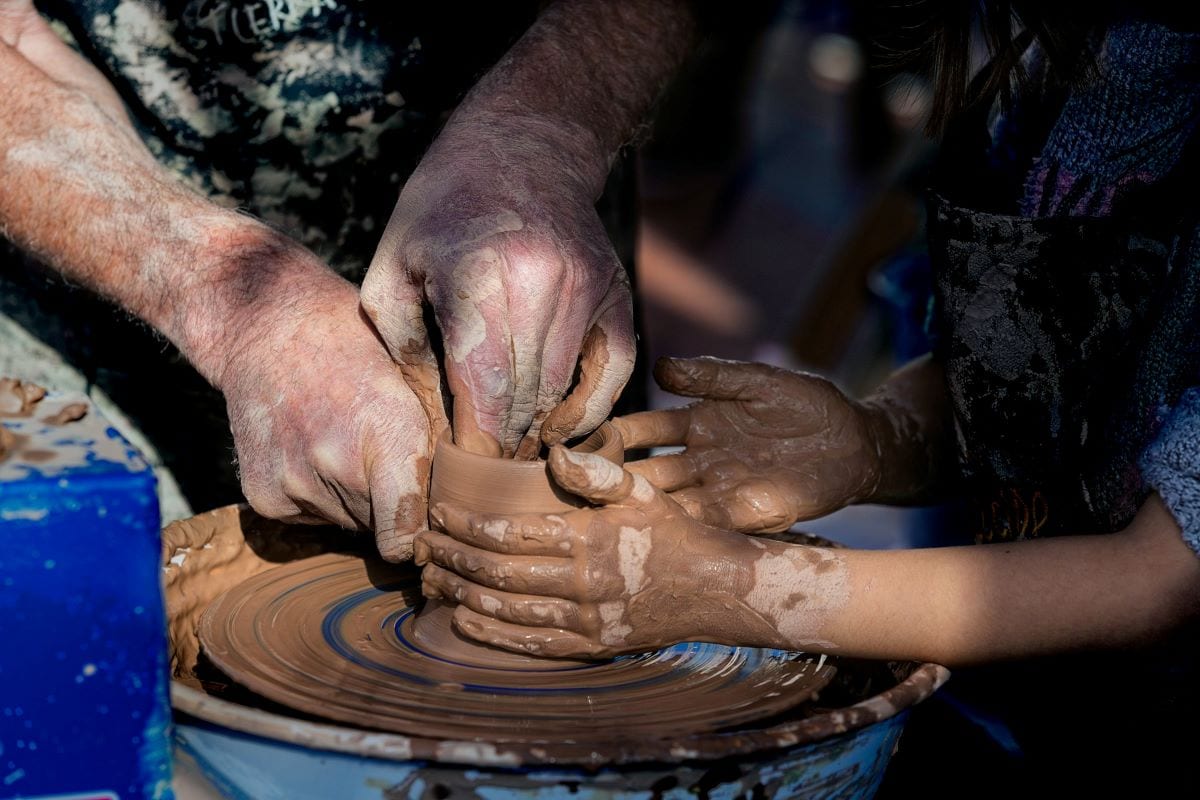
Easy Clay Sculpting Crafts Kids Can Make at Home
One of the best parts about clay modeling is how simple it can be. With just a few supplies, children can create endless shapes and characters from their imagination. Whether using air-dry clay, polymer clay, or a homemade dough, every project can be scaled to suit their age and ability.
Simple Clay Ideas for Beginners
For children just starting to sculpt, the key is to keep projects short, playful, and manageable. Try these easy options to help build confidence and excitement:
- Clay animals: Roll and pinch soft and pliable clay into favorite creatures. Add texture using tools or a fork for fur, scales, or feathers.
- Ornaments and charms: Use cookie cutters or bottle caps to make clay stars, hearts, or initials. Once they’re completely dry, paint them with acrylic paint for color and shine.
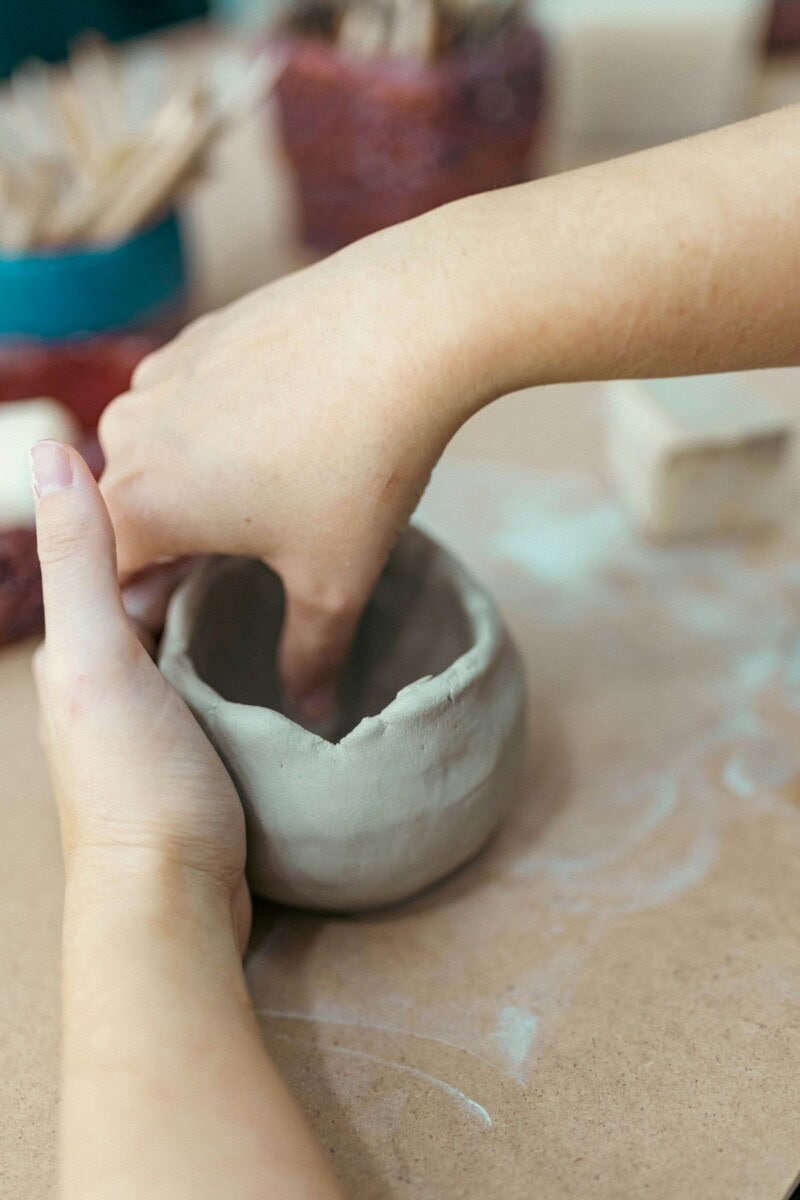
- Mini bowls or trays: Shape small dishes using the pinch-pot method—a great way to teach form and patience. Perfect for holding beads, trinkets, or tiny treasures.
- Clay figurines: Create little people, flowers, or monster clay characters. Encourage children to give each one a name or backstory to spark storytelling skills.
These clay projects not only produce fun results but also build the tactile awareness and fine motor control that every young sculptor needs.
READ MORE: Want more Christmas Arts and Crafts to Create Holiday Cheer?
Turning Projects into Keepsakes
Once each clay sculpture has hardened—whether through air-dry methods or baking polymer clay—the fun continues. Kids can:
- Decorate their artwork with paints, markers, or glitter.
- Add magnets or keychain loops for a practical twist.
- Display their finished artwork proudly at home or gift it to loved ones.
The goal isn’t perfection—it’s participation. Even a lopsided bowl or squishy animal becomes a story, a shared laugh, or a memory that lasts long after the clay has hardened. Encouraging children to explore and make clay creations freely builds confidence in both art and imagination.
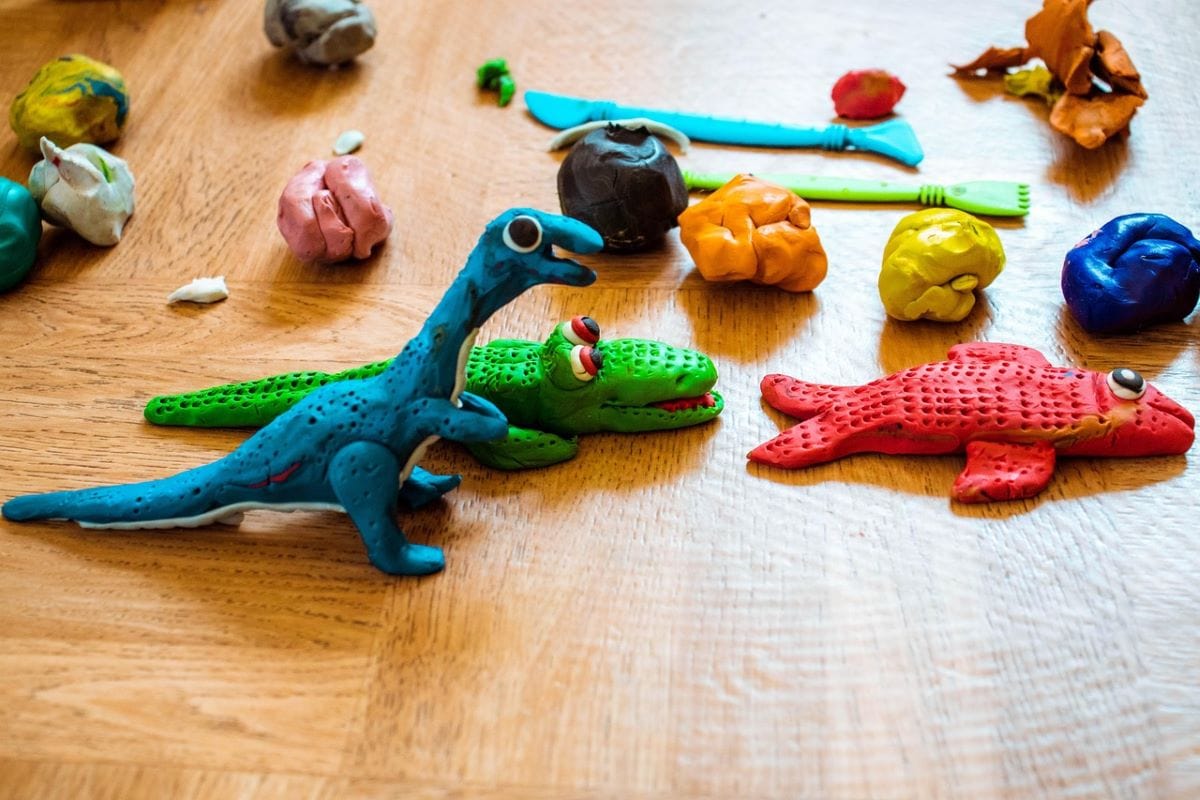
Sculpting with Polymer Clay: Sculpey all the Way!
When it comes to detail and vibrant color, polymer clay is a favorite among both kids and adults. Unlike traditional clays, it stays soft until baked, making it a versatile sculpting medium that encourages intricate designs and creative freedom. For children ready to explore beyond simple shapes, sculpting with polymer clay offers endless opportunities to create jewelry, charms, and mini-sculptures that feel like real art.
Why Polymer Clay Is Great for Kids
Polymer clay (brands like Sculpey or Super Sculpey) is easy to handle, doesn’t dry out, and comes in a rainbow of colors. It’s ideal for kids who enjoy detail work and want to see fast results. Some of its key benefits include:
- Soft and pliable texture that’s easy to shape, roll, and cut.
- Ability to hold fine details, perfect for expressive figurines or miniature food crafts.
- A self-hardening finish once baked in a home oven—no kiln required.
Because it’s firmer than air-dry clay, it’s better suited for older children who can focus on smaller pieces or who enjoy creating modeling clay characters inspired by their favorite shows or stories.
Fun Polymer Clay Project Ideas
Parents and teachers can introduce polymer clay through small, easy projects that still look impressive once finished. Try these ideas:
- Beads and charms: Roll colorful balls or shape tiny animals to create necklaces or keychains.
- Mini figurines: Craft detailed characters using simple armatures made from foil or wire for support.
- Tiny ornaments: Layer different types of clay colors to create marbled effects or striped patterns.
Baking Polymer Clay Safely
A quick bake brings polymer clay creations to life. Follow package instructions carefully—typically 15 to 30 minutes at a low temperature. Always use a baking sheet covered with parchment paper and supervise children during the process. Once cooled, kids can paint, glaze, or even glue on embellishments to finish their colorful masterpieces.
With a bit of practice, even beginners can create beautiful clay sculptures that rival those of professional sculptors. The best part? Every session feels like play, but the results are keepsakes that last for years.

Exploring Air Dry Clay: No Kiln, No Problem!
For parents, teachers, and young sculptors, air-dry clay is a dream material. It’s soft, easy to work with, and doesn’t require baking or a kiln to harden. Once shaped, it simply dries in the air, making it one of the most beginner-friendly clays available for children. Whether making ornaments, bowls, or whimsical creatures, air-dry clay keeps the focus on fun rather than fuss.
How Air Dry Clay Works
Unlike polymer clay, which needs to be baked to harden, air-dry clay cures naturally. As the clay surface is exposed to air, moisture evaporates, and the sculpture gradually solidifies. Most pieces are completely dry within 24 to 48 hours, depending on thickness and humidity.
A few helpful tips:
- Work on wax paper or a nonstick surface.
- Keep unused clay wrapped tightly to prevent premature drying.
- Let finished projects dry on a flat surface to avoid warping.
This self-hardening clay is ideal for classrooms and home studios because it’s non-toxic, lightweight, and easy to mold into detailed forms.
Avoiding Cracks and Common Issues
As simple as it can be, it does require a little care. Cracks often appear when clay dries too quickly or when pieces are joined without being blended. To prevent this:
- Lightly knead the clay before sculpting to make it soft and pliable.
- Score and smooth areas where pieces connect.
- If cracks appear, fill them with a bit of damp clay before they fully dry.
Patience goes a long way—especially for kids eager to paint right away. Remind them that clay projects look their best when given enough time to cure.
Painting and Decorating Air-Dry Clay
Once hardened, air-dry clay is a blank canvas for color. Acrylic paint works beautifully on its matte surface, and a light sealant can preserve the finish. Children can decorate their artwork with vibrant hues, metallic touches, or natural tones inspired by stones and shells.
Because air-dry clay doesn’t need heat, it’s one of the safest and most accessible modeling materials for young artists. It encourages patience, creativity, and pride in the finished result—all essential traits for any aspiring sculptor.
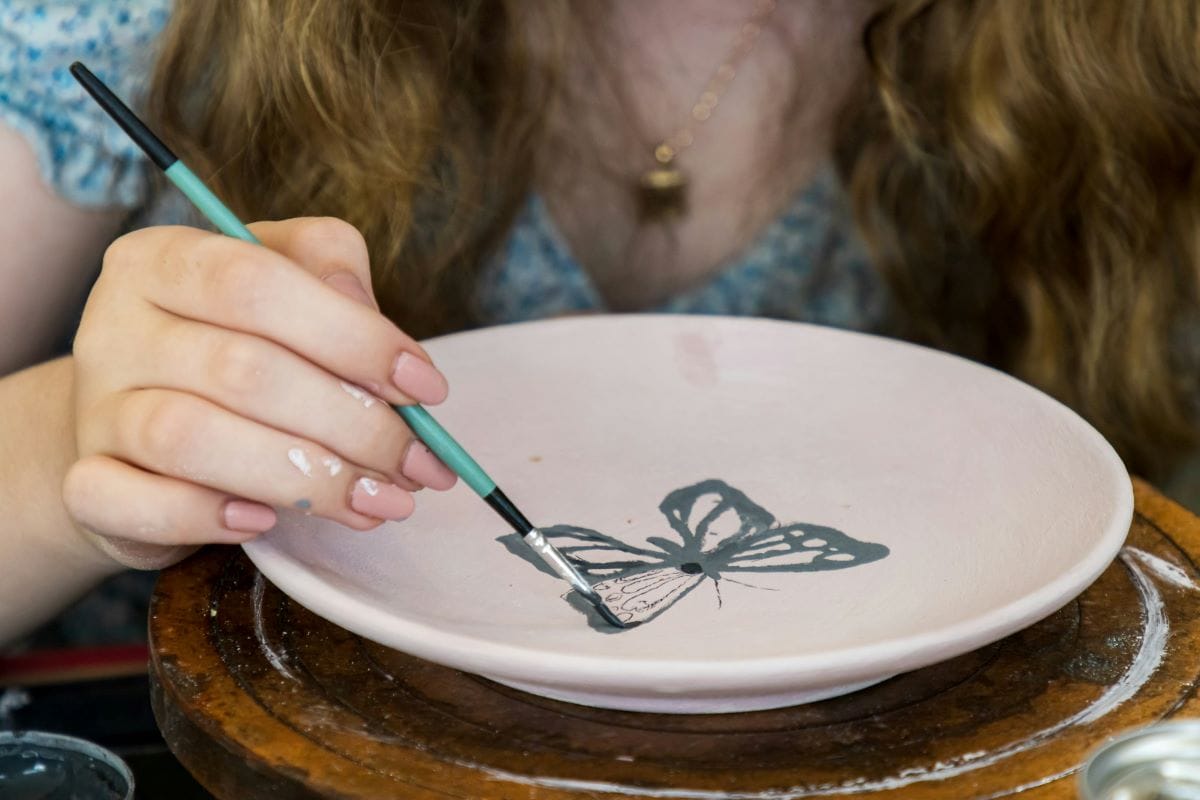
Simple Homemade Clay Recipe for the DIY Sculptor: Make Clay for Sculpting with Stuff from Your House.
Nothing sparks creativity quite like making clay from scratch. A simple homemade clay recipe lets children get hands-on with both art and a little kitchen science. It’s soft, pliable, and safe for all ages, making it an ideal introduction to clay modeling. Plus, there’s a special satisfaction in sculpting with something that was literally created by hand.
Easy Homemade Clay Recipe
Here’s a tried-and-true dough recipe that works beautifully for air-dry projects:
Ingredients:
- 1 cup of flour
- ½ cup of salt
- ½ cup of water
- 1 tablespoon of vegetable oil
- Optional: food coloring for colorful creations
Instructions:
- Combine flour and salt in a bowl.
- Gradually add water and oil, kneading until the mixture is soft and workable.
- Add food coloring, if desired, and knead until evenly distributed.
- Store unused clay in an airtight container to keep it soft and pliable.
This homemade clay behaves much like air-dry clay, and once shaped, it can dry naturally or be lightly baked to firm up small pieces.
Creative Ways to Use Homemade Clay
With this simple recipe, children can dive straight into hands-on sculpting modeling clay projects:
- Animals and figurines: Roll, pinch, and mold simple shapes like turtles, cats, or little people.
- Imprint art: Use leaves, stamps, or textured objects to create patterns on the surface of the clay.
- Ornaments and charms: Press letters, shapes, or initials into the dough for keepsakes.
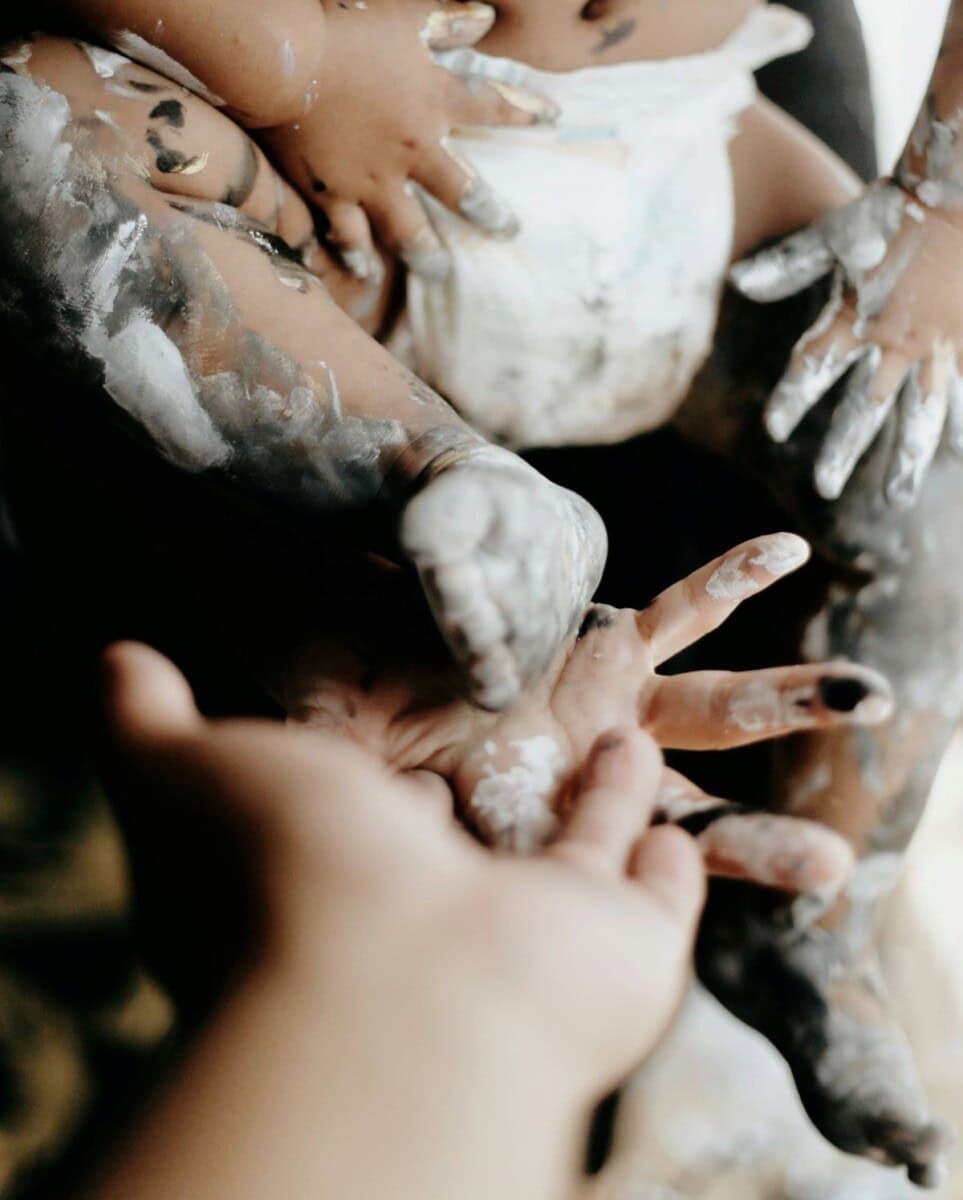
Homemade clay also offers a subtle educational element, teaching kids about measurement, mixing, and material properties. Beyond crafting, it’s a gentle way to engage preschool and elementary-age children in sensory play, helping them build fine motor skills while making clay creations that they can proudly display.
Teaching Fine Details: Helping Kids Add Texture and Expression
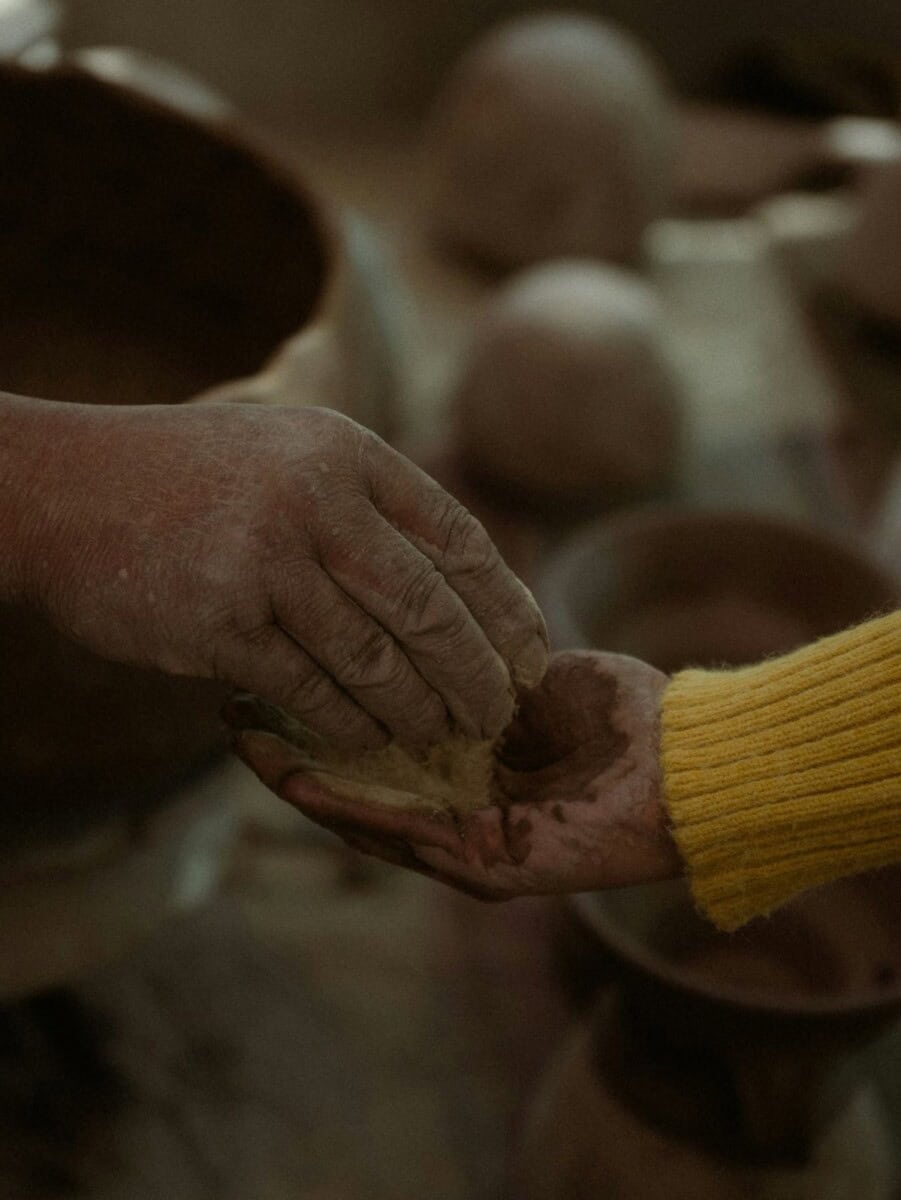
Once children are comfortable sculpting clay, introducing fine details can take their creations to the next level. Paying attention to small textures, expressions, and patterns helps young sculptors see their work as more than just shapes—it becomes a miniature world of imagination.
Tools and Techniques for Texture
Even simple household items can act as clay tools to create texture:
- Toothpicks or cocktail sticks for tiny details on faces, fur, or scales.
- Forks or mesh for patterns and lines.
- Rolling pins, pens, or textured stamps to add surface interest.
For children using air-dry clay or polymer clay, encourage experimentation. Pressing, pinching, or lightly scoring the clay’s surface can bring animals, figurines, or tiny landscapes to life. This hands-on exploration develops dexterity while making each sculpture feel unique.
Encouraging Expression Through Clay
Fine details aren’t just about accuracy—they’re about creativity. Children can:
- Sculpt expressive faces on their clay figurines.
- Add realistic patterns to leaves, scales, or clothing.
- Create storytelling elements, like a tiny clay dragon with textured wings.
Even minor imperfections become part of the story, helping kids embrace experimentation and learn that mistakes can enhance their clay sculpture. With patience and guidance, children learn to start sculpting intricate designs while maintaining a sense of play.
Building Confidence with Detail Work
Introducing fine details gradually gives children confidence. Start with simple textures or lines, then encourage them to try more intricate sculpting clay techniques as they gain skill. The satisfaction of seeing a character’s expression or a pattern come to life on the clay surface inspires pride and a desire to explore further, turning every project into a lesson in patience, creativity, and tactile learning.
Painting and Finishing Clay Sculptures
After hours of clay sculpting, the finishing touches bring creations fully to life. Whether children used air-dry clay, polymer clay, or homemade dough, painting and decorating their work adds color, personality, and a sense of accomplishment.
Choosing the Right Paints and Finishes
For most children’s clay projects, acrylic paint is ideal:
- Vibrant, safe, and quick-drying.
- Works beautifully on air-dry clay and baked polymer clay.
- Can be layered for shading, highlights, or creative effects.
Other options include markers, colored pencils, or even non-toxic watercolors for lighter textures. Once painted, a thin layer of sealant can protect the clay sculpture, keeping it safe from dust, handling, or minor bumps.
Tips for Painting Success
- Paint small areas first, then work outward to avoid smudging.
- Let each layer dry completely before adding details.
- Use fine brushes for intricate details like eyes, patterns, or textures.
- Encourage kids to experiment with blending colors, patterns, or even marbled clay effects.
Displaying Finished Creations
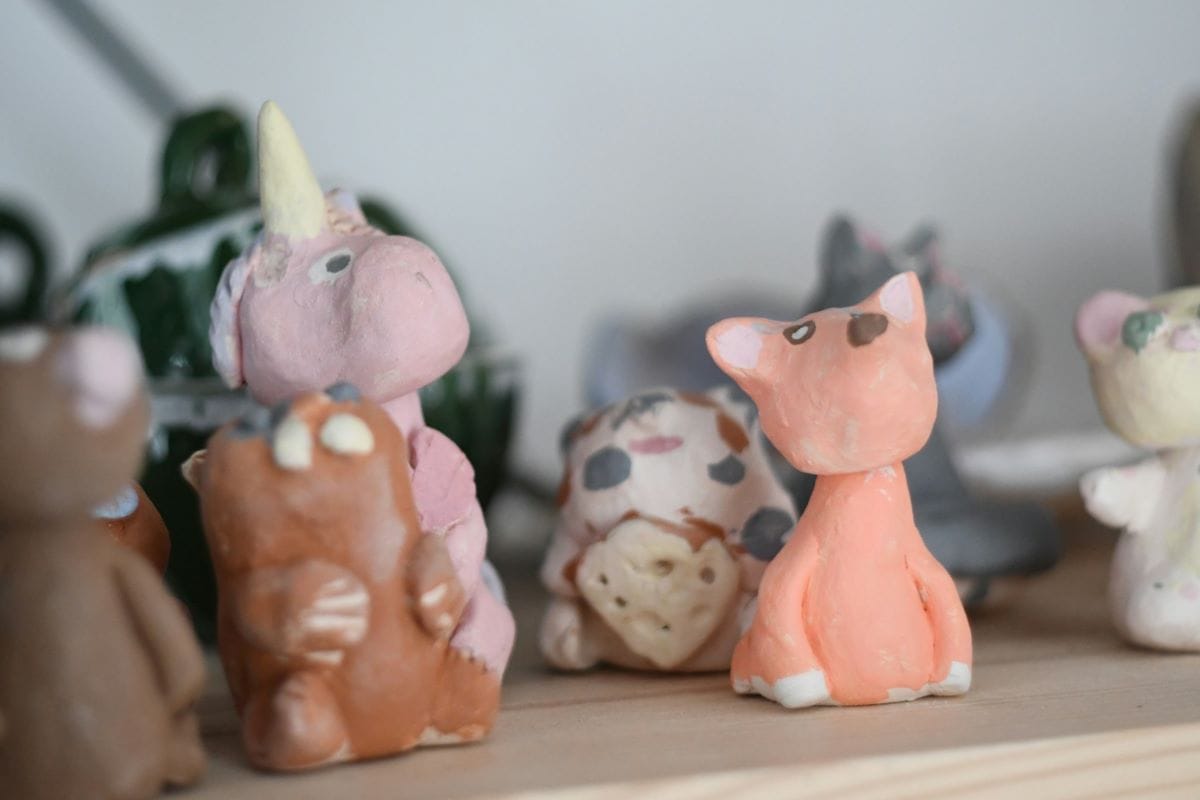
Once painted and sealed, these little clay figurines or ornaments become lasting treasures:
- Display on shelves, desks, or shadow boxes.
- Use magnets or attach loops for hanging decorations.
- Turn creations into gifts, storytelling props, or keepsakes.
Painting is more than decoration—it’s the final opportunity for kids to express their artistic vision, refine their work, and see their imagination realized in clay modeling. The process encourages pride in clay sculpture, nurtures creativity, and reinforces the idea that clay projects are meant to be both fun and rewarding.

Fun Classroom or Group Clay Activities
Clay modeling isn’t just for solo play—group projects offer exciting opportunities for collaboration, creativity, and learning. Whether in a classroom, an art club, or at home with friends, clay sculpting encourages teamwork while allowing each child to express their imagination.
Easy Group Clay Projects
Some simple clay projects translate beautifully into group activities:
- Collaborative murals: Children work together to sculpt pieces that form a larger scene or clay sculpture, like a garden, cityscape, or fantasy landscape.
- Clay storytelling: Assign each child a character or object, then combine all the clay figurines to create a story.
- Themed challenges: Give a prompt—like “make a monster” or “create a magical creature”—and let everyone share their creations at the end.
These activities teach children to communicate, compromise, and celebrate each other’s artwork while exploring different types of clay, such as air-dry clay or polymer clay.
Tips for Managing Group Sculpting
- Prepare individual portions of clay for each child to minimize disputes.
- Keep simple sculpting tools handy, or let children improvise with household objects.
- Encourage creativity, not perfection—each piece is a unique part of the project.
- Rotate responsibilities for collaborative projects, such as sculpting, painting, or assembling.
Benefits Beyond the Craft
Group clay activities help children:
- Build social skills through sharing ideas and materials.
- Learn patience and cooperation when creating joint projects.
- Gain confidence in presenting their clay sculptures to peers.
Whether in a preschool classroom, an art club, or at home, group clay modeling transforms ordinary clay projects into dynamic learning experiences. Every activity encourages teamwork, sparks imagination, and demonstrates that creativity is even more fun when shared.
Wrapping It Up: Building Confidence with Clay Art
Every young sculptor encounters challenges when working with clay, but most mistakes are easy to fix with a little guidance. Recognizing common pitfalls early helps children stay confident and enjoy the clay sculpting process.
Cracks, Breaks, and Drying Issues
Air-dried clay and homemade dough can crack if handled too roughly or dried too quickly. Some common causes and fixes include:
- Cracks on thick pieces: Slice the clay thinner or hollow out large sections to allow air-dry clay to cure evenly.
- Joined pieces falling apart: Score and blend surfaces, pressing gently to secure connections.
- Drying too fast: Cover projects loosely with a damp cloth for gradual drying, then allow them to harden completely.
Handling Sticky or Hard Clay
Beginners often struggle with clay that is too sticky or too dry:
- Sticky clay: Knead in a small amount of flour or cornstarch for homemade dough, or let polymer clay warm slightly in hands for easier shaping.
- Dry or crumbly clay: Lightly mist air-dry clay with water or knead to restore pliability.
Patience and Persistence
Sometimes, mistakes aren’t about the clay itself but the approach:
- Children may rush through sculpting clay projects and skip steps like kneading or blending.
- Encourage them to take their time, experiment, and even start over if necessary.
- Remind beginners that every clay sculpture—even imperfect ones—is a learning opportunity.
By addressing these common mistakes early, children build resilience and confidence. Each challenge becomes an opportunity to practice problem-solving, refine techniques, and enjoy the whole experience of clay modeling. Even professional sculptors know that experimentation and trial-and-error are essential to creating something truly unique.
Clay Modeling and Molding: A Review
- Choose the right clay: Use air-dry clay or homemade dough for younger children, and polymer clay for more detailed projects.
- Set up a kid-friendly workspace: Cover surfaces, keep water and paper towels handy, and store unused clay properly.
- Use simple tools: Fingers work best, but toothpicks, rolling pins, or a small tool set can help with fine details.
- Teach basic techniques: Show children how to knead, roll, pinch, and mold clay to create shapes and textures.
- Start with easy projects: Animals, figurines, ornaments, and small bowls are perfect for beginners.
- Encourage fine details gradually: Texture, patterns, and expressions make sculptures more engaging and teach patience.
- Paint and finish carefully: Use acrylic paint, allow layers to dry, and consider a protective sealant for longevity.
- Group activities are fun: Collaborative murals, storytelling projects, and themed challenges boost creativity and social skills.
- Watch for common mistakes: Cracks, dry clay, or joined pieces falling apart can be fixed with simple techniques.
- Celebrate every creation: Displaying artwork builds confidence, fosters pride, and encourages kids to keep sculpting clay regularly.
You might also be interested in…
Need more craft ideas? Here are some Simple 5-minute Crafts That Will Delight Parents and Kids.
CONNECT WITH DAILY MOM
💖 NEWSLETTER: DAILY READS IN YOUR INBOX 💖
Sign up to receive our picks for the best things to do, see and buy so you can relax and focus on more important tasks! Let us help you be the best version of yourself you can be!
BE SOCIAL WITH US
📌 LOVE IT? PIN IT!📌