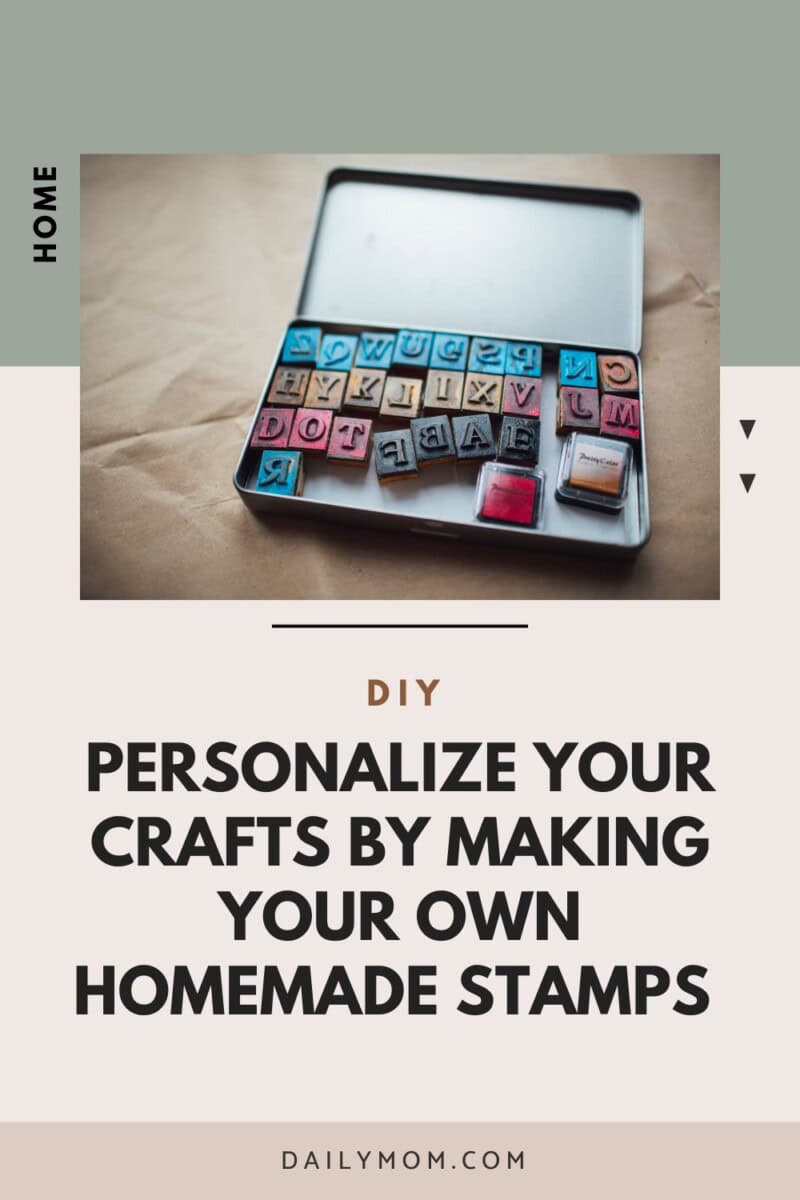
































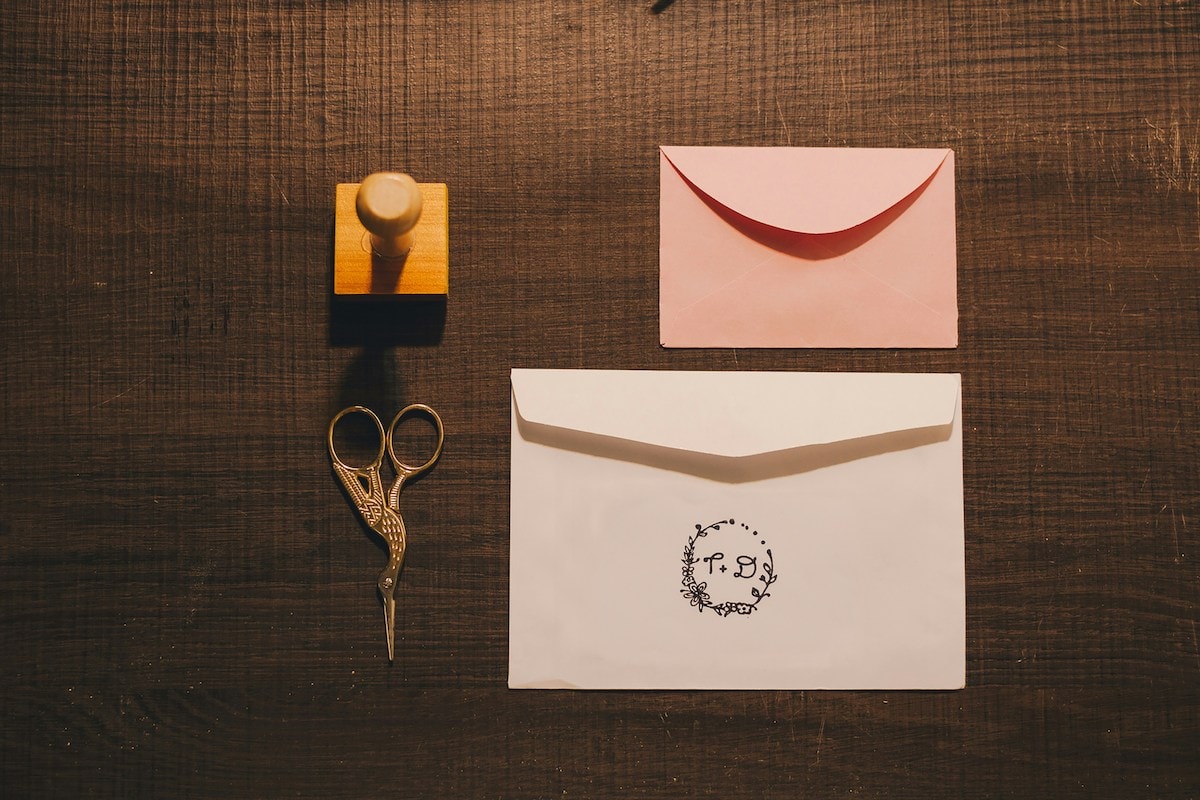
Creating a diy stamp is one of those timeless craft projects that blends creativity with practicality. Whether you enjoy paper crafts, journaling, or decorating stationery, learning how to make your own stamps can open up a whole new world of handmade art. From simple beginner projects to more detailed designs, stamp carving is a relaxing activity that many people love making part of their creative routine.
If you’ve ever wanted to learn how to make custom stamps for cards, labels, or art projects, this guide will walk you through the basics. With just a few tools and a little patience, you can start making your own diy stamping tools that are completely unique.
Why Homemade Stamps Are a Fun Craft Idea
One reason people enjoy this hobby is that stamps are super fun to make, as well as incredibly versatile. You can use them for scrapbooking, gift tags, greeting cards, and even custom wrapping paper. Handmade stamps also add personality to creative projects because each design is truly one of a kind.
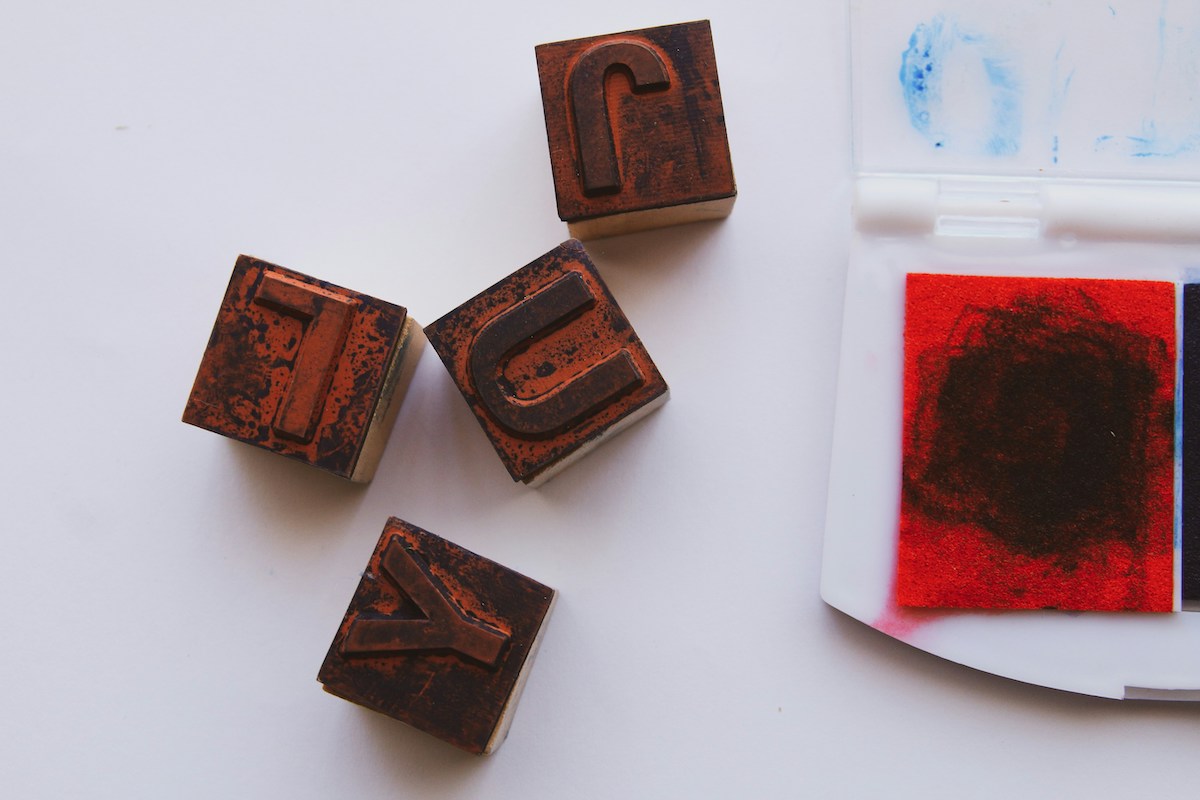
Another benefit is that stamp carving can be cheap and easy to start. Many beginners begin with simple materials like a simple rubber eraser, which is easy to carve and forgiving for first attempts.
Many crafters find the entire process well worth it, especially once they see their first successful stamped image appear on paper.
Supplies You Will Need to Make Stamps at Home
Before you start carving your DIY stamps, you will need to gather a few basic tools and materials. Some are designed specifically for rubber carving, while others may already be in your craft drawer, such as:
- A rubber block or carving material such as linoleum
- Carving tools like a v-shaped gouge or craft cutter
- A knife to cut rough shapes
- A graphite pencil for sketching designs
- A wooden block if you want to mount your stamp later
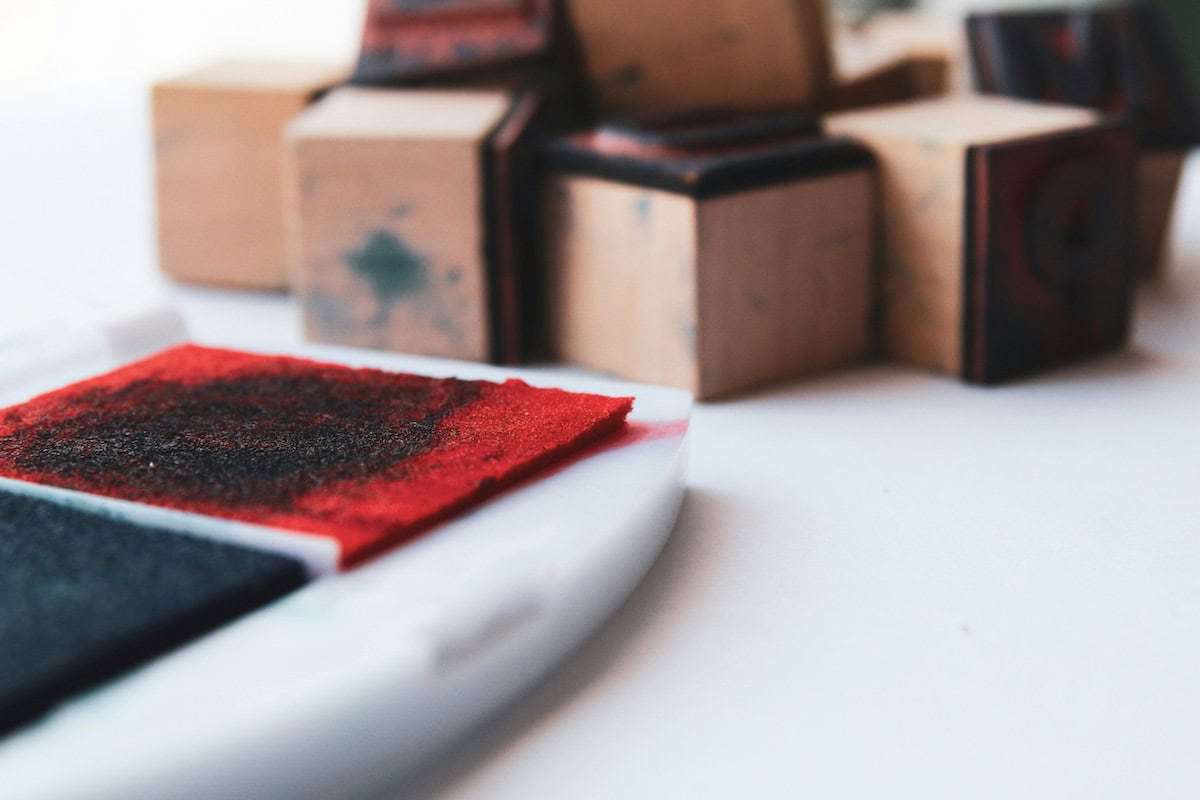
- Ink pads or a traditional stamp pad
- Paper such as card stock
Many beginners enjoy working with carving materials from brands like Speedball, which produce tools designed specifically for stamp carving.
How to Transfer Your Design Before Carving
The first step when creating a homemade stamp is preparing your design. This stage helps ensure the finished stamp prints clearly.
You can print your image or sketch something by hand. Once you have your design ready, lightly trace over your design using a graphite pencil so the lines transfer easily.
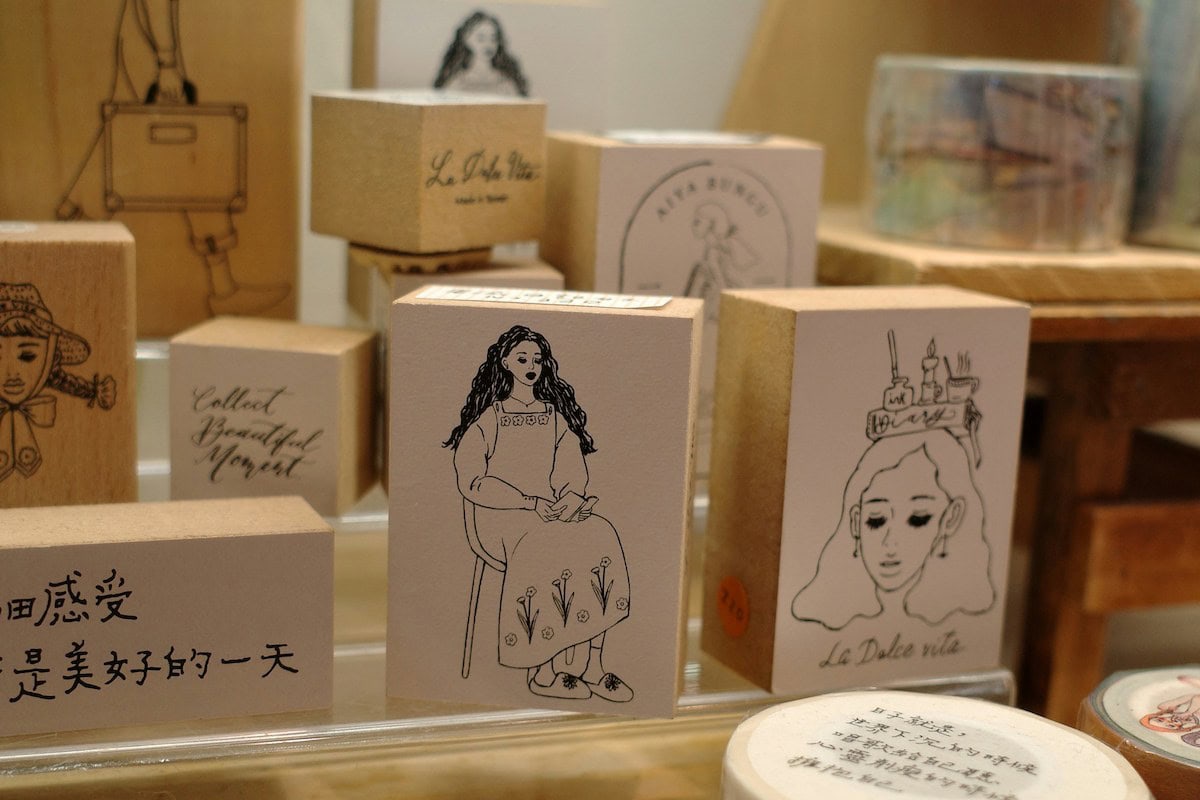
Another method is to place your design on sticker paper, which can then be applied directly to the carving surface. This makes it easier to follow the lines around your image while carving.
Many crafters enjoy designs inspired by vintage stamps or classic postage stamp illustrations because the details translate beautifully into stamped artwork.
Easy Steps for DIY Rubber Stamps
Once your design is ready, it’s time to carve your stamp. This is where the real creativity begins.
Basic carving process
Follow these simple steps:
- Carefully cut away the outer material so the design stands out
- Work slowly as you need to carve the negative space
- Use a v-shaped tool for detail lines
- Continue carving around the stamp until the design is raised
These types of hand-carved stamps often resemble miniature relief prints similar to a woodcut technique.
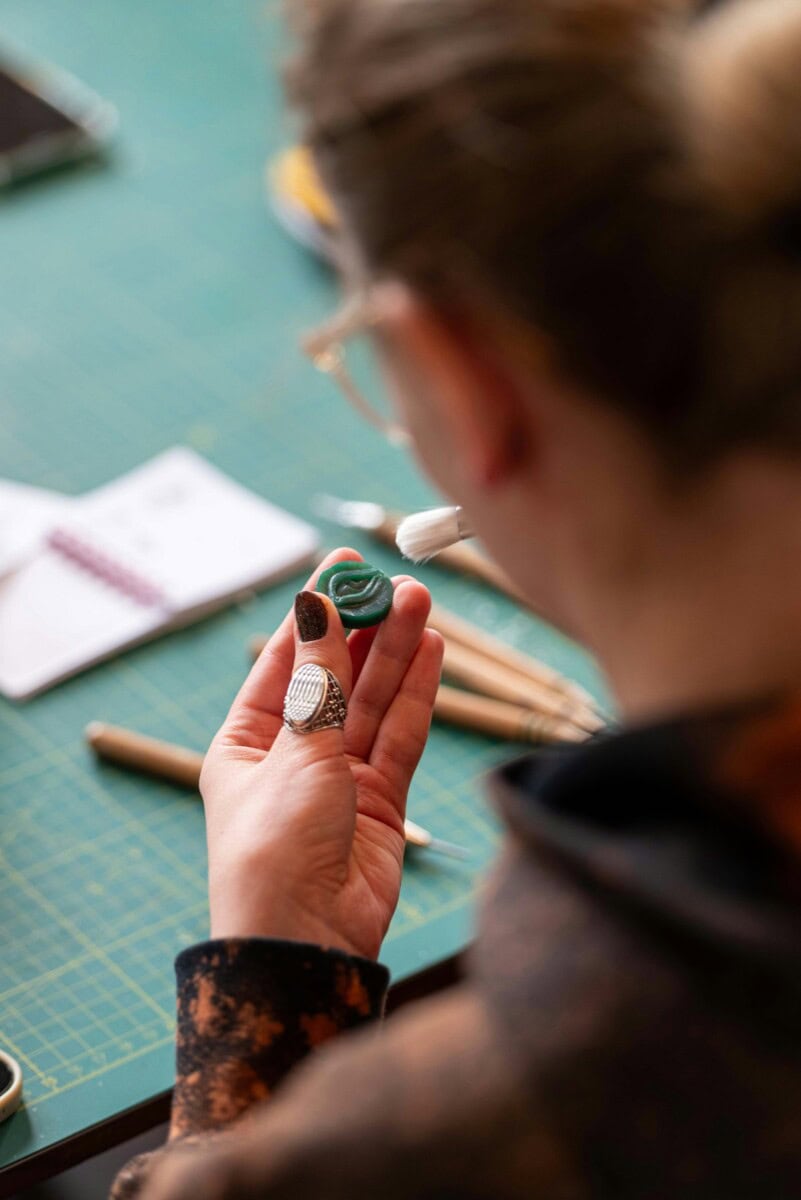
As you carve, you may notice extra material or rubber around the edges. Removing excess rubber around the design will help produce a clearer print.
How to Test and Use Your Handmade DIY Stamp
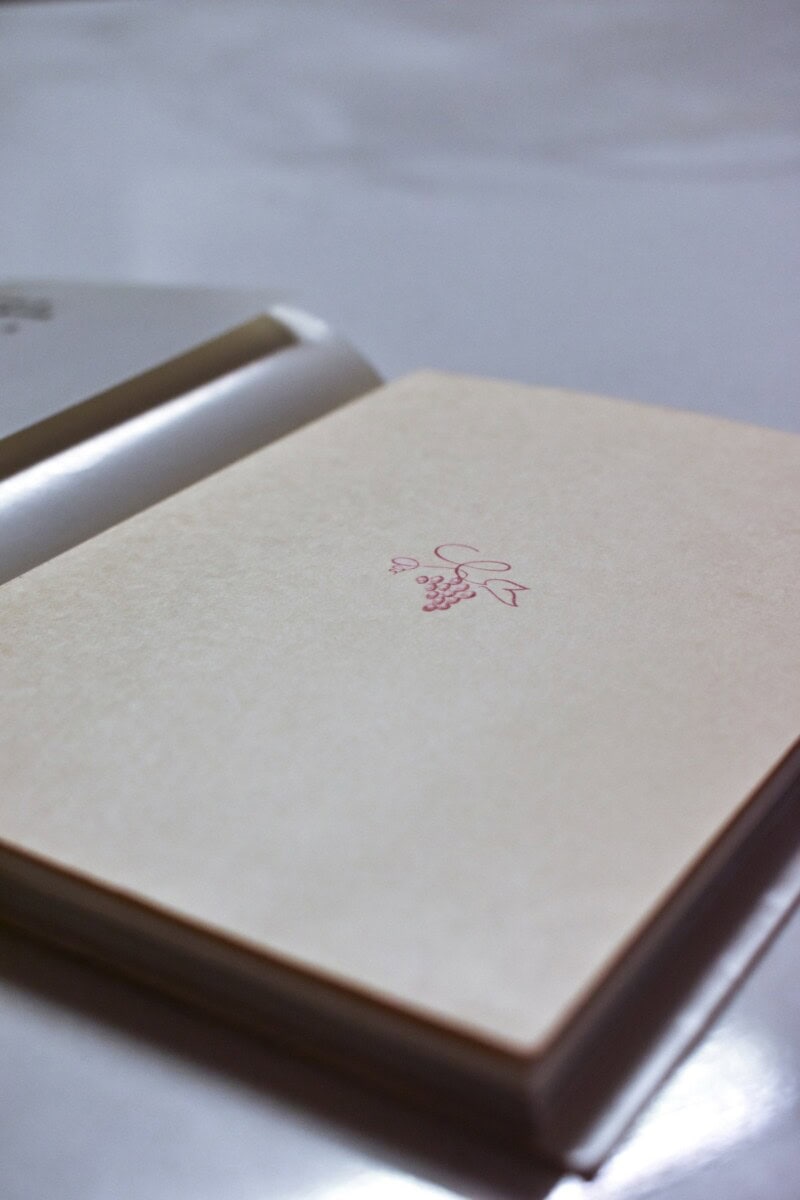
After carving, it’s time to test your creation! Lightly press the stamp onto one of your ink pads and place the stamp firmly onto paper.
This first impression will reveal how the design looks and whether you need to refine any areas.
If the lines look uneven, you may want to cut away more material or smooth areas around your image. Once satisfied, you can use the stamps for a wide variety of projects.
Be sure to clean off your stamp after each use to keep the design sharp and prevent ink buildup.
4 Creative Projects Using DIY Stamps
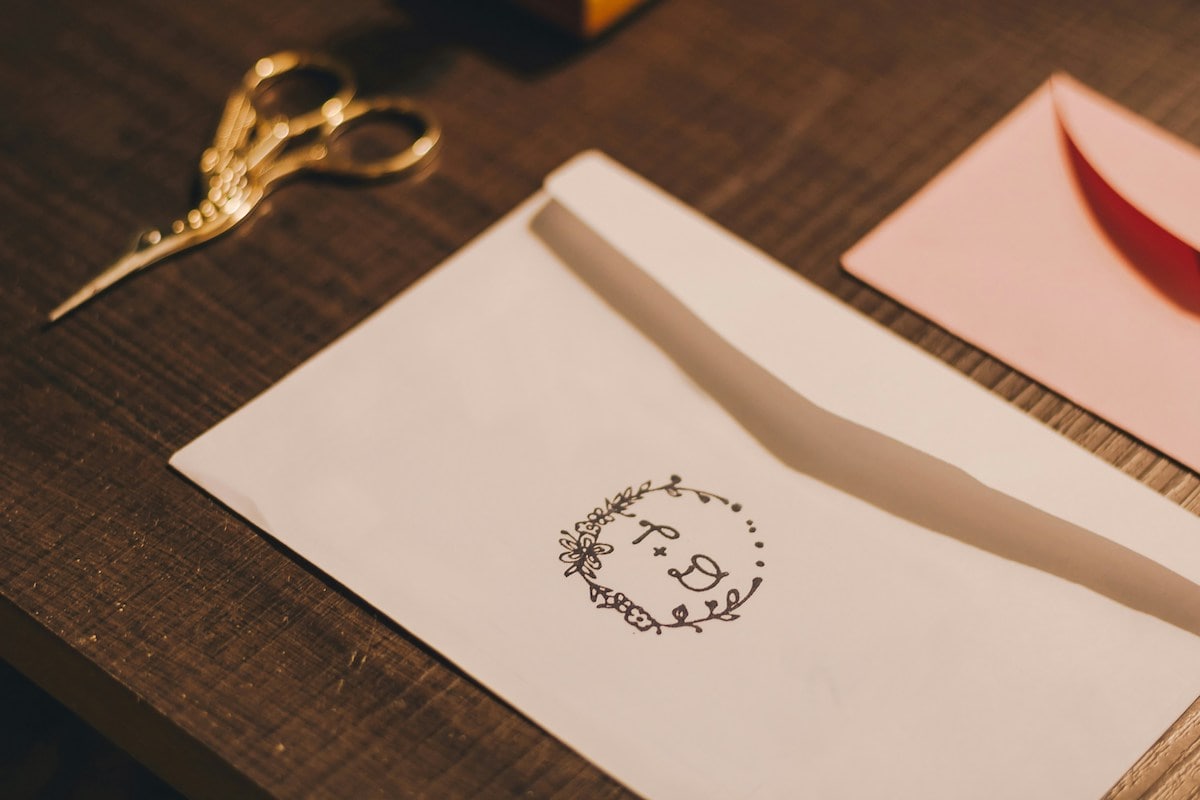
Once you get comfortable carving, you’ll discover that stamp making is incredibly versatile. Handmade designs can transform everyday materials into beautiful crafts.
Here are a few idea starters:
- Create holiday stamps for seasonal cards and wrapping paper
- Design decorative prints and use them to decorate envelopes or journals
- Make repeating patterns on cardstock for handmade stationery
- Use multiple stamps to build a layered collage
Some artists also enjoy recreating the detailed postage stamps look for scrapbooking or journaling pages.
Adding Color and Texture to Stamped Art
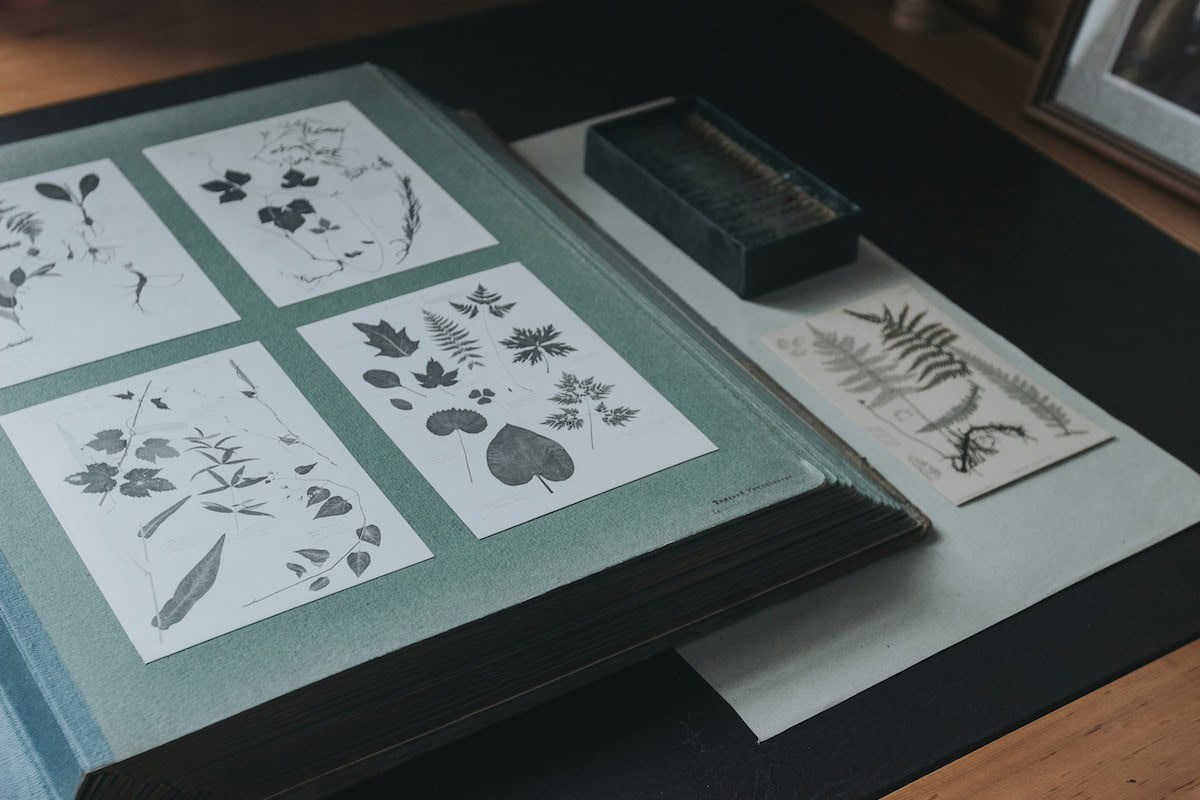
Ink isn’t the only way to add color. Many crafters like to experiment with paint and stamping techniques.
You can apply acrylic paint to the stamp with a paintbrush, which sometimes produces a more textured effect than traditional ink. Some projects even combine stamping with embossing powder to emboss raised designs.
A carefully stamped design can also create a beautiful background for handmade cards, labels, or a decorative postcard.
Helpful Tips for Better Stamp Carving
As you gain experience, a few tricks will make your stamps look cleaner and more professional.
- Work slowly and carefully when carving detail areas
- Keep tools sharp so they glide smoothly through the material
- Mount finished stamps onto a wooden block for a sturdier grip
- Test prints frequently so you can adjust the design
Many beginners discover that the process of carving and printing is just as enjoyable as the finished artwork. The combination of creativity and technique makes stamp carving a great stamp project for anyone interested in handmade crafts.
The Rewards of DIY Stamp Making
Learning how to make stamps at home is a rewarding creative hobby that anyone can try. With a few simple materials and a little patience, you can make homemade tools that bring personality and charm to your projects.
Whether you enjoy journaling, crafting greeting cards, or designing decorative paper, the process of making custom stamps offers endless possibilities. Once you start experimenting with designs, you may find yourself collecting tools and dreaming up new patterns simply because you’re having fun making beautiful things!
Frequently Asked Questions About DIY Stamps
Can I recreate the style of a postage stamp at home?
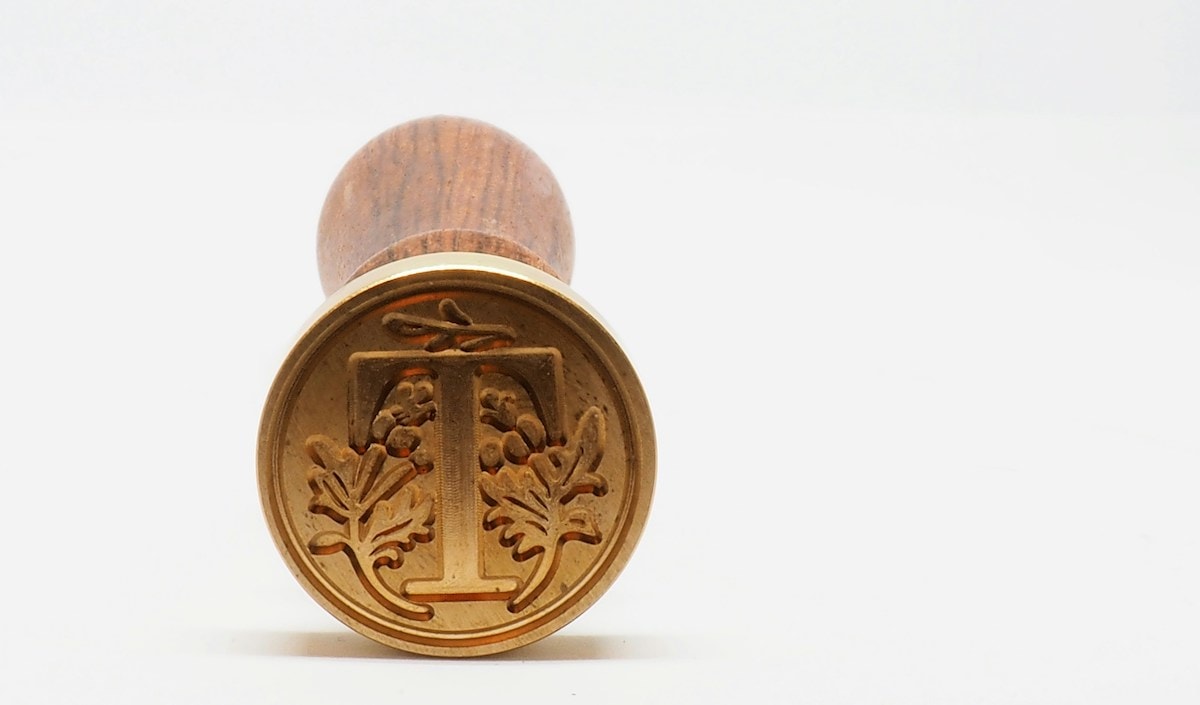
A postage stamp is traditionally used for mailing, but its detailed, framed look is also a popular design inspiration in crafting. You can recreate similar designs using carved rubber stamps that mimic the borders and patterns of classic stamps. These styles make great additions to scrapbooks, journals, and handmade mail art.
Is there an easy tutorial for beginners learning stamp carving?
Yes, there are many beginner-friendly approaches to stamp carving. A basic tutorial typically walks you through transferring a design, carving safely, and testing your stamp. Starting with simple shapes and gradually working up to more detailed designs helps you build confidence while creating stamps you’ll love to use.
What type of ink works best for DIY stamps?
The type of ink you choose depends on your project, but standard craft inks are ideal for most beginners. High-quality ink helps carved rubber stamps produce crisp, clean impressions. You can also experiment with different finishes and colors to create effects similar to stamps like those used in professional printing.
Can I use a printable design for my stamp?
Absolutely! Using a printable design is one of the easiest ways to get started. You can transfer a printable image onto your carving surface and follow the lines as you work. This method is especially helpful for beginners who want consistent results and clean designs.
Why is an eraser a good material for stamp carving?
An eraser is a popular beginner material because it’s soft and easy to work with. While more advanced methods may involve tools that can melt the rubber or shape tougher materials, erasers allow you to practice carving techniques without needing specialized equipment. They’re a simple way to experiment before moving on to more durable materials.
How can I create designs inspired by vintage stamps?
Designing stamps inspired by vintage stamps is a great way to add character to your projects. Look for ornate borders, classic fonts, and aged textures when planning your design. These styles make great focal points in crafts and can be recreated with carved rubber stamps to give your work an authentic, nostalgic feel.
WANT TO READ MORE?
EASY CRAFTS TO MAKE THAT SELL: THE BUSY MOM’S DIY GUIDE USING CREATIVITY FOR A PROFIT FROM HOME
CONNECT WITH DAILY MOM
💖 NEWSLETTER: DAILY READS IN YOUR INBOX 💖
Sign up to receive our picks for the best things to do, see and buy so you can relax and focus on more important tasks! Let us help you be the best version of yourself you can be!
BE SOCIAL WITH US
📌 LOVE IT? PIN IT!📌