Have you ever wandered into your local produce store or the farmer’s market to find a surplus of your favorite fruits and vegetables, at peak ripeness, and a steal of a price? The urge to buy in bulk kicks in, but you can’t possibly eat that much before it goes bad, and preserving food sounds like rocket science. Maybe you’re a bit more DIY and grow some of your food. The same problem still occurs—all of your tomatoes ripen at once, the okra comes in over one week, the beans are ready, cucumbers everywhere, and peppers galore. You get the idea.
We all know the saying: when life gives you lemons, make lemonade. When you encounter that bulk buy or experience that bumper crop, you want to be ready. Preserving food doesn’t have to be high-tech or expensive, although sometimes an upfront investment is a good idea. Here are three basic techniques for long-term food storage that offer incredible versatility in the kitchen.
Preserve Food Using Mason Jars
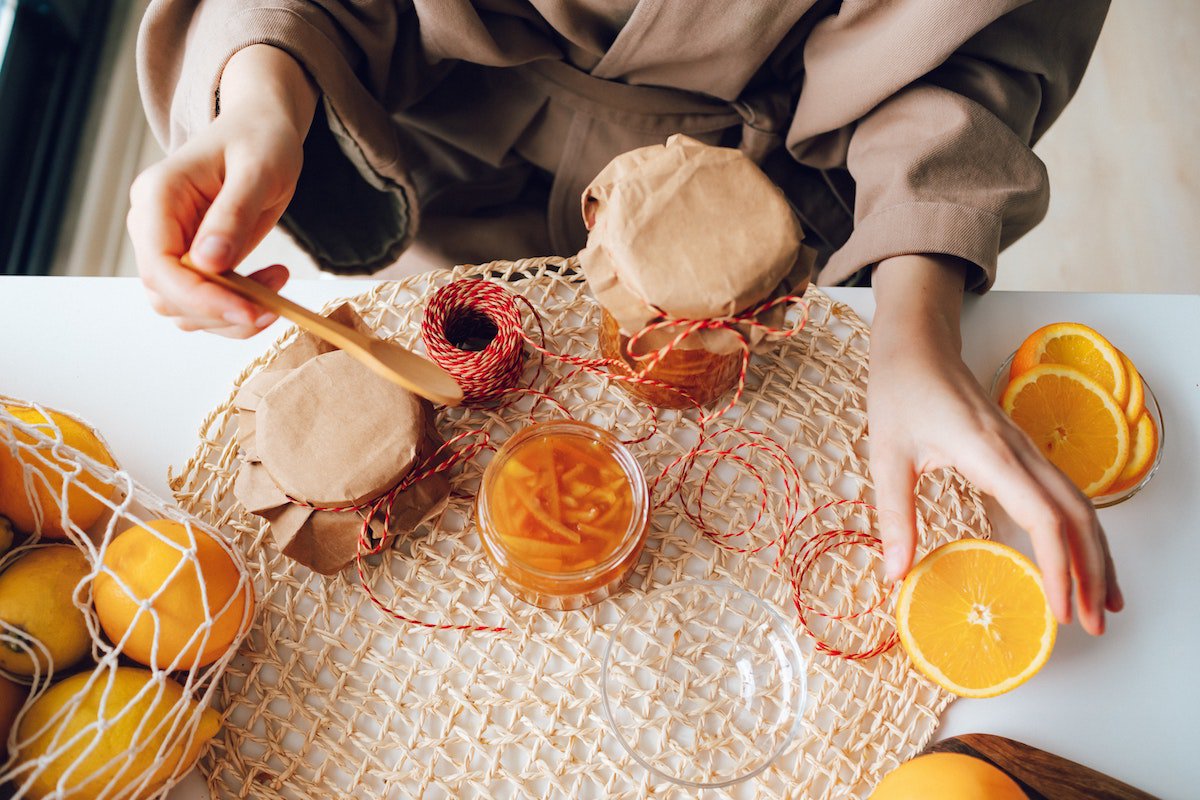
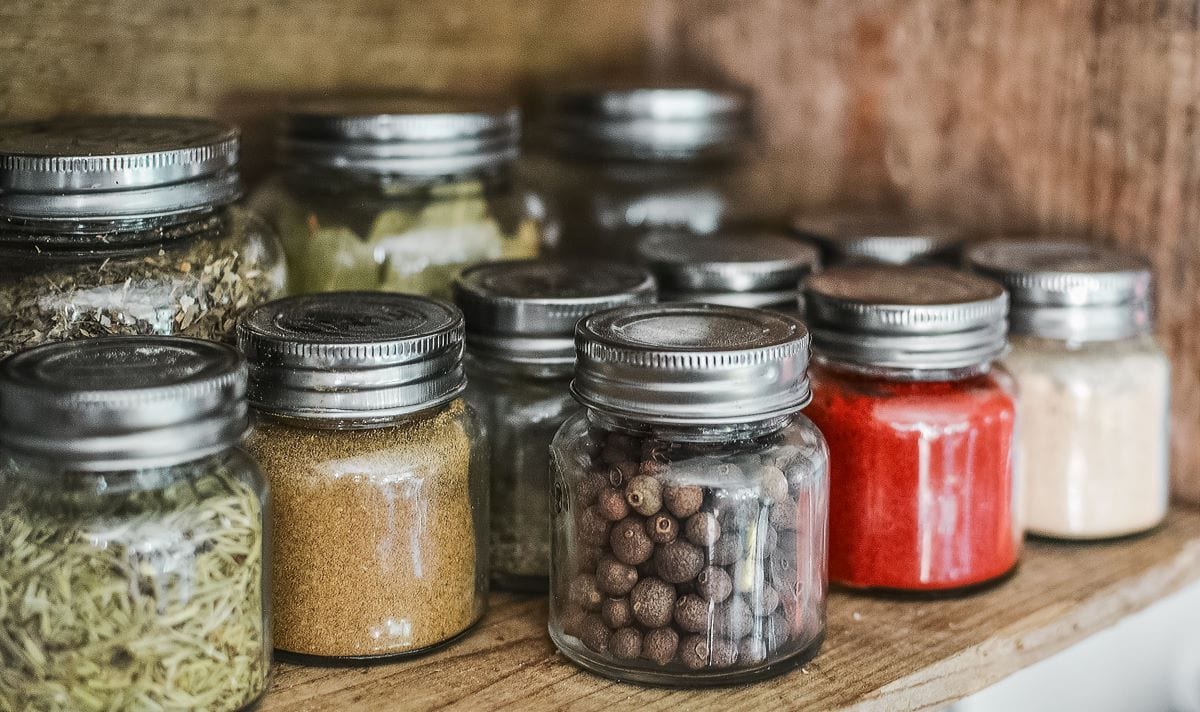
Perhaps the most cost-effective and traditional methods of preserving food, mason jars are easy to find, are completely reusable, and offer a wide range of uses. They come in a variety of sizes making them ideal for any food storage. Liquids and solids are both safe, and the glass structure makes an environmentally safe and non-toxic container. Mason jar methods include four main approaches.
- Freezing: preserving food in the freezer is extremely simple and requires no technical skill, special equipment, or knowledge. Because mason jars come in so many shapes and sizes, using a wide-mouth jar means you can freeze liquids and solids equally and not struggle to remove solids when you need them. Shelf life will vary depending on what you’re freezing, but this is a simple cost-effective method of preserving food. (Caution: when freezing liquids be sure to leave room in the can for expansion, or it will crack and you’ll lose both the container and its contents.)
- Storing: for already-dried goods, like herbs or powdered produce (garlic, onions, ginger, or turmeric, to name a few), simply store them in a mason jar with a fitted lid. As long as they stay dry, they’re most likely safe.
- Pickling/Fermenting: tested recipes for pickling or fermenting foods can slow down deterioration and spoilage, as well as add beneficial bacteria and probiotics to food products that might otherwise be hard to digest. These methods do require refrigeration for longer storage.
- Canning: canning offers a seriously long shelf life when done safely, but is often intimidating, time-consuming, and does require some equipment and knowledge. A basic canning set is affordable, as is a standard canning book. The critical component of preserving food through canning is following the steps precisely. Not doing so can result in unsafe canning methods.
Some potential setbacks come with this simple food storage. They aren’t deal breakers, but they are important:
- Frozen, pickled, or fermented foods use up valuable shelf space in your fridge and freezer. When space is limited, so is your potential for bulk storage.
- Canning and preserving food can get technical. You need to consider factors like pressure canning, different processing methods and processing times, microorganisms that can cause food spoilage, oxidation, food quality, foodborne illnesses, low acid foods, and high-acid foods, and the physical and chemical reactions that happen in home canning.
Food processing might feel overwhelming as you get started, but we’ll share some guidelines for safely preserving food below!
Preparing Food with Dehydrators
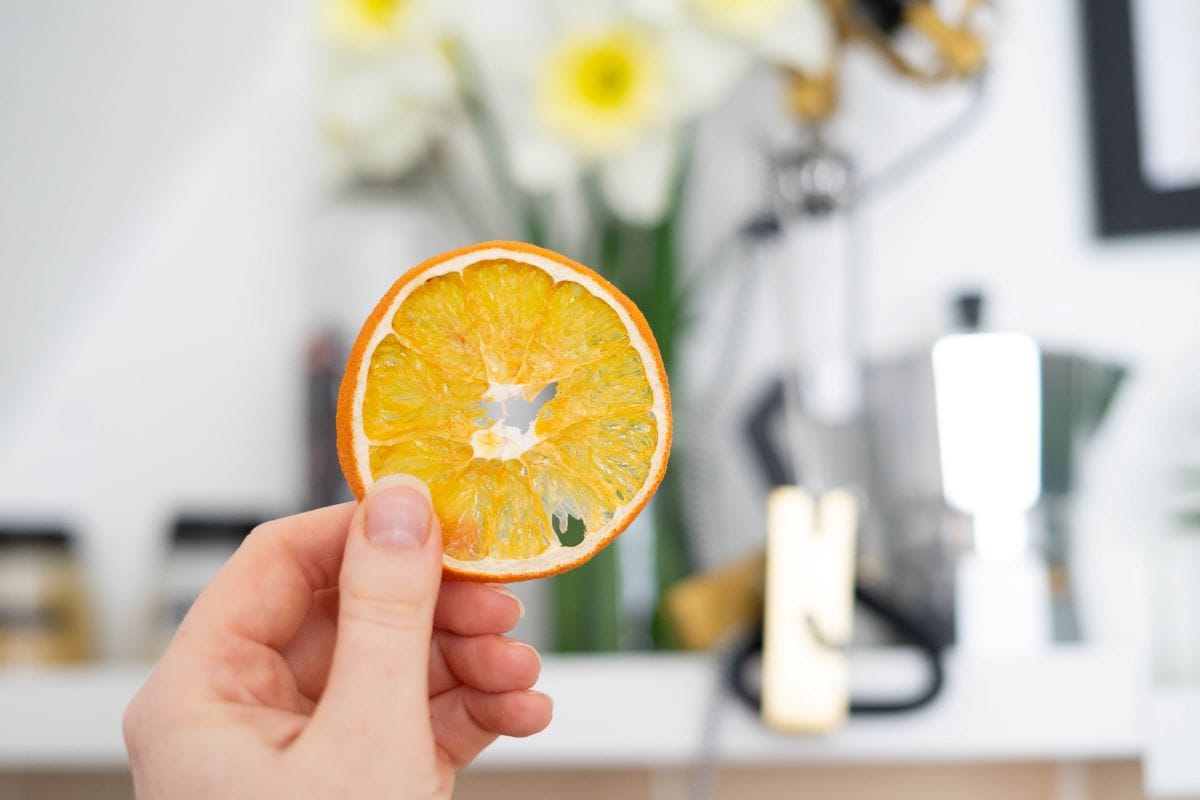
If you’ve never used a dehydrator before, you’re missing out! Preserving food with dehydrators opens up so many options, moving beyond simple vegetable preservation and ranging from making your own jerky, fruit leathers, chips, and dried herbs, and prepping foods for powdering, and that’s just the start. Dehydrating also offers the benefit of keeping nutrition in place (whereas canning can sometimes reduce nutrition since the food is being cooked and also possibly mixed with sugar, salt, or other natural preservatives).
Using a dehydrator does sometimes require time and energy, but aside from the appliance itself, you don’t usually need any additional specialized equipment, and it’s a solid choice for preserving food without freezing or canning.
- To dry and store peppers, tomatoes (think sun-dried tomatoes), herbs, or fruit slices, for example, you simply need to wash and cut them into small pieces so they can dry properly.
- For things like fruit leathers, you’ll want a blender to puree the fruit first. For powdering onions, herbs, garlic, etc., a blender or food processor would be ideal.
- If you plan to make your own jerky, a meat slicer helps achieve a consistent thickness. But all of these extras are optional, and for dehydrating, you truly just need the dehydrating appliance.
Choosing the right dehydrator for you ultimately depends on what you plan to dehydrate and your budget. Simple dehydrators, like the Nesco FD-1040, offer space to dehydrate and a lower cost. They do the job but don’t always have options for temperature and time control, so you’ll need to check on them regularly. They’re great to get you started, but may not work consistently between plant and animal products.
If you have the budget for it, brands like Excalibur offer top-of-the-line dehydrators featuring up to ten trays, temperature control, and timers so you don’t have to worry about constantly checking your food, over-drying it, or keeping track of the different dry times for different foods. It’s an investment, but a worthwhile one!
(Note: Be sure to check your selection for add-ons you might be interested in, such as silicone mats for foods like fruit leathers.)
Food Preservation Methods Using a Vacuum Sealer
A vacuum sealer is a kitchen appliance that seals by surrounding the product in plastic wrap, removing all air, and creating a vacuum seal. While equally versatile as dehydrators and mason jars, vacuum sealing offers two major benefits:
- For room temperature settings, a vacuum seal ensures an airtight storage space, which can slow down spoilage and influence the growth of bacteria or mold.
- For freezing, because this packaging method is airtight, food is less likely to become freezer-burnt because the package is sealed.
With a vacuum sealer, however, you do have the ongoing added cost of purchasing plastic and contributing to plastic waste. But some food items are simply stored better this way.
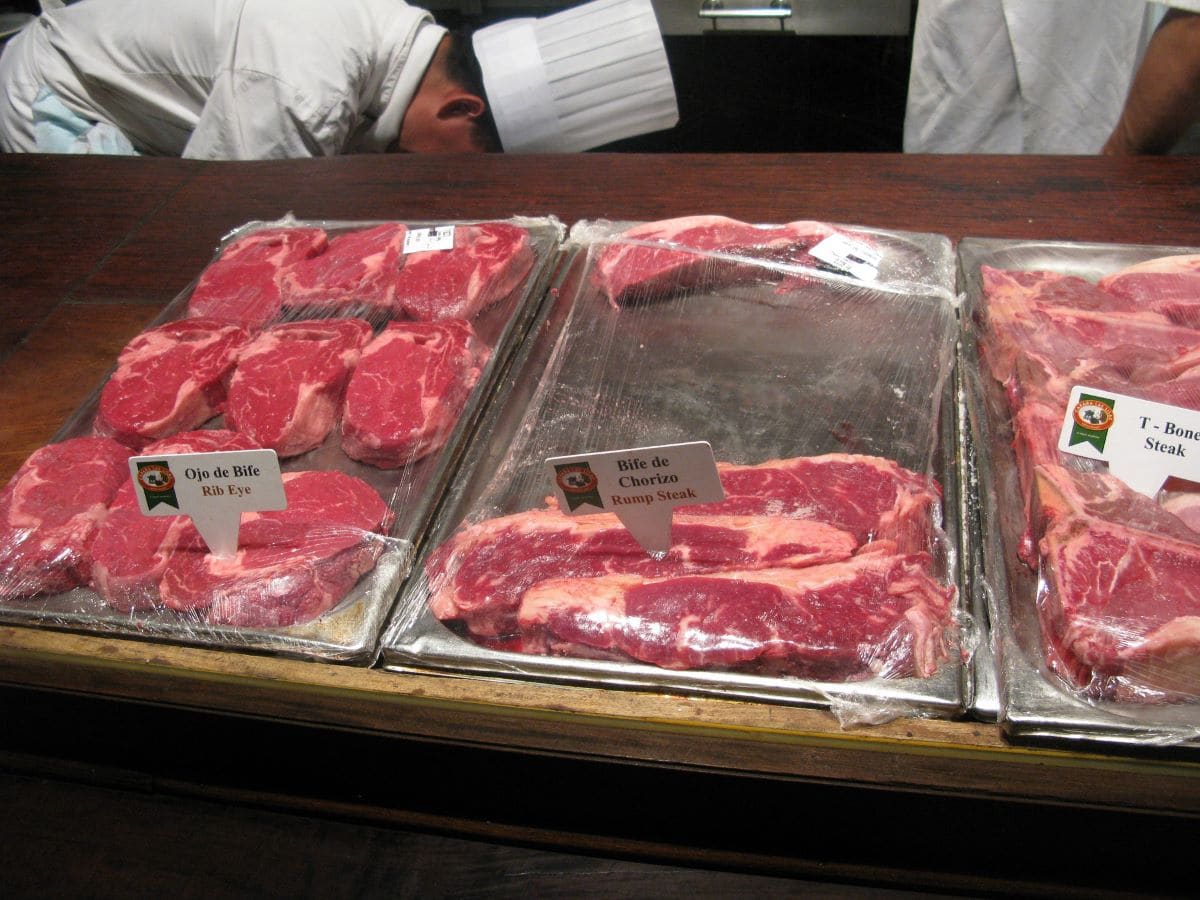
Much like dehydrators, your budget determines just how much you’d like to invest in this method of food preservation. But if you don’t have the time, patience, or energy for canning, vacuum sealing offers a competitive option to keep your food. (Whole or cut vegetables and fruits store quite nicely when vacuum sealed, as do meats and cheeses.)
Ensuring Food Safety in Home Food Preservation
Preserving and utilizing your resources through homesteading can be both rewarding and cost-effective. Whether you’re looking to extend the life of your garden harvest or take advantage of seasonal abundance, proper food safety practices are paramount. Here are a few key considerations to ensure the safety of modern food preservation.
- Hygiene and Cleanliness: Maintaining a clean and hygienic environment may be defined as the most essential safety precaution. Wash your hands thoroughly before handling any food, and ensure that all utensils, containers, and surfaces are properly cleaned and sanitized.
- Quality Ingredients: Start with fresh, high-quality ingredients. The condition of the food you choose for preservation directly impacts the safety and taste of the final product. Discard any items that show signs of spoilage or damage.
- Dehydrators: Follow the recommended temperature and time guidelines. Insufficient drying may lead to moisture retention, creating a breeding ground for bacteria. Conversely, over-drying can result in a loss of flavor and nutritional value.
- Mason Jars: Properly sterilize mason jars before use. Ensure that the lids are rust-free and create a tight seal to prevent air and contaminants from entering. Store upright in a cool, dark place to maintain the quality of the preserved contents.
- Freezing: Adhere to recommended storage times to prevent freezer burn and maintain quality. Use airtight containers or vacuum-sealed bags to minimize exposure to air, which can cause freezer burn and affect the taste and texture of the food.
- Canning: Follow tested and approved canning recipes to achieve the correct pH levels, especially in low or high acid foods, and prevent the growth of harmful bacteria, such as Clostridium botulinum. Properly process cans in a water bath or using a pressure canner, depending on the type of food being preserved..
- Vacuum Sealer: Ensure that the bags or containers are clean and dry before sealing. Pay attention to the vacuum sealing process to confirm a secure closure.
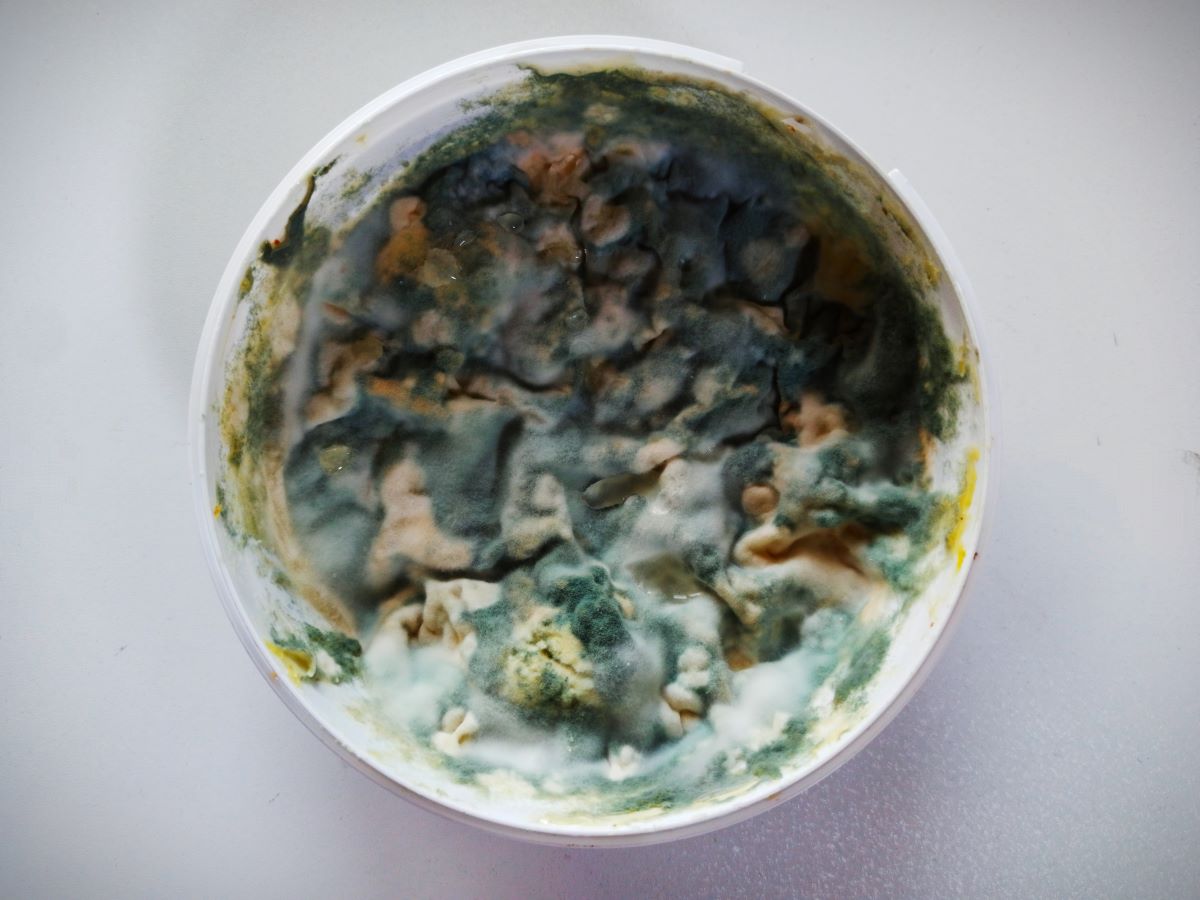
- Regular Inspection: Periodically inspect your preserved foods for any signs of spoilage, such as mold, off odors, or unusual discoloration. If you notice anything suspicious, discard the entire batch to err on the side of caution.
By incorporating these food safety measures into your routine, you can enjoy the benefits of homesteading while minimizing the risks associated with improper handling and storage. Remember, the key to successful food storage lies in a combination of hygiene, quality ingredients, and adherence to recommended guidelines for each preservation method.
Home Food Preservation You Can Use
There are many more methods for keeping food, but these three are incredibly versatile, user-friendly, and can maximize simple storage and preservation. Whatever your budget and experience level, you can find ways to store food and enjoy those bulk buys and bumper crops for months to come.
You might also be interested in…
Looking for more tips on preserving food? Check out Daily Mom’s Food N’ Recipes section!
CONNECT WITH DAILY MOM
💖 NEWSLETTER: DAILY READS IN YOUR INBOX 💖
Sign up to receive our picks for the best things to do, see and buy so you can relax and focus on more important tasks! Let us help you be the best version of yourself you can be!
BE SOCIAL WITH US
📌 LOVE IT? PIN IT!📌

Photo Credits: Unsplash


