


For those that meal plan, it is not uncommon to have at least one night a week designated to a certain type of cuisine or method of cooking. Ahem, we’re looking at you, Taco Tuesday and Crockpot Sunday! When the weather allows, we suggest adding your grill into the rotation. Not only does it impart a great char-grilled flavor into your food, but it also keeps the kitchen clean up to a minimum! By mastering a few techniques and obtaining the right equipment, the grill just might become your preferred method of cooking. Now, let’s make you the Bobby Flay of your neighborhood!
1. Marinate the Meat
Marinating before grilling is the best way to ensure moist, flavorful meat. However, you may be surprised to learn that is just one of the many benefits! Acids in marinades (such as vinegar and citrus) not only slow the growth of potentially harmful bacteria, but also tenderize the meat, allowing for better digestion and making rougher cuts easier to chew.

While there are thousands of pre-made marinades on the market, we suggest making your own with fresh, easy-to-find ingredients. This allows you to control exactly what goes into your meal, while, at the same time, omitting any unnatural additives. Here is one of our favorite marinade recipes. It calls for steak, but is also great on chicken and pork!
[ultimate-recipe id=”2230″ template=”default”]
2. Get the Grill Hot
You do not add ingredients to a cold pan when cooking on the stove, so a grill should not be any different! It is best to preheat the grill 15 minutes in advance, which gives it time to come up to the desired temperature. A hot grill will sear the meat on contact, thus keeping the inside moist and locking in the marinade flavor on the outside.
3. Make Sure the Grill is Clean
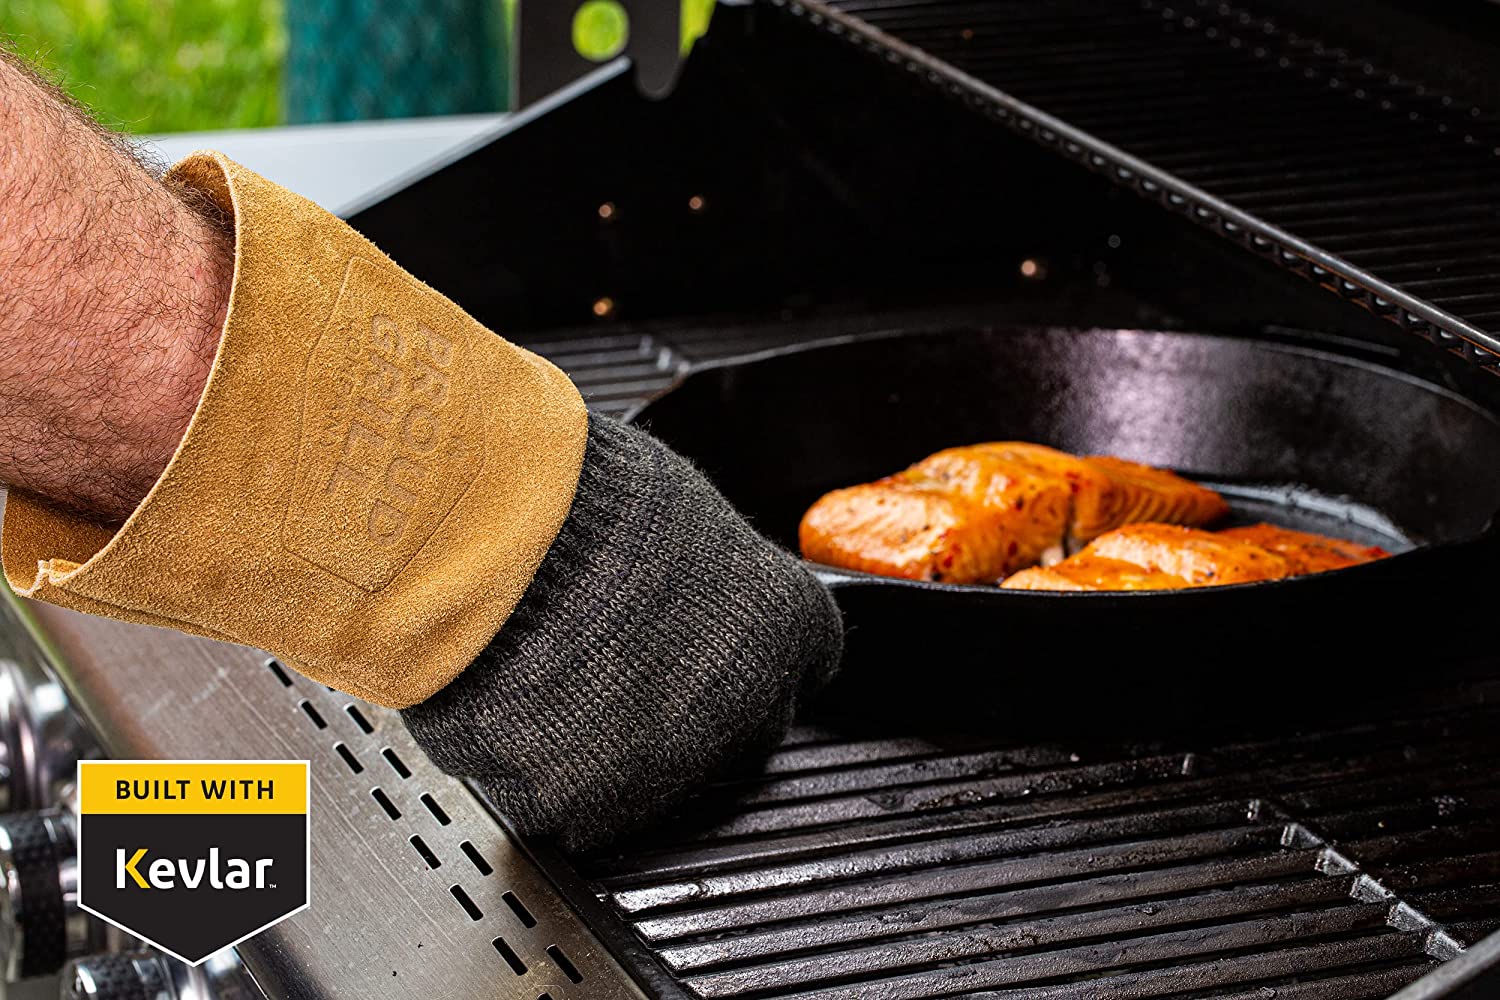
Even if you clean your grill properly after each use, food particles may still be left attached to the grates. The next time the grill is used, this bacteria would have plenty of time to hang out and bring some not-so-savory germy friends over for a party. The best time to pre-clean the grill is while it is preheating. The heat will help to loosen any stuck-on particles. Use a grill brush to scrape the grates from front to back. Since metal bristles have been known to break off and find their way into the food you grill (yuck), we recommend a bristle-free metal scraper. You can find these on Amazon for under $20!
4. Oil the Grates
To oil your grates or not to oil your grates — that is apparently the big question in the grilling world, and you will find that there are chefs and grill masters on both sides of the argument. Pro-oilers suggest that adding oil will prevent food from sticking, while anti-oilers believe that the oil will burn off too quickly to be effective.
We can see both sides, but believe that to the average home-griller, there is a higher rate of success by taking your chances with oiling. For the best results, dip a paper towel into a bit of canola or vegetable oil. Do not oversaturate it, as any excess oil can drip down into the grates, causing a flare up! Grab the paper towel with a pair of tongs, and gently brush the grates to coat. Oil the grates after the grill has been preheated and directly before adding the meat.
5. Separate your Serving Platter

Once your meat is marinated, it is typical to put it on a platter to bring outside for grilling. After placing the meat onto the grill, be sure to swap out the used platter for a clean one! The leftover marinade was in contact with raw meat, and bacteria can grow quickly here as it sits out in a warm environment.
6. Baste!
Basting meat as it cooks will return some of the flavors that cook off during the grilling process. To properly baste, keep a bowl of marinade next to the grill, and use a basting brush to gently spread the marinade over the meat every few minutes. It is imperative to set aside some of the marinade for basting before adding the meat. Never baste with marinade that has been in contact with raw meat, as any bacteria that might have formed may not have the chance to fully burn off before consumption.
7. Check Temperature
While visually checking your meat can be a good indication of doneness, using a thermometer guarantees that it is cooked not only to your liking, but safely! The “safe zone” for internal temperatures can vary greatly between different types of meat. To ensure that you are always hitting the minimum required temperature, use this guide as a cheat sheet.

Chicken or Turkey:
- Breast meat — 165 degrees
- Stuffed —165 degrees
- Thigh meat — 170 degrees
- Ground — 170-175 degrees
Pork:
- Medium-rare — 145 degrees
- Medium — 150 degrees
- Medium-well — 155 degrees
- Well Done — 160 degrees
- Ground — 160 degrees
Beef or Lamb:
- Rare — 125 degrees
- Medium-rare — 130-135 degrees
- Medium — 135-140 degrees
- Medium-well — 145-150 degrees
- Well done — 155+ degrees
- Ground — 160 degrees
Insert the thermometer directly into the center of the meat. If using a non-digital thermometer, be sure that the dial stops moving fully before reading the temperature.
8. Invest in a Grill Basket
Veggies are an easy and tasty side dish to serve up with your grilled meats. Unless you are grilling vegetables whole (e.g., corn on the cob), it is wise to invest in a grill basket. Grill baskets are typically made of stainless steel and have smaller openings that allow the heat to come through while keeping the veggies from falling through the grates.
Slice a variety of vegetables, then toss with olive oil and sprinkle simply with salt and pepper, or the seasoning blend of your choice. Add the veggies to the basket over the hot grill, stirring them occasionally to evenly distribute heat.
9. Skewers
Skewers are the perfect solution for grilling smaller cuts of meat. You can alternate meat and veggies all on one skewer or omit the veggies and exclusively use meat. Metal skewers are great, as they are reusable and do not burn while grilling.
Wood skewers are another viable option, but they require a bit of prep to ensure the ends do not burn to a crisp! Fill a shallow bowl or dish with a bit of water, then submerge the wood skewers for about 20 minutes before assembling your kebobs. The wood soaks up the water, which helps to keep them from catching fire on the grill.
10. Rest Your Meat
Once your meat is cooked, it is important to set it aside to rest for a few minutes before slicing. The amount of time it rests depends on the size of the cut, but we recommend three to five minutes for steaks. As the meat rests, more of the internal juices are retained. Cut into it too soon, and there will be a pool of liquid collecting on your plate! The best way to rest your meat while keeping it from getting cold is to remove it from the grill, place onto a cutting board, and gently tent a piece of aluminum foil over the top.

Photo Credit: Christina Carter


