There is nothing quite like the smell of baking bread. There is just something about that smell that is nostalgic. For some people, it is a reminder of their mother or grandmother who would bake homemade loaves of bread and then leave them on the counter to cool. For others, it is reminiscent of the bakery counter in the grocery store during weekly shopping trips with mom. Or it might remind you of the smell of french bread wafting from patisseries during your amazing trip to France.
Not many people attempt baking bread on a regular basis. Baking bread is something that some of our mothers and most of our grandmothers and great grandmothers did as a regular chore. Most people today opt instead for the convenience of buying a pre-sliced loaf in the grocery store. Maybe it is because bread seems complicated, with yeast and rising and making sure the crust does not get too brown while still making sure the inside is cooked through. Baking bread does involve all those things, but all of that is not as complicated as it sounds. Here is your no nonsense guide to baking bread at home with ease.
First, You Have to Make It Rise…
To bake a delicious loaf of bread, you need a leavening agent, a.k.a. the thing that makes your bread rise. Typically, you make bread rise with one of two things: yeast or starter. These are not the only leavening agents out there. There are recipes for things like Irish Soda Bread that use baking soda as the leavening agent, but that is not your typical, everyday loaf of bread.
The easier of the two to use is probably yeast. You can buy yeast in any grocery store. Follow the directions on the package to activate it. Then add the appropriate amount to your bread recipe. Easy enough. Yeast is not something to fear. It is not especially tricky or hard to handle. Every now and then you may get a package that does not seem to activate. Do not be discouraged. Try again. You will get it!
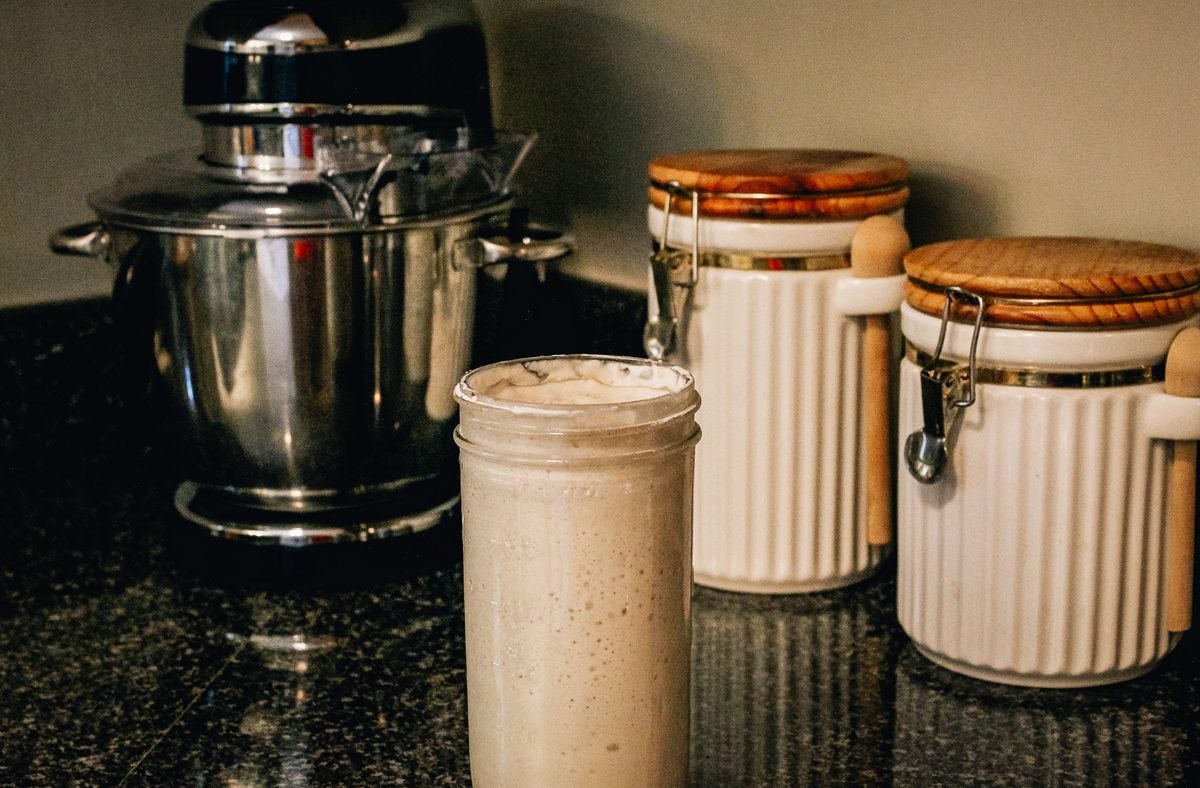
Starter is a little more complicated. It is used to make sourdough bread. Most sourdough bakers have starters that they have been cultivating for years and are treated like precious treasures. You can acquire a sourdough starter a few different ways:
- Get some from someone else. People will often share and all you need is a small amount to get your own going.
- You can often buy it online or sometimes from bakeries.
- You can make your own.
The thing to know about starter is that it takes work. You have to take care of it – you have to periodically “feed” it to keep it going. Although, you can keep it dormant for some periods of time by putting it in the refrigerator or even freezing it if you need a break or are not baking bread frequently enough to need a bucket load of starter.
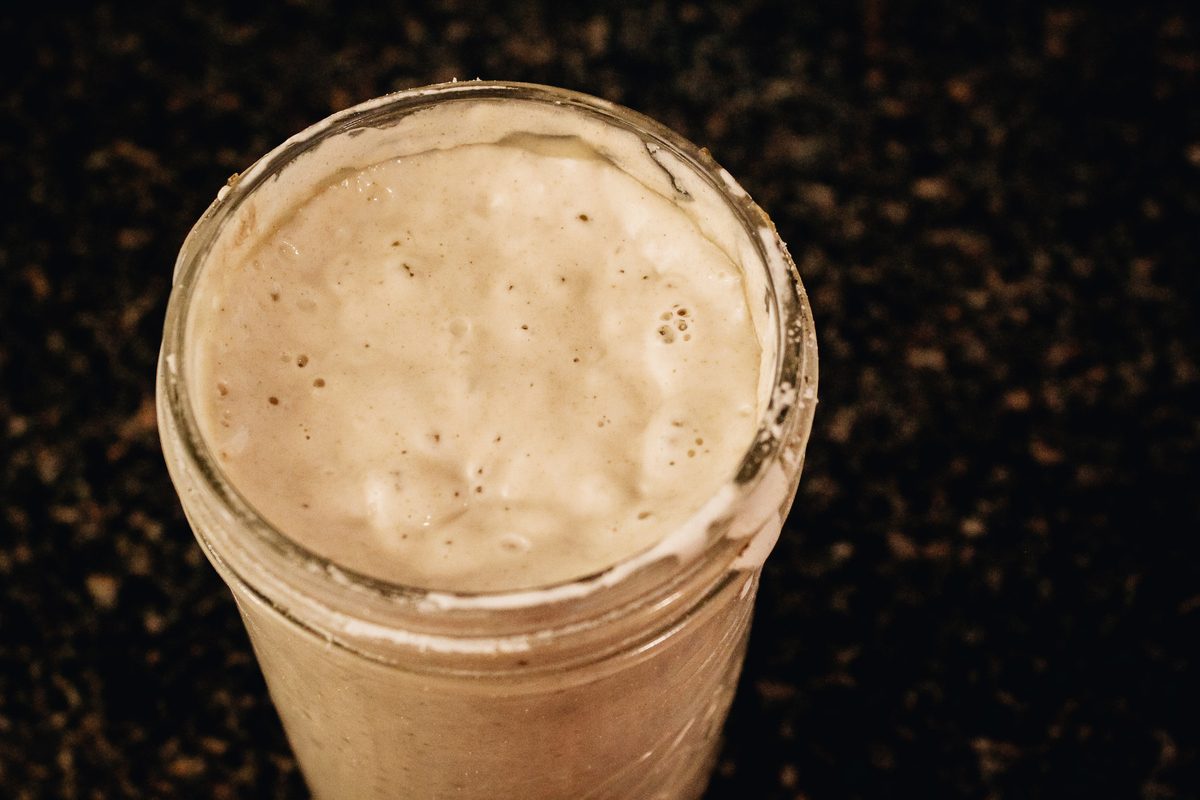
If you are adventurous, love sourdough, or just want to give it a try, it is easy to start. All you need is 1 cup of all-purpose flour and a 1/2 cup of cool to lukewarm (but not cold) water – water out of the tap should do just fine.
- Day 1: Combine the flour and water in a container that is large enough to hold your starter as it grows. You can always transfer to a larger container as you go, but know that it will bubble up and expand. Be sure to mix the flour and water completely so that there are no lumps of flour. It is a good idea to sift the flour before mixing as that will help keep out lumps. Let the container sit at room temperature for 24 hours. You can either cover the container loosely, or leave it open to the air (part of what helps starter grow and be successful are the microorganisms in the air).
- Day 2: You should see a tiny bit of activity. There should be some small bubbles forming and the mixture may have even grown a little by now. Discard about half the starter (about a half cup or so – it does not have to be precisely measured). To the remaining starter, add 1 cup flour and 1/2 cup water just like on Day 1. Mix it well. Again, let it sit at room temperature for 24 hours.
- Day 3: By now your starter should be bubbling, starting to have a sour aroma, and look like it has grown slightly. For the next few days, feed the starter twice a day, once in the morning and once in the evening. At the first feeding, discard about half the starter. Then add 1 cup of flour and a 1/2 cup water to the remaining starter. Mix the starter, flour, and water. Let it sit at room temperature for approximately 12 hours before feeding again with the same amount of flour and water. Continue to either cover loosely, or leave the container open to the air.
- Day 4: Repeat the same steps as yesterday.
- Day 5: Once again, repeat the same steps as yesterday. By the end of Day 5, the starter should have doubled in size. It will be full of bubbles and may look frothy on top. It should also have a pretty pungent sour aroma. If your starter has not risen much and does not have lots of bubbles, repeat the same steps from Day 3 for another two days. If at that point you are not seeing results, you may need to discard the entire thing and start again. It is heartbreaking, but it happens sometimes.
- Once the starter is ready, give it one last feeding and let it sit uncovered, at room temperature for approximately 1 hour. It should be active. To tell if it is ready, drop a spoonful into a bowl of water. If it floats, the starter is active. If it sinks, it is not ready and may need sit overnight and be fed again the next day. If this is the case, feed the starter, let it sit for an hour, and test again.
- To keep your starter alive, feed it once a week with 1 cup of flour and a 1/2 cup of water.
Time for Baking Bread
Baking bread is actually a lot of fun. There is something satisfying about making your own loaf of bread from scratch. You can make a peasant loaf, which is what you call those rounded, uneven loaves that bake freely on a baking sheet. Or you can bake a regular loaf of bread in a loaf pan that you can then slice up for sandwiches.
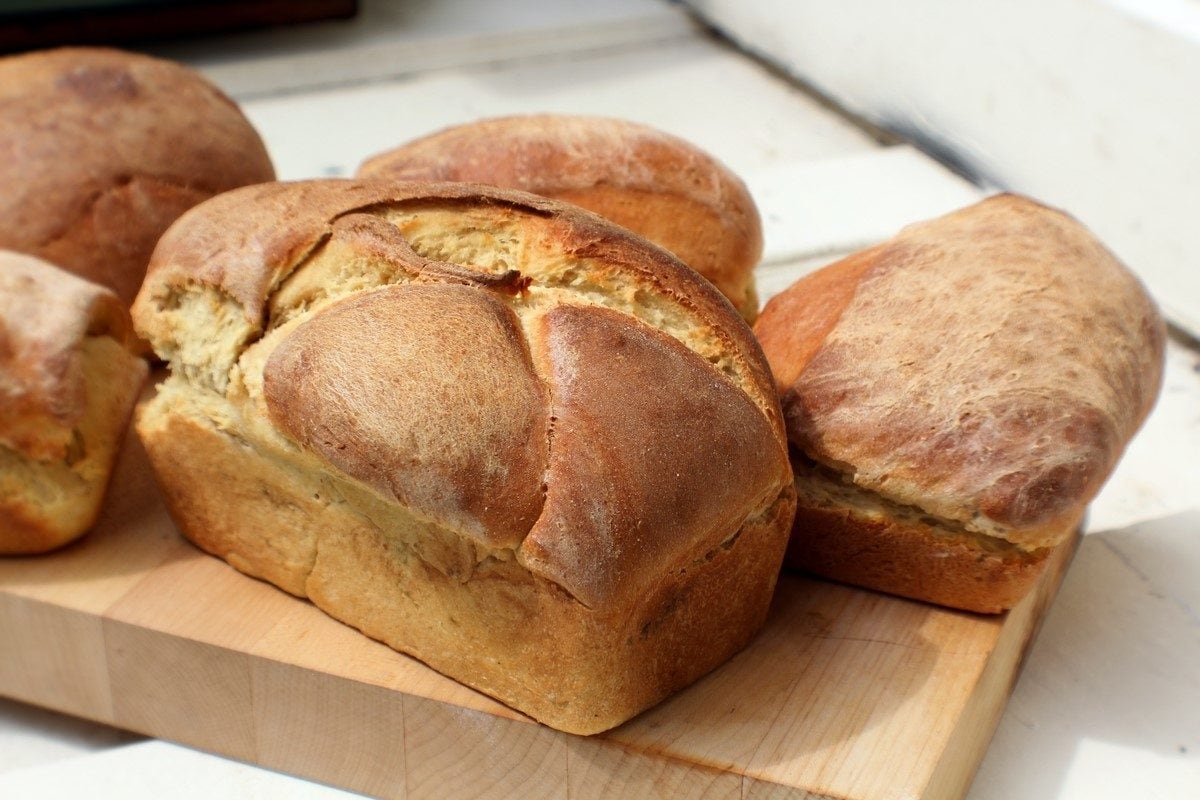
If you are going the way of a yeast-risen dough, start with a Basic Homemade Bread recipe. With only four steps, the hardest part is getting your yeast activated, and even that is not too tricky if you follow the directions in the recipe. Once your yeast is active, mix in the four remaining ingredients before kneading and letting the dough rise.
Read the full recipe at Taste of Home.
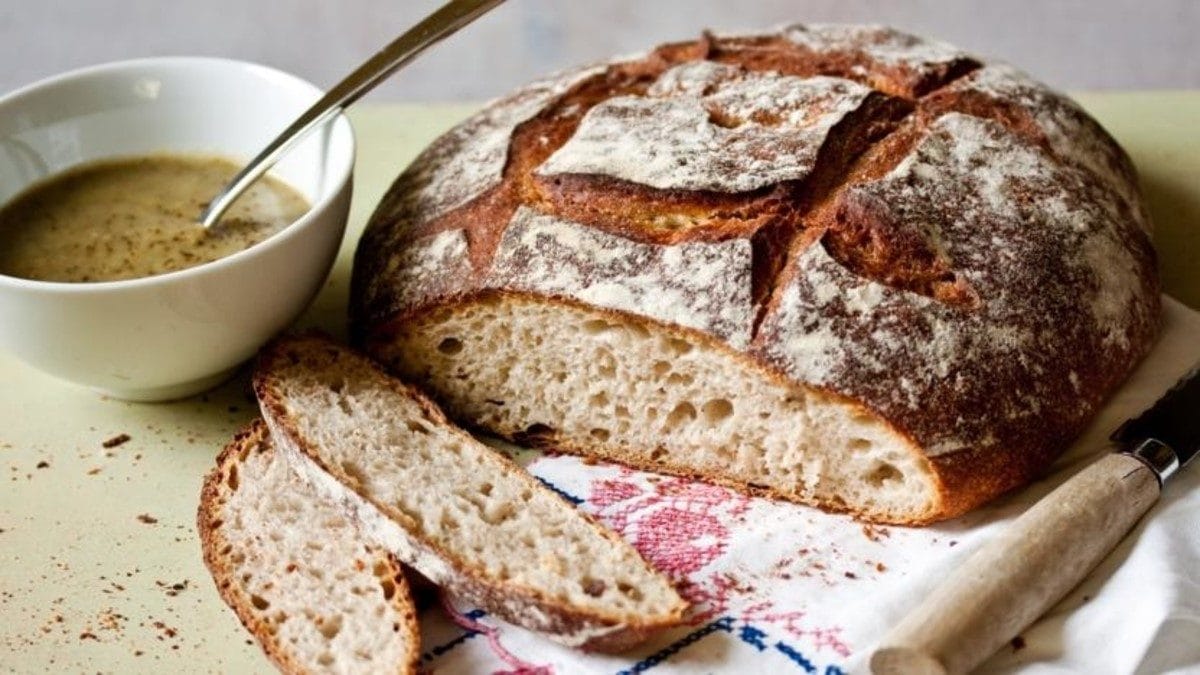
If you went the way of a sourdough starter, the most delicious sourdough recipe is Paul Hollywood’s Classic Sourdough (if you are a fan of The Great British Baking Show, then you know exactly who Paul Hollywood is). It makes the perfect crusty loaf of sourdough bread every time. The instructions make a round peasant loaf, but you can tip your risen dough into a loaf pan and it works just as well.
Read the full recipe at BBC Food Recipes.
There is something therapeutic about being in the kitchen and using your hands to produce your own food. If you are toying with the idea of delving into the world of baking bread, go for it. You will not be disappointed. Plus you can always use that 10 or so minutes of bread kneading time to take out some major aggression on your bread dough. You will have both a delicious loaf of bread and some killer biceps to show from your new hobby.
WANT TO READ MORE?
For more great baking ideas, check out this Wild Blueberry Muffin Recipe from Sweet Tomatoes Restaurant.
Sources: Taste of Home, BBC Food Recipes
Photo Credit: Unsplash

