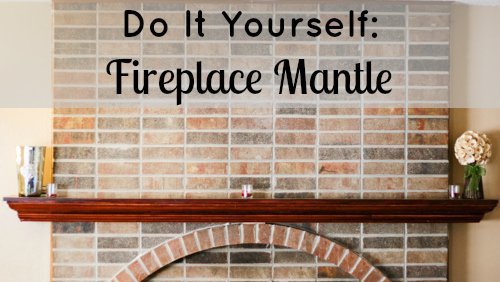
 {Photo Courtesy: The Memoirs of Megan}
If you find yourself in a home that doesn’t have a mantle shelf over your fireplace, you may feel like you’re out of luck. However, building one yourself that you love may be the perfect (not to mention frugal) solution to the problem. The reason for building this mantle instead of buying an off-the-shelf one is that this mantle can be customized to an odd fireplace set up like this one. For that reason, the measurements of the materials should be customized for each installation. Also, this mantle was built with pine, but of course, a more expensive hard wood like oak or maple could be used as well. That will easily triple the cost, though. Don’t use poplar, unless you plan on painting it.
Hand this list over to your husband or try building one yourself.
Total Investment: $60
Total Time Investment: 8 hours (not counting drying time)
Mantle shelves are the perfect opportunity to showcase anything that your heart desires. Make sure you check out the Daily Mom pinterest board for amazing home decor ideas!
 {Photo Courtesy: The Memoirs of Megan}
Most fire codes say that the mantle must be 9 inches above the top of the fireplace opening, plus one inch for every inch the mantle extends out from the face of the fireplace. In this case, because it extends 6 inches, it must be 15 inches above the fireplace opening. Check fire codes in your area to be certain. Equipment Needed:
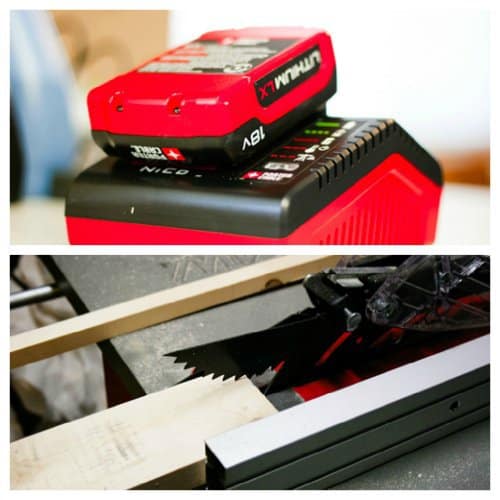
- Table Saw (or Circular Saw)
- Miter Saw (You have to cut crown molding, so a circular saw really won’t “cut” it for that part.)
- A pocket hole jig – like the Kreg jig.
- A level
- Drills – a cordless one for drilling the pocket holes and driving the screws, but you’ll probably need a more powerful corded one to drill holes in the brick and mortar of the fireplace.
- A brad nailer or a hammer and nail set.
- Sand paper, from 120 grit all the way to 600 grit.
- Steel wool, 0000 grade, or a synthetic equivalent. If you use steel wool, it can leave behind steel shavings, but they are easy to remove with a strong magnet. The synthetic variety won’t leave shavings, but doesn’t seem to cut as well.
Shopping List:
- 2 8-foot-long stud grade 1x4s – these will be the boards that make up the interior structure of the mantle, so they won’t be seen, so species and appearance aren’t important. Go for cheap over pretty here.
- 1 8-foot-long 1 x 3, high quality. This is the bottom board, and will be seen. You can try to cut costs here as well, since it’s on the bottom, but its really only a difference of a few dollars.
- 1 10-foot-long 1 x 6, high quality. This is the top board, the actual shelf part. Find the best one you can get.
- Crown molding. This is sold by the foot, but buy extra. Crown molding is extremely difficult to cut accurately, and you will most likely need to cut it several times to get it right.
- Stain and clear coat.
- Masonry anchors like the ones made by Tapcon. You’ll only need about 8 screws and the Tapcon screws are easy to use and come with a masonry drill bit.
 {Photo Courtesy: The Memoirs of Megan}
Step by step
- Cut the bottom board and top board to length.
- The mantle wraps around the fireplace at the ends of the brick and attaches to the drywall. Instead of buying a wider board and cutting a huge notch in it, cut a piece to the length the board sticks out from the fireplace and ripped to fit in the space between board and the drywall. Put the factory edges face to face and using the Kreg jig and wood glue, attach these two boards together. Do this on both ends to the top and bottom board. Clean up the glue that squeezes out and sand everything really well.
- Cut a small piece of molding to help figure out how tall the backer board should be to have the top board meet the molding while still covering the bottom board. When this determined, rip both mounting boards to the same width.
- Cut the mitered corners on the crown molding. Cut the corners of the front molding first, then the mitered corners of the side pieces and then cut the side pieces to length.
- Sand all of the appearance boards down to 600 grit sandpaper, and stain and finish all exposed surfaces.
- Mount the left, right and rear mounting board to the bottom board using glue and the kreg jig.
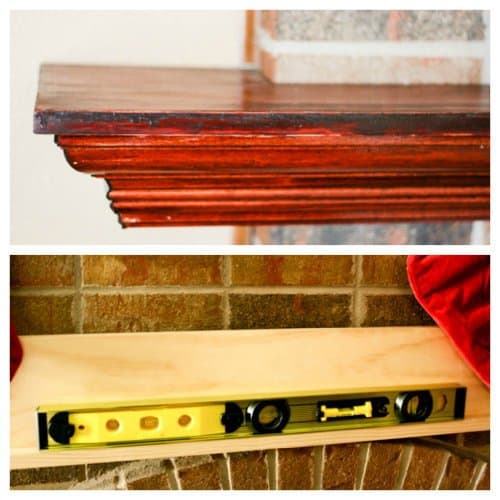
- Have someone or several someones help you by holding the bottom board and mounting board where you want it on the wall. Make sure the boards are level, both left to right and front to back. Screw the left and right mounting boards into the drywall using drywall screws. While still holding the board in place, drill 3/16 holes through the center mounting board and then, using a masonry bit and corded drill, drill through these holes into the brick. Drill at least 1/4″ deeper than the screw length. Use a piece of tape wrapped around the drill bit to ensure the hole goes to the right depth. Then screw the masonry anchors through these holes into the brick and mortar. The boards should now be firmly attached to the wall, and still level in all directions.
- Attach the front center mounting board to the front of the bottom board.
- Using a brad nailer attach the top board to the mounting boards. Use a nail set to make sure the nails aren’t visible.
- Use the brad nailer to attach the molding to the boards.
You can then caulk around the edges to fill in gaps if so desired.


