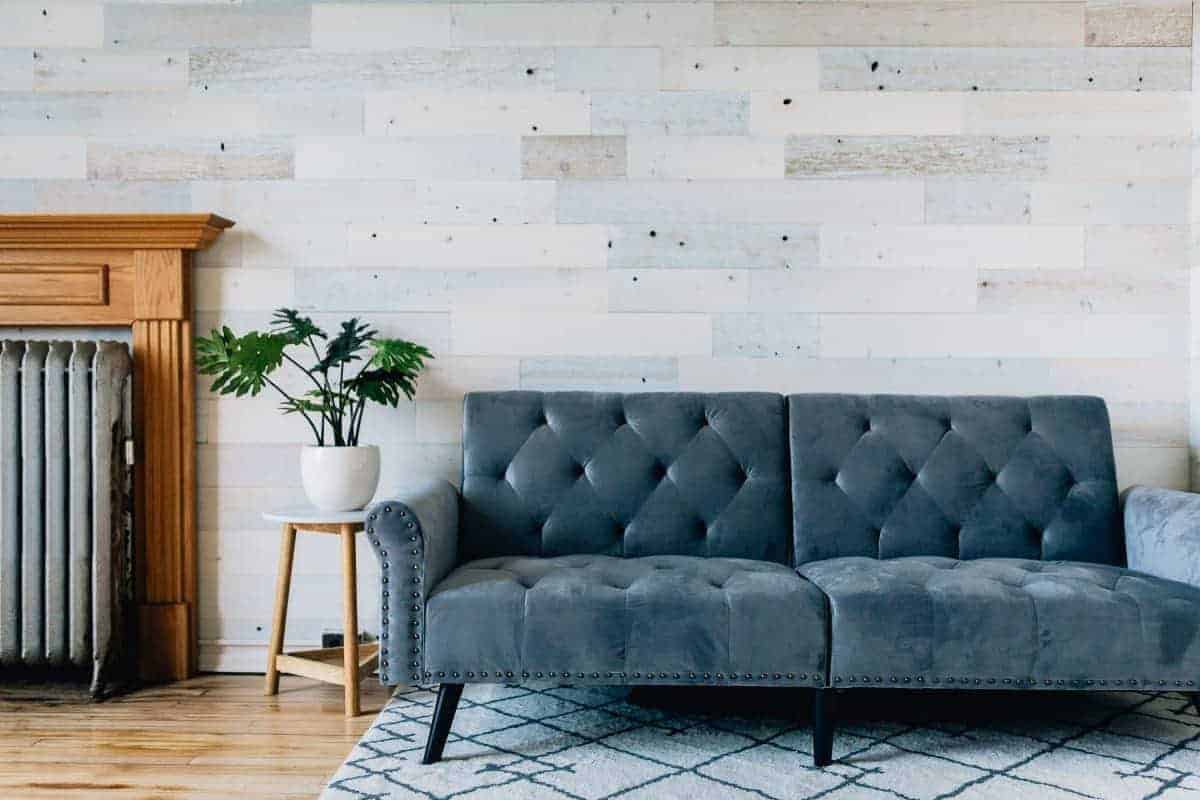
Have you ever looked around at your drab and boring home decor, and wondered what the quickest and easiest way would be to add some amazing character? Whether or not you’re the do-it-yourselfer, adding some warmth and texture into your space can be done in a day, thanks to amazing peel and stick wood planks from Timberchic.

If you’re anything like us, you are mildly obsessed with HGTV, and you’ve been bit by the bug to improve your living spaces. Sure, buying new furniture is a great way to liven up a space, but you can only do so much when you’re working with regular drywall or plaster. Gallery walls are a great way to spruce up the place, but what about adding some character to the wall itself? Instead of buying large pieces to cover those walls, embrace them and use the architecture as a focal point in the room by turning that drab wall into a beautiful wooden plank spotlight.
Timberchic is a company that specializes in peel and stick wooden planks, to completely renovate and update your living space, whether it be a wall, kitchen island, fireplace surround, kitchen backsplash, barn doors etc. If you can dream it, you can Timberchic it. Timberchic wants you to incorporate the beauty and versatility of real wood into your home, without breaking the bank. They are delivered directly to your front door. All of Timberchic planks are 100% real reclaimed river wood logs, found and reclaimed in the Penobscot River in Maine. Being fully American sourced is an important feature for Timberchic, and they’ve been helping people achieve their DIY decorating goals since 2015.
Timberchic planks are pre-finished with a fire-retardant PolyWhey coating, making them safe for any space around the home, from kitchen to baby nursery.

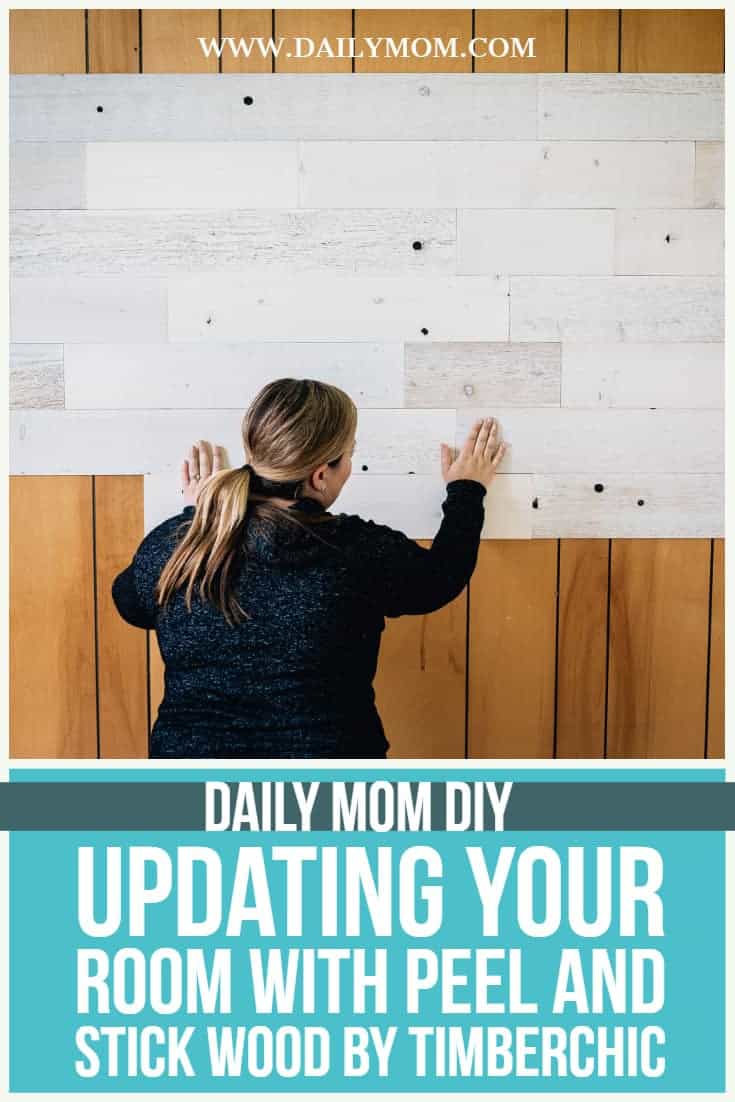
Each plank has 3 3M adhesive strips on the back, so once you press it down, it won’t budge. Doing a Timberchic wall isn’t a massive time investment either; most projects can be done in a few hours, and you don’t need any fancy-schmancy equipment to do it either; in our tips & tricks section below, you’ll see that we actually used a standard box cutter to do all the cutting.
The possibilities are endless as to what you can create with Timberchic. There are 7 different color/finish variations offered so each room or project can be unique and personalized to your liking. If you browse the gallery section of their website, you’ll see some awesome ideas that everyday people like us have submitted, showcasing how they used their wall planks. (We especially love the different patterns that people have created!)

About The Brand
Back in 2005, Timberchic founder, Tom Shafer was living in New York City and working on Wall Street. He was laid off from his job, and returned to his childhood home of Millinocket, Maine. There he started Maine Heritage Timber, a company that sells wood salvaged from a Katahdin area lake and sold as flooring, siding, and furniture. Some of the wood dates back as far as 1824. Timberchic began in 2015 under the Maine Heritage Timber parent company, and specializes in the peel and stick wood planks that you see today. Today, Timberchic is the leader in the industry, and the popular choice for people who want to easily renovate and update their space by bringing in an organic element that has a history of it’s own, to instantly add character to your home.
Personal DIY Experience
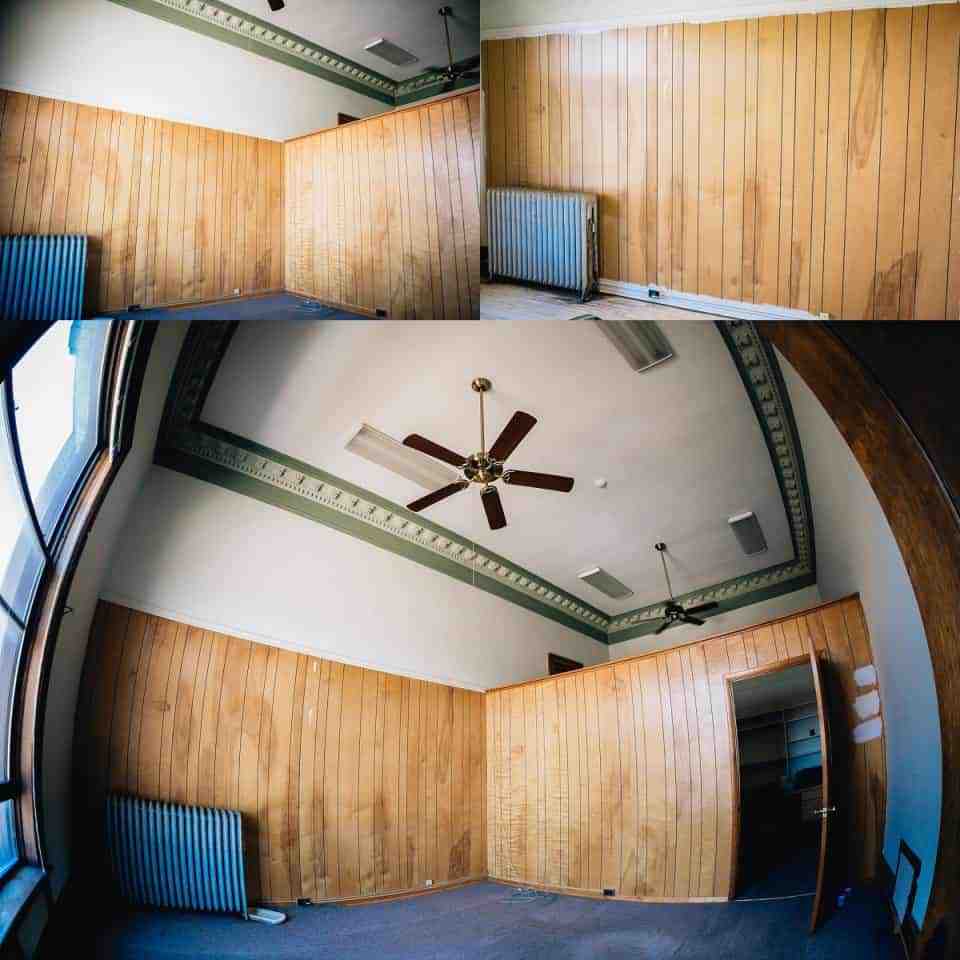
I’m Megan, and I am one of the Senior Editors with Daily Mom. I am also a co-owner of a Michigan wedding photography business in the Detroit area called Mulberry & Sage. My business partner and I were on the hunt to find a great studio business space that would serve as the perfect place to meet with potential wedding clients, as well as having a studio where we could hold photography sessions during the (way too long) winter season in Michigan. We came across an office space in a historical building in town that was built in 1904, and fell in love with the character that the entire space had. The 16 foot ceilings with massive and beautiful crown molding, the original doors and hardware, and many other things really caught our eye and matched our brand perfectly. But the office space needed a bunch of work. It had disgusting carpeting installed, dated wallpaper, and some mid-century wood paneling in the studio section that we simply didn’t love. After a few weeks of tediously reviving the original hardwood flooring throughout the space, we wanted to add some character to the back room, and put our own unique stamp on the space. Painting paneling is an option, but to hide those seams, you need to fill the gaps, as well as use very stinky oil based primer all over it. (You’ll see that I actually tried to do that on one wall, and quickly gave up.)

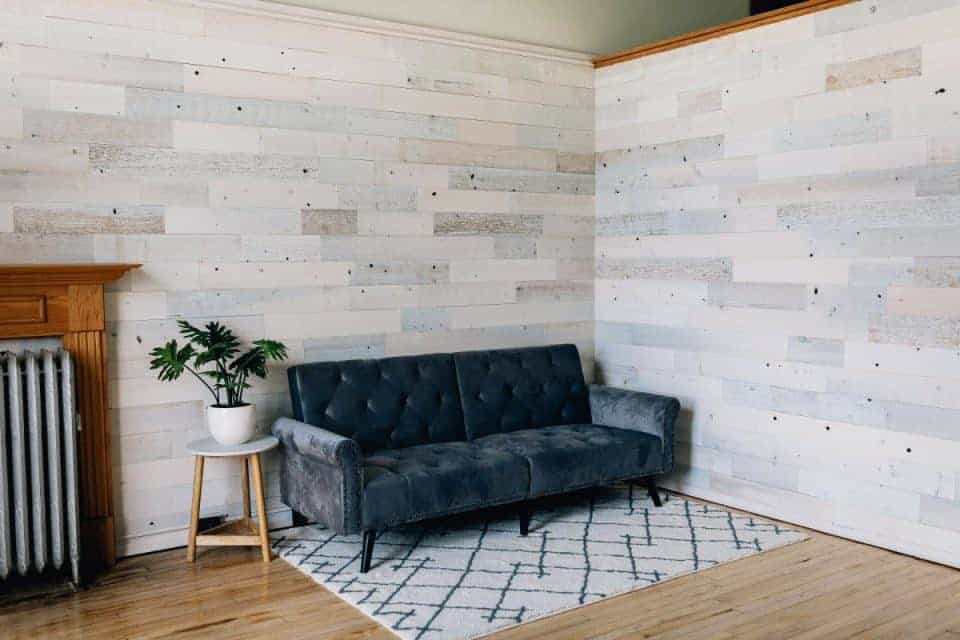
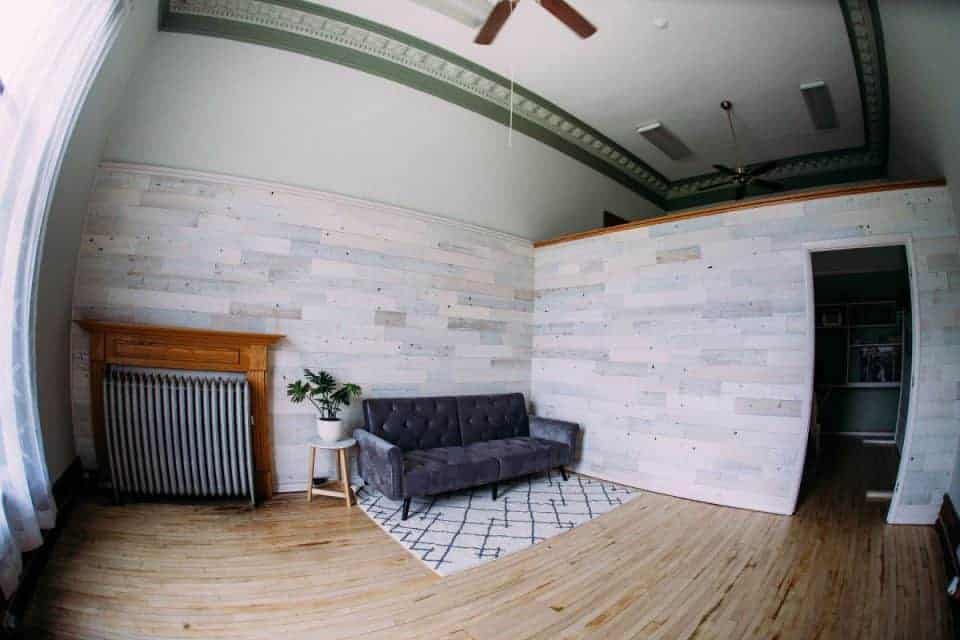
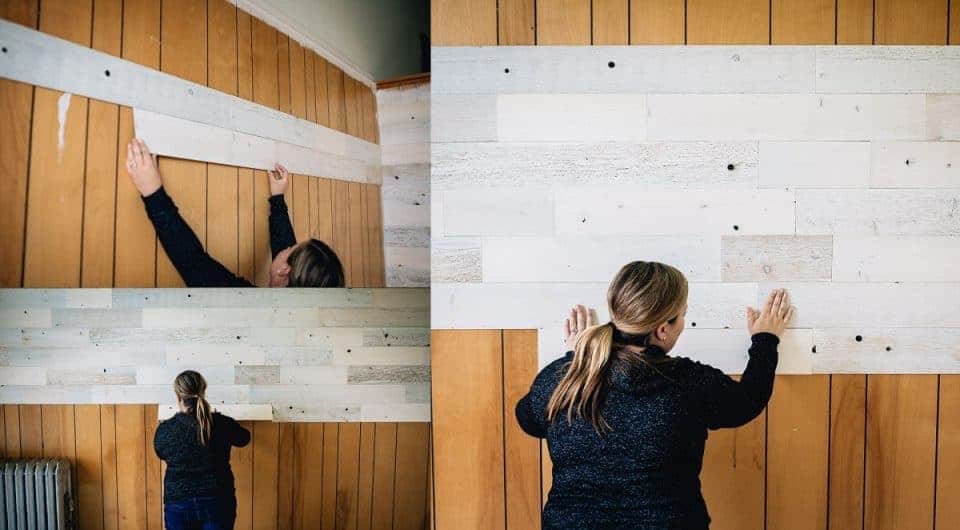
We loved the idea of easily covering it up using peel and stick wood from Timberchic. The Coastal White color goes perfectly with our rustic-chic brand. It’s a white washed color, and it will photograph beautifully in the space. We chose the 5″ wide planks. It was easy to figure out how many boxes you will need; Timberchic’s website has a quick calculator and you just need to know your wall dimensions and it will determine how many boxes it will take to complete your space. The boxes arrived on my doorstep later that week, and the 4 of us (we like to wrangle our husbands into “helping”) tackled the project together that Saturday. With 4 of us working on the project, we quickly completed both walls in one afternoon.
Here are some tips and tricks we learned along the way:
- Make sure your walls are level. Since the building was built 110 years ago, ours were not, so we had to refer to their Troubleshooting Section on their website.
- It goes without saying, invest in a good level.
- Since you’re in the shopping mindset, having a good Heavy Duty Utility Knife and replacement blades really helped. The sharp blades easily cut the wood.
- We also used one of these Speed Square tools when we were cutting the wood, and it saved us from having crooked cuts.
- To make sure the first row was level, we used a tape measure and a Chalkline Reel.
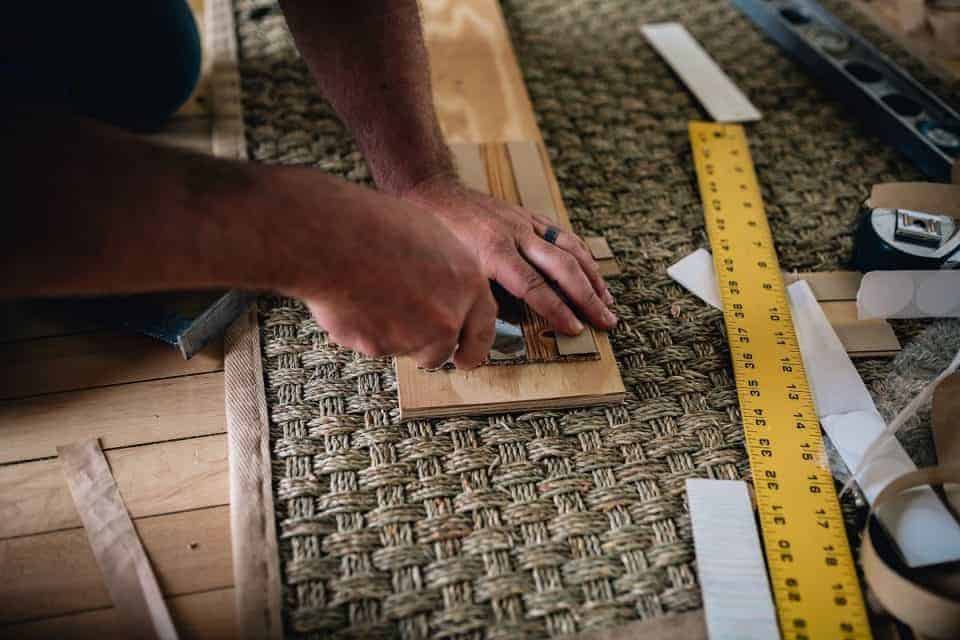
- These planks are real wood, meaning they also have “flaws” like real wood. If there was a plank with knots or holes, Timberchic also includes both white and black stickers that you line up with the wood and stick to the wall before you expose the adhesive of the wood and stick it down. Some we chose to use the black stickers, and some with white.
- Make sure that you’re really lining the wood up and pressing it into the seam. Once the wood has been stuck down, it took breaking a plank and using a pry-bar to get it off the wall (and therefore, ruined that plank.)
- Be careful to stagger your seams so they don’t line up. Test out the plank on the wall with the adhesive backer on first, and then peel it off and stick it down.
- Timberchic sells a J-Roller to apply even pressure to stick down the plank. We did not have one of these, but I can honestly tell you that these planks are stuck on for the long haul. (Remember the pry-bar part? The adhesive is no joke.)
- If your wall is a floating wall, or you’re using this for a kitchen island or something else, there are also End Caps and outside corner caps available. Our walls had trim, so we didn’t have to finish them with that.
- The bottom and top row took us the longest, as pieces had to be specially cut to fit. Once again, this is where having a good utility knife saves the day.
- Luckily, all our outlets are on the bottom row, too. We measured around it and cut it out accordingly.
- With 4 of us working on it, both walls took about 5 hours to complete. The top, bottom, and tiny side on the other side of the door frame took us the longest to complete.

If you aren’t ready to commit to a certain color, the Sample Pack is the way to go. It’s only $5, and you can really see the quality and color variations with your own eyes.
We can’t wait to have our grand opening to show off all our hard work renovating the studio, and we are so proud with how it all turned out. Below are some photos of the space fully complete, as well as a handy YouTube step by step tutorial. If you’re in the market to make a dramatic statement in your home decor, the peek and stick wood from Timberchic is the way to go.
