


 Will Love")


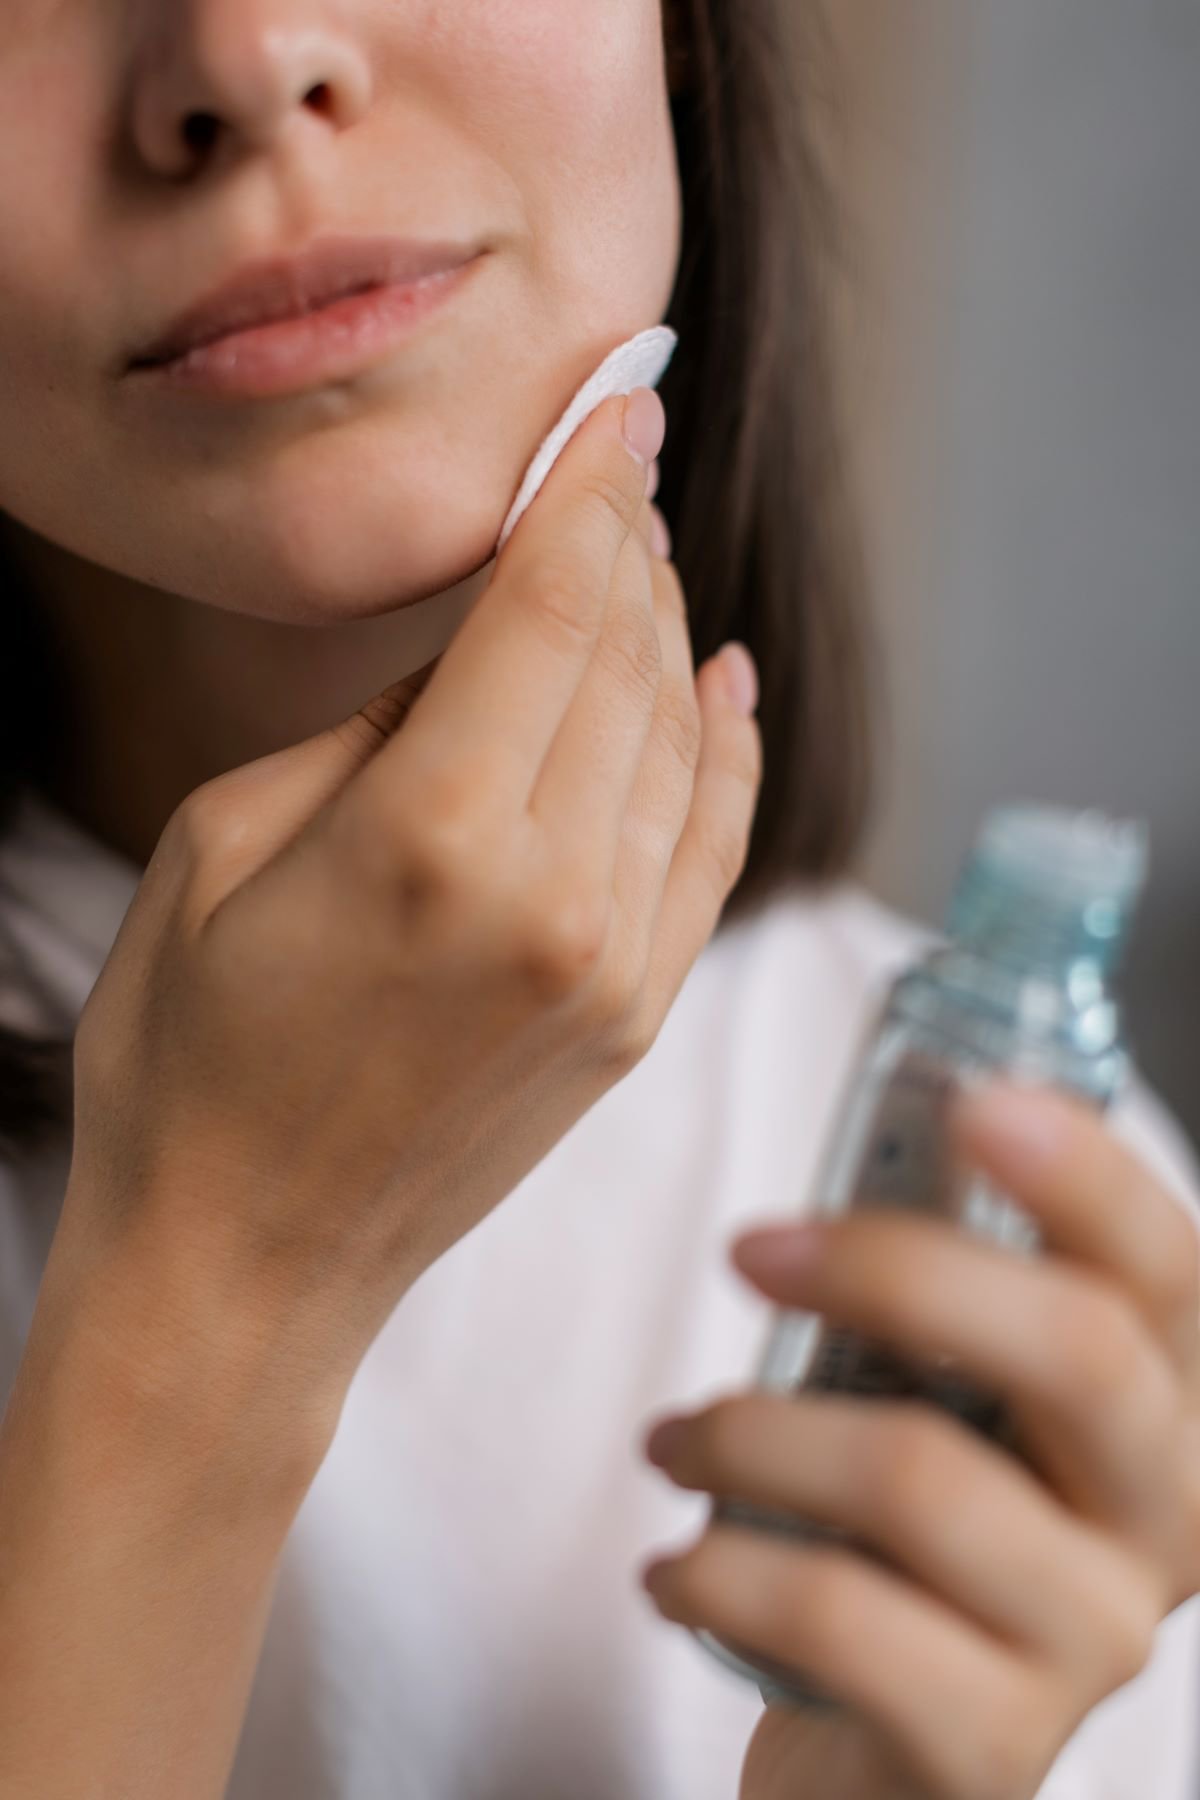
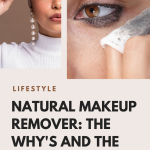
We all know one of the most important things in maintaining healthy skin is to take off our makeup before bed at night. But, most cosmetic removers are full of unhealthy chemicals, which is why using a natural makeup remover is so important. And many times just using face wash and water doesn’t quite do the trick. So, what is a beautiful girl to do? Make your own all-natural makeup remover. It’s inexpensive, easy to make, and can help protect your eyes from injury or infection.

4 Ways to Reduce Risk of Eye Injury from Makeup
Your eyes are delicate organs that can be easily damaged. Even minor injuries can cause permanent, life-long damage to the tissues of the eye, leading to reduced vision or even blindness. Avoiding contact with dangerous chemicals and substances, and seeking medical attention for any eye injury promptly are the keys to keeping your eyes healthy. Protecting your eyes from injury can help to ensure that your vision is preserved for as long as possible.
Many people wear makeup daily, but the use of products such as eyeliner and mascara can be quite dangerous when applied incorrectly or in an irresponsible manner. Besides never sharing makeup with others as it may contain bacteria and cause infection, the following simple steps can help keep your eyes safe and prevent any injuries.
1Check Ingredients
When shopping for new eye makeup, or makeup of any kind really, you should always read the labels and know the ingredients. Make sure to avoid anything that contains strong chemicals, such as acetone or alcohol, which can further irritate and damage the delicate skin around the eyes. Ingredients such as lead, talc, butylated hydroxyanisole, urea, sulfates, and phthalates should be avoided. Consider using hypoallergenic cosmetics that are allergen-free, which are the best natural makeup remover for sensitive skin.
When it comes to removing makeup, it is also important to use a gentle, non-abrasive cleanser designed specifically for the eyes. Natural makeup removers are a great option, as they are usually gentler on the eyes and leave the skin feeling soft and refreshed. And DIY makeup removers are also easy to make, using simple ingredients like nourishing oils and soothing herbal extracts. With just a few simple steps, your eyes can be free of makeup and ready for a good night’s rest.


2Discard Old Makeup
Speaking of checking labels, it’s incredibly important to look for the expiration dates on the labels and discard them if they’re past their prime. If they’re old, just replace them with fresh products. Can’t find the date? As a rule of thumb makeup should be thrown away after about three months. Additionally, discard any makeup products if the product’s color has changed significantly.
Old mascara and eyeliner have an increased chance of carrying bacteria and fungus that can contaminate your eye and cause a serious eye infection. An easy way to remember when it is time to get rid of your eye makeup is to mark the date on the makeup with a permanent marker after your purchase.
It’s important to use the same amount of caution when it comes to makeup brushes and applicators. Replace them with new ones when the bristles start to fray, as this can cause bacteria to build up on your skin. Doing this will help you maintain a healthy and safe makeup regime, ensuring beautiful results and long-term skin health.
READ MORE: 11 Common Cosmetic Ingredients Deciphered
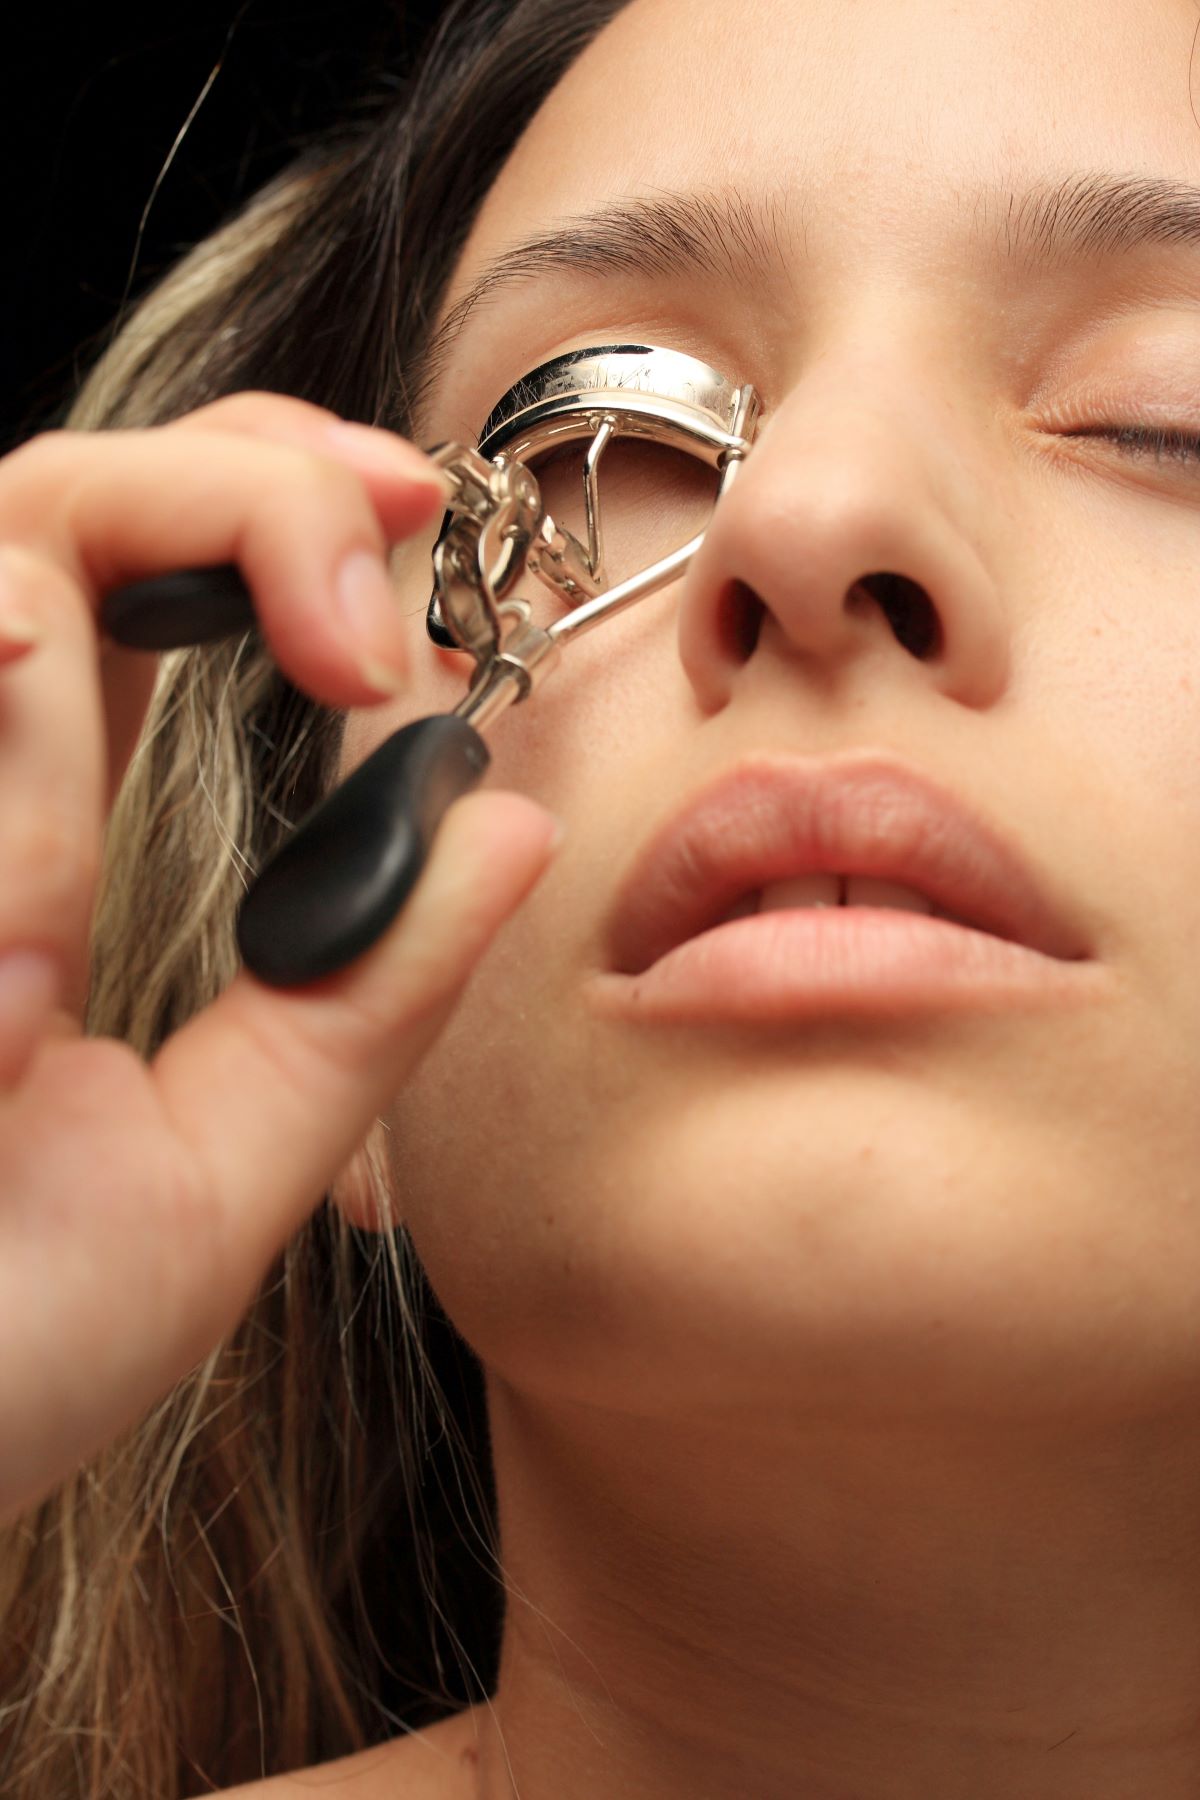
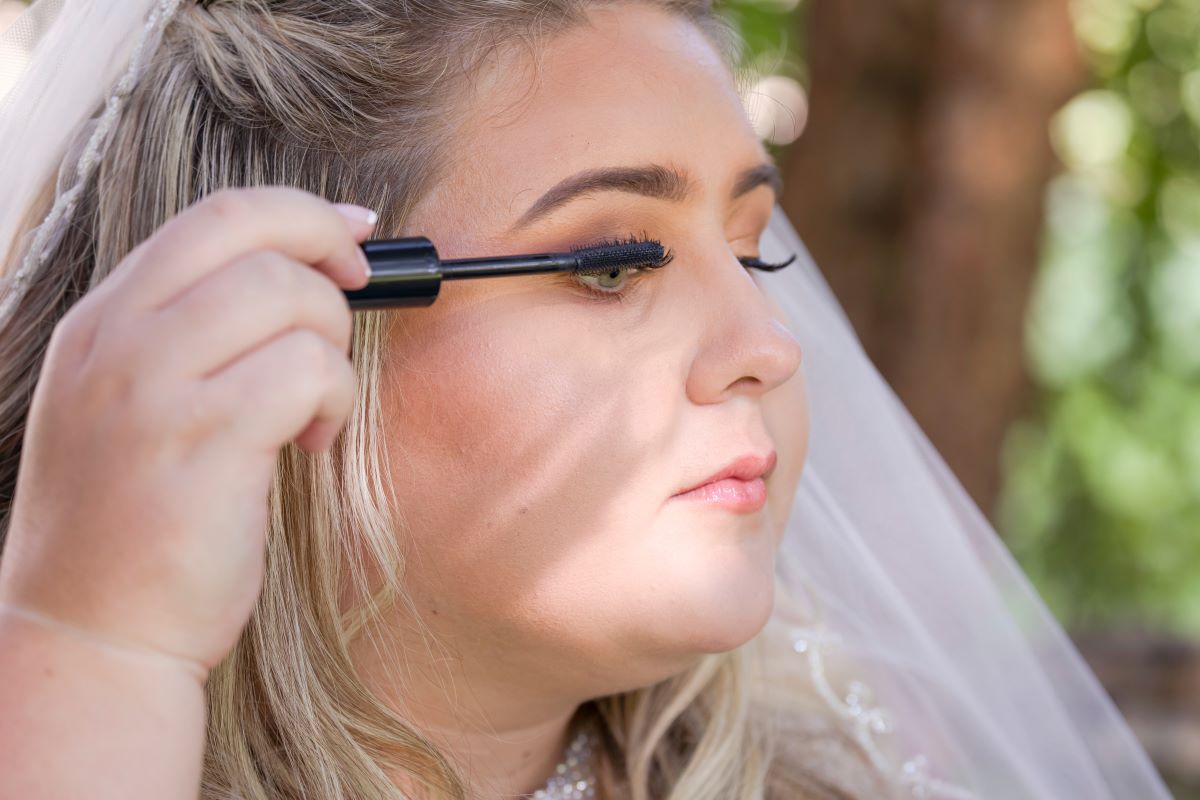
3Curl Eyelashes Before Applying Mascara
Want to enhance your natural appearance and create a more defined, glamorous look? Curling eyelashes helps add drama to the eyes and draw attention to the area, making the eyes appear larger and more open. Furthermore, curling the eyelashes helps to separate the lashes and make them look fuller, helping to create a more polished and put-together look.

Of course, by curling your eyelashes, the lashes are being lifted up and away from the eye, which means it’s also easier to apply mascara. Use a clean, dry eyelash curlerbefore applying your mascara and you will decrease the chances of accidentally getting the makeup in your eye. After curling your eyelashes, you can apply your mascara more easily and with greater precision. Plus, curling your eyelashes is also helpful in preventing clumping and spidery-looking lashes.
READ MORE: How to Properly Clean Your Makeup Brushes
4Never Apply Makeup While Driving
Many women who are in a rush tend to put on makeup in the car while they are on their way to their destination. During the drive, unexpected stops, swerves, or bumps in the road can make once steady hands move or slip and accidentally cause the makeup or the applicator to touch the eye and injure it. For instance, a mascara brush could scratch the eyeball badly enough to need treatment from an ophthalmologist. No thanks!
Make sure you’re not only applying your eye makeup in a neutral, stable area but also in a well-lit area so you can properly see what you’re doing. Not only will your eyes be safer for it, but your makeup will also look better ready to take on the world!
READ MORE: 7 Simple Makeup Tricks Every Mom Should Know


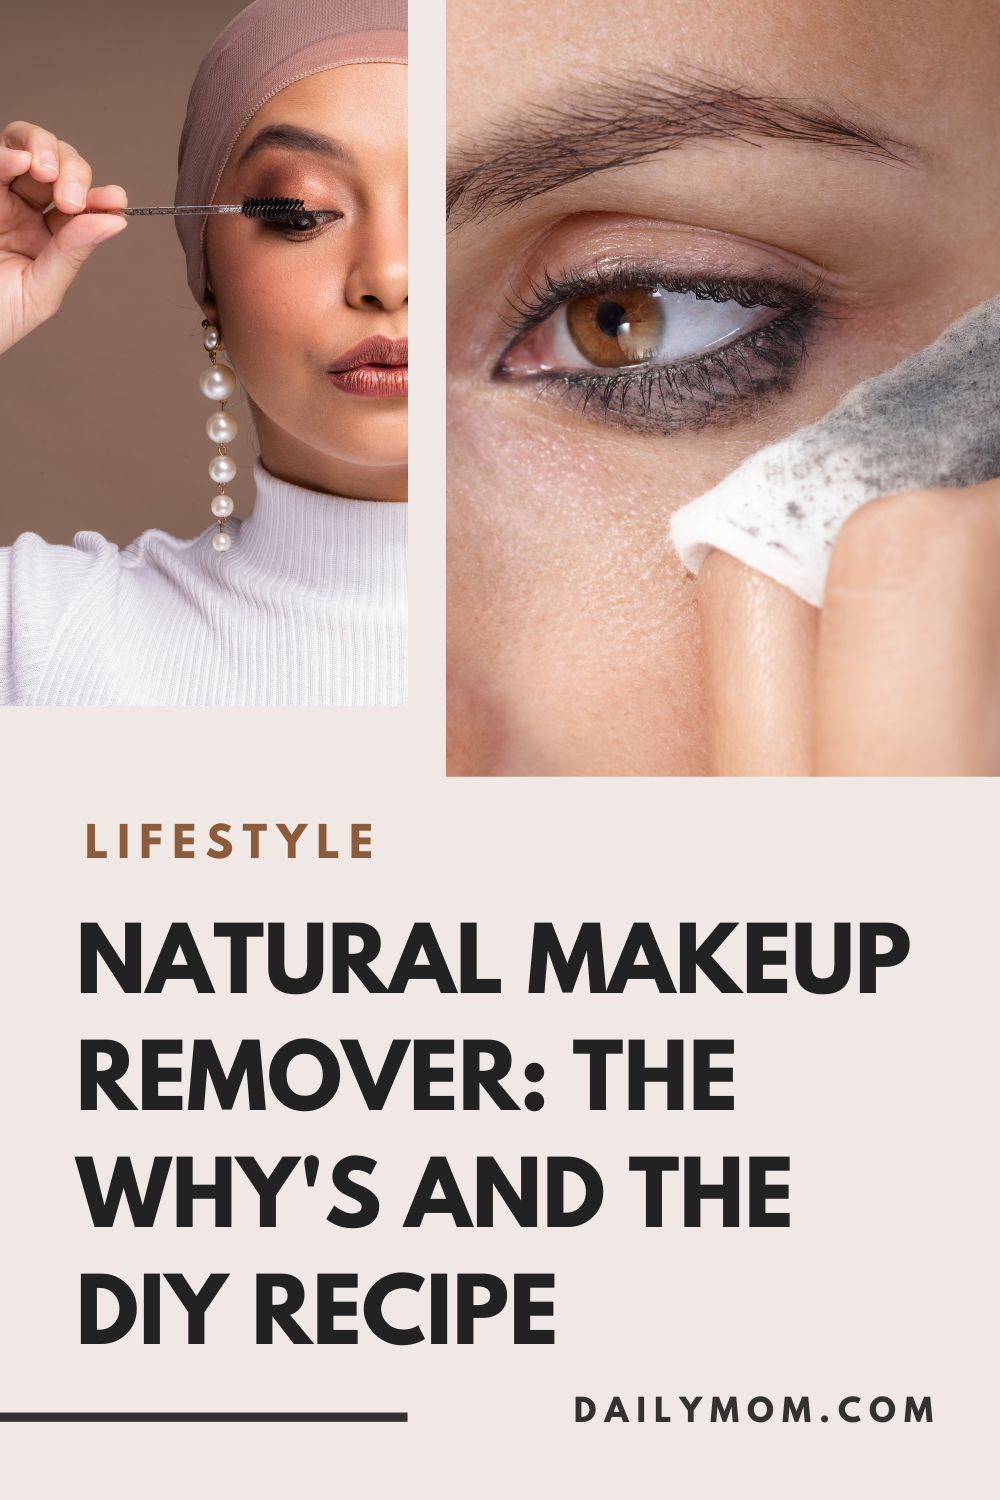
Natural DIY Makeup Remover Recipe
The most natural makeup remover is not only great for your skin, but it can probably be made right now with ingredients already in the pantry. Apart from the fact that they are much cheaper and just as effective, DIY makeup removers also provide the skin with nourishing and hydrating oils and vitamins.
For those looking to make their own DIY makeup remover, it’s very easy to do. All you need are natural ingredients. Why not give it a try and ditch the commercial makeup removers?
What You Need:
- A container with an airtight seal (glass or plastic)
- 1 cup of water
- 1 tablespoon organic coconut oil
- 1 tablespoon of your favorite all-natural or organic liquid face soap (We love Burt’s Bees Baby Bee Shampoo & Wash.)
How to:
- In a small saucepan, heat the water until it’s just boiling. This is to remove any impurities in the water. Let it cool for a few minutes so it’s still warm, but not too hot to handle.
- Add 1 tablespoon of coconut oil to the warm water. Coconut oil is solid, but the warm water will cause it to turn into a liquid, which is what you want. Stir to combine.
- Add 1 tablespoon of liquid face soap. Stir again.
- Let the mixture cool and pour it into your container.
- That’s it! You’re ready to use your new DIY makeup remover!

The best part is that the coconut oil leaves your skin so soft and not at all greasy. And it smells awesome! After the mixture cools, the oil and soap will separate from the water. This is normal and nothing to worry about. Give the natural DIY makeup remover a gentle shake and it’ll mix right up. This natural homemade makeup remover has a shelf life of about 6 months.
Want the best natural makeup remover wipes? In a wide, shallow container lay a stack of cut paper towels. Pour this natural makeup remover for dry skin over top, and seal tight.

In conclusion, using a natural makeup remover is an extremely important part of a healthy nighttime skincare routine. Not only does it remove all the makeup, dirt, and grime from the surface of the skin, but it can also protect the eyes from injury and infection. Making a DIY natural makeup remover is easy, inexpensive, and can be done in the comfort of your home with ingredients commonly found in just a few minutes. So, don’t let another night go by without removing your makeup, and be sure to invest in an all-natural makeup remover for the health of your skin and eyes.
CONNECT WITH DAILY MOM
💖 NEWSLETTER: DAILY READS IN YOUR INBOX 💖

Sign up to receive our picks for the best things to do, see and buy so you can relax and focus on more important tasks! Let us help you be the best version of yourself you can be!
BE SOCIAL WITH US
5📌 LOVE IT? PIN IT!📌


")


 Will Love")
This sounds like a great recipe. But I’m wondering about the coconut oil. It’s relatively solid at room temperature. Does it stay solidified in the mixture? Our house is cold in the winter – will I be rubbing “oil chunks” on my face?