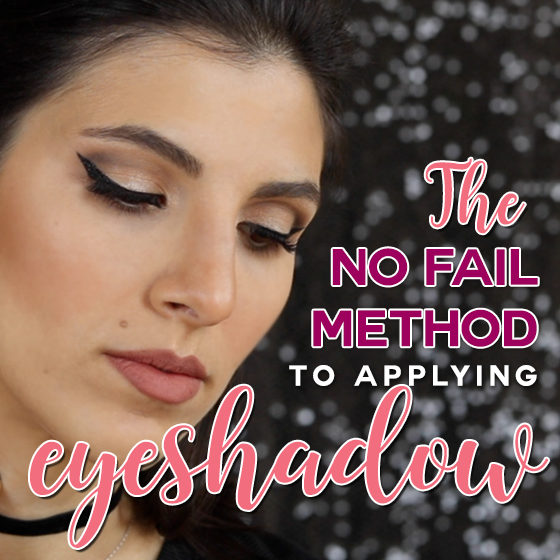
With all the trends in makeup, it can feel overwhelming to keep up with all the new techniques and makeup products. We’re taking it back to the basics to bring you this post on the no fail way to apply eyeshadow in just four steps. It doesn’t matter what eye shape or skin tone you have, this method looks good on everyone and couldn’t be more simple.
Creating the perfect eyeshadow look is all about understanding how to contour and highlight your eyes. Before we talk about how to apply bold colored eyeshadows, we’re going to keep it simple and explain an eyeshadow look using nude shades. Then, once you know where to apply your light and dark colors, you can use this method for any color story you want.
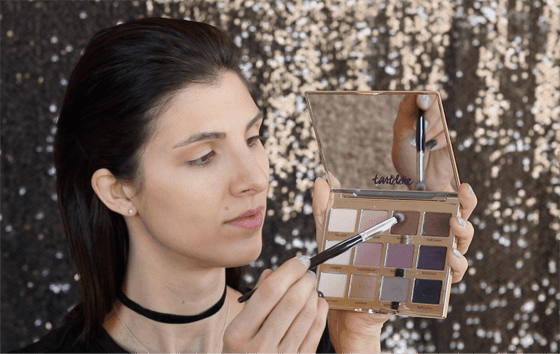
If you don’t have any “nude” eyeshadows, it’s probably time to invest in some. We love the Jane Iredale Daytime Eyeshadow Palette or Tarte’s “Tartelette” Palette. These are perfect for everyday and minimal makeup looks.
To create the perfect eyeshadow look, you’ll need 3 shades — one that is close to your natural skin tone, one that is a few shades darker for contouring, and one that is a few shades lighter for highlighting. You’re basically going to exaggerate the natural curves of your eyelids to create depth and dimension.
Shimmers are an easy way to elevate a look and make it more feminine. For a super natural look, opt for all matte colors to get a “your skin, but better” result.
Step 1: Prime your lids
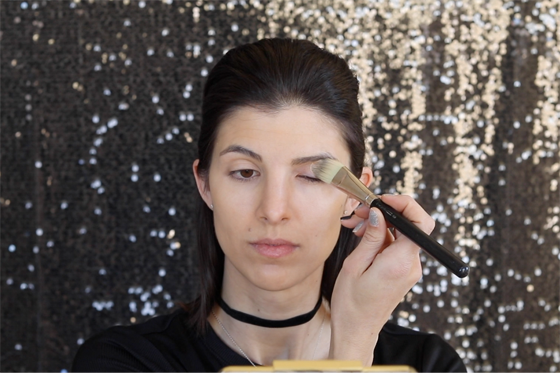
Before you begin applying your shadow colors, it’s important to prime your lids. You want to create a nice canvas to apply your shadow so that it will last all day and you won’t have creasing. Priming your lids will also ensure that your eyeshadows show up on your skin as their truest colors. To prime your lids, the first thing you want to do is conceal any “imperfections” on your eyelids — the skin on the eyelids is very delicate and thin, often showing veins and discoloration. If you apply foundation on your face, be sure to also add foundation to your lids, as this will be helpful in creating an even skin tone. Even if you didn’t apply foundation, add some of your favorite concealer or eyeshadow primer like Urban Decay’s Eyeshadow Primer Potion. This will cancel out any redness or veins and make your eyelids completely blank. To lock in your primer, add a powder. You can use any translucent powder, or try a matte eyeshadow a couple shades lighter than your skin tone to brighten up your eyes. Apply it from lash line to brow bone as an all over wash of color. This will also make it easier to blend the shadows you apply on top.
Step 2: Add Your Transition Color
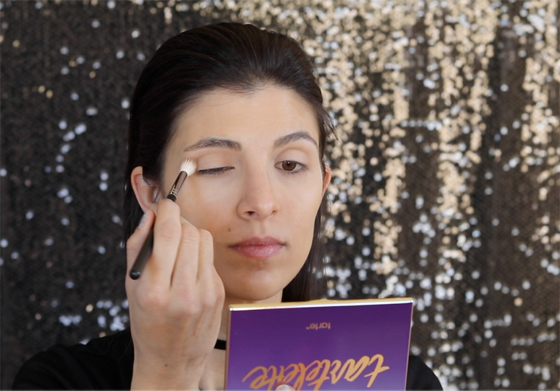
Now that your lids are primed, you can begin adding your eyeshadow colors. Choose a shadow that is close to your natural skin tone and apply that in your crease — the area around your eyeball where your socket is. If you don’t have a visible crease, use your brush to feel the natural curve of your eyeball. Use a fluffy brush and use windshield wiper motions and small, circular motions to blend the color in your crease and outer corner of your eye. This is known as the transition color — the color that transitions your natural skin with your eyeshadow color. The transition color is key when you’re doing a “colored” eyeshadow look, making it look more seamless, blended, and natural.
Step 3: Contour
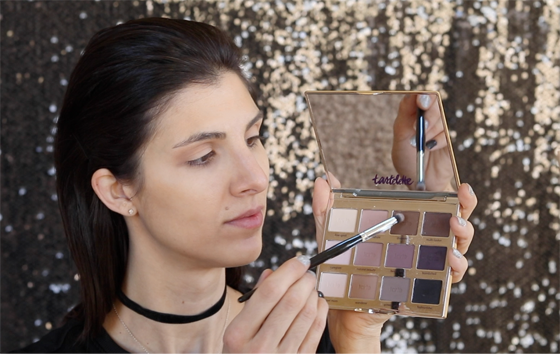
The next step is adding depth by using your darker color. For a natural look, use a brown; only use black if you’re going for a more daring and dramatic look. Apply your contour shade using a smaller fluffy brush for a natural, diffused look or a small dome brush for a more precise and intense application. Using a brush with shorter hairs will give you more control of where you apply your shadow, but keep in mind it will deposit more product, giving you a more pigmented application. You’re going to want to apply the darker shade on the “outer V” of the eye — the area on the outer corner of the eye and up into your crease. Imagine you are extending your lower lash line up toward the end of your eyebrow; stop when you reach the crease and carry the color into the crease, creating a V shape with your shadow. You can also apply your contour color on the lower lash line and diffuse the color to the inner 1/3 of your eye. Keep the inner corner blank; we want that area to stay nice and bright.
If you’re looking for a natural look, use a brush with natural hairs. Natural haired brushes absorb the product, making your application more sheer. Using a synthetic brush will apply your product more heavily since it doesn’t steal any of your product.
Step 4: Highlight
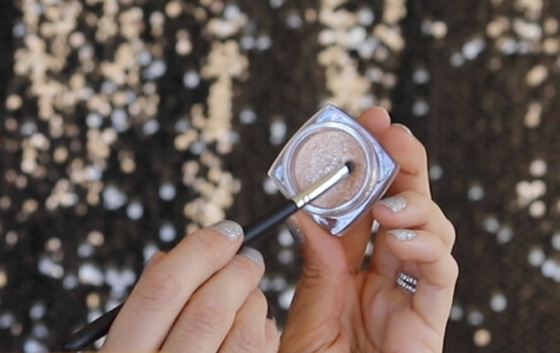
Now it’s time to add light to your eyes using your highlight color — your light eyeshadow. If you typically shy away from shimmers, this is an easy way to incorporate them into your look without using too much or looking over the top glittery. The areas you want to highlight are the inner corner of your eyes — carry your light shadow from the upper and lower lash line to make your eyes look more open and awake. Using a small, flat brush will allow you to apply your product with precision and keep everything looking clean. Apply a pop of highlight on the center of your lids to add dimension to your look and make your eyes look more round. To achieve more defined, structured eyebrows, add your light shadow just beneath the arch and carry it toward the tail of your eyebrow.
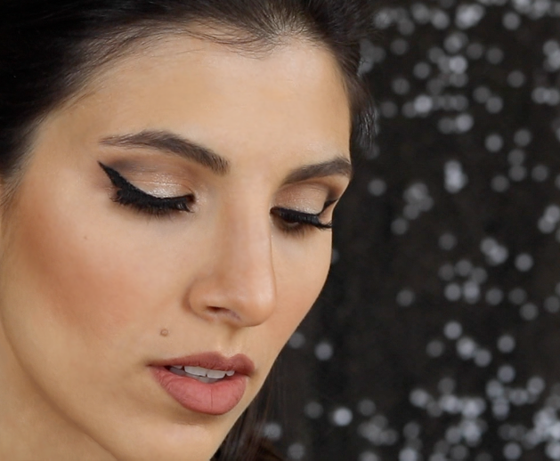
Now that you know how to highlight and contour your eyes, you can get the perfect eyeshadow every time, using any colors. Want to do green eyeshadow? Grab your transition color with a dark green to contour, paired with a gold as your highlight color. As long as you have a transition color close to your skin tone, a dark shadow, and a light shadow, you can apply this method to any color story. Once you’re comfortable with this eye makeup look, try other looks like a smokey eye or a cut crease. There’s no right or wrong way to apply your makeup, but practicing and experimenting will help you learn what looks good on you and what colors compliment your eyes, skin, and hair.
Photo credits: Kristen Love


