It is more likely than not that your grandmother or great grandmother made her own homemade jam. Now most of us just buy it in the store, but making jam is pretty easy once you get the hang of it. The most intimidating part is canning the jam to keep it fresh and shelf-stable so it can be stored. Even that is not so hard when you know the steps. Get out the sugar, gather up some fresh fruit, buy yourself some canning jars, and learn how to make your own homemade jam.
Sterilize the Jars
In order to store your homemade jam safely, you have to sterilize the jars before filling them. It is a pretty quick and simple process. You will need canning jars with lids and bands, a large pot with a lid, a canning rack or other rack that will fit inside the pot (if you have an Instant Pot, the rack that comes with it would work), a saucepan, tongs, and kitchen towels.
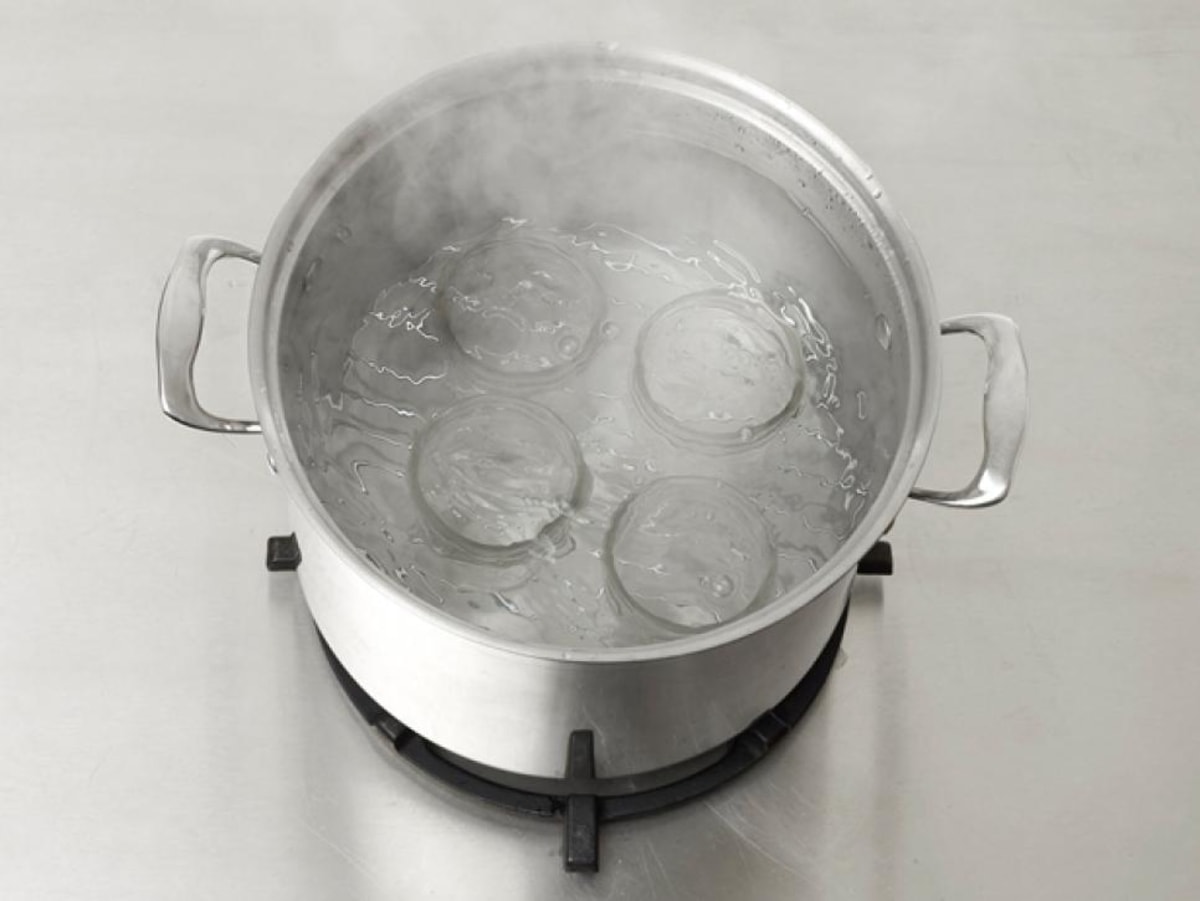
Once you have gathered all of your supplies, start by washing the jars, lids, and bands in hot, soapy water. Rinse them out well. Place the jars on the rack in a pot of water. Boil them for 10 minutes. After 10 minutes, reduce the heat and simmer until you are ready to start filling them with your homemade jam. While the jars are boiling and simmering, place the lids and bands in a saucepan of simmering water until you are ready to use them, but do not boil them.
When you are ready to fill the jars, remove the jars from the water with tongs or a jar lifter if you have one. Carefully shake out the excess water and rest the jar on a clean towel. Now your jars are ready to be filled. You want to fill the jars while they are still warm, so do not remove them from the simmering water until you are ready to can.
Making Homemade Jam
There are two basic recipes for making homemade jam – one uses pectin and the other does not. Pectin is a substance naturally found in certain fruits. When heated together with sugar it becomes a thickening agent. Pectin has two advantages for making homemade jam. It reduces the cooking time required to make jam. Instead of having to cook down the jam until it has reduced down to the right consistency, pectin makes it so you can cook certain jams in as little as 10 minutes.
The other advantage of pectin is that it helps preserve the fresh flavor and natural color of the fruit. The longer you cook strawberries for instance, the darker the jam. But add pectin and use a shorter cooking time and your homemade jam will stay a more vibrant red color.
However, both methods – using pectin or not – produce yummy homemade jam. Here are some recipes for homemade jam using both methods so you can decide which one you prefer.
Strawberry Jam
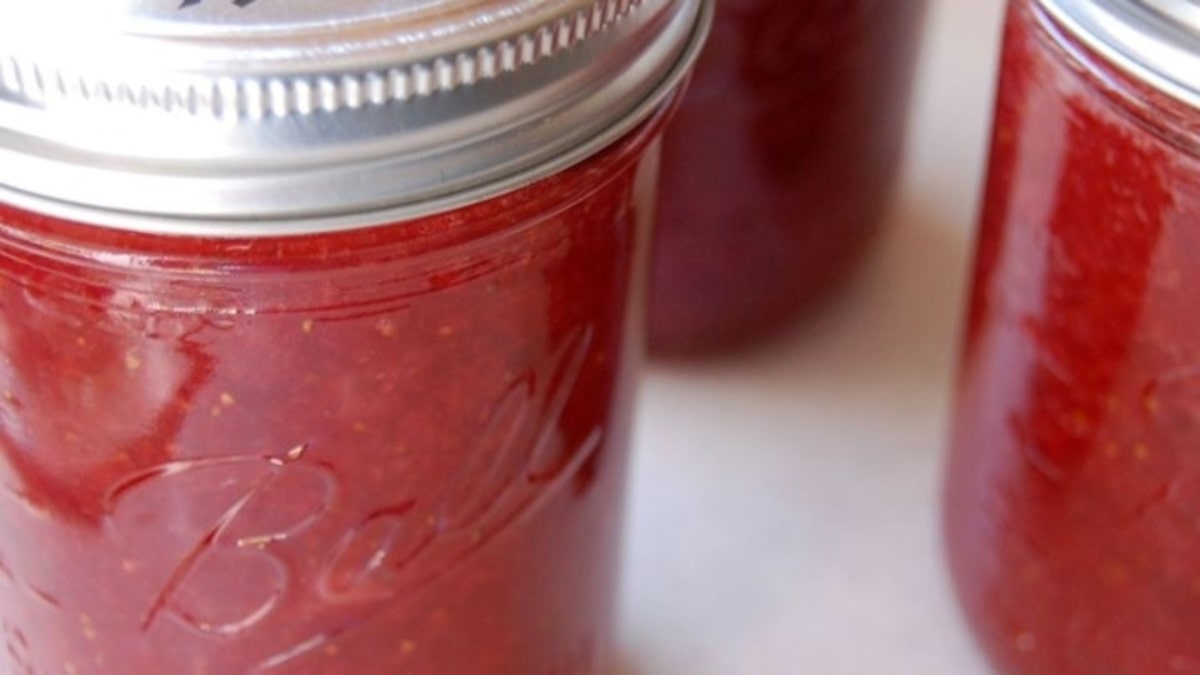
This simple strawberry jam recipe uses only three ingredients – fresh strawberries, sugar, and lemon juice. Start by crushing the strawberries. Then mix the strawberries, sugar, and lemon juice together in a saucepan. Stir over low heat until the sugar is dissolved. Increase the heat to high and bring the mixture to a rolling boil. Boil and stir often until the mixture reaches 220 degrees Fahrenheit.
To check if your jam is gelled enough for canning, place a plate in the freezer when you begin making the jam. After 15 minutes or so of boiling, place a teaspoon of the jam liquid onto the cold plate. Return the plate to the freezer for a minute. Remove from the freezer and run your finger through the jam on the plate. If you can make a line through it with your finger and it does not try to run back together, it is ready to be canned.
You can substitute the strawberries for another berry like blueberries or blackberries and follow the same recipe for Blueberry or Blackberry Jam.
For the full recipe, visit All Recipes.
Strawberry Jam with Pectin
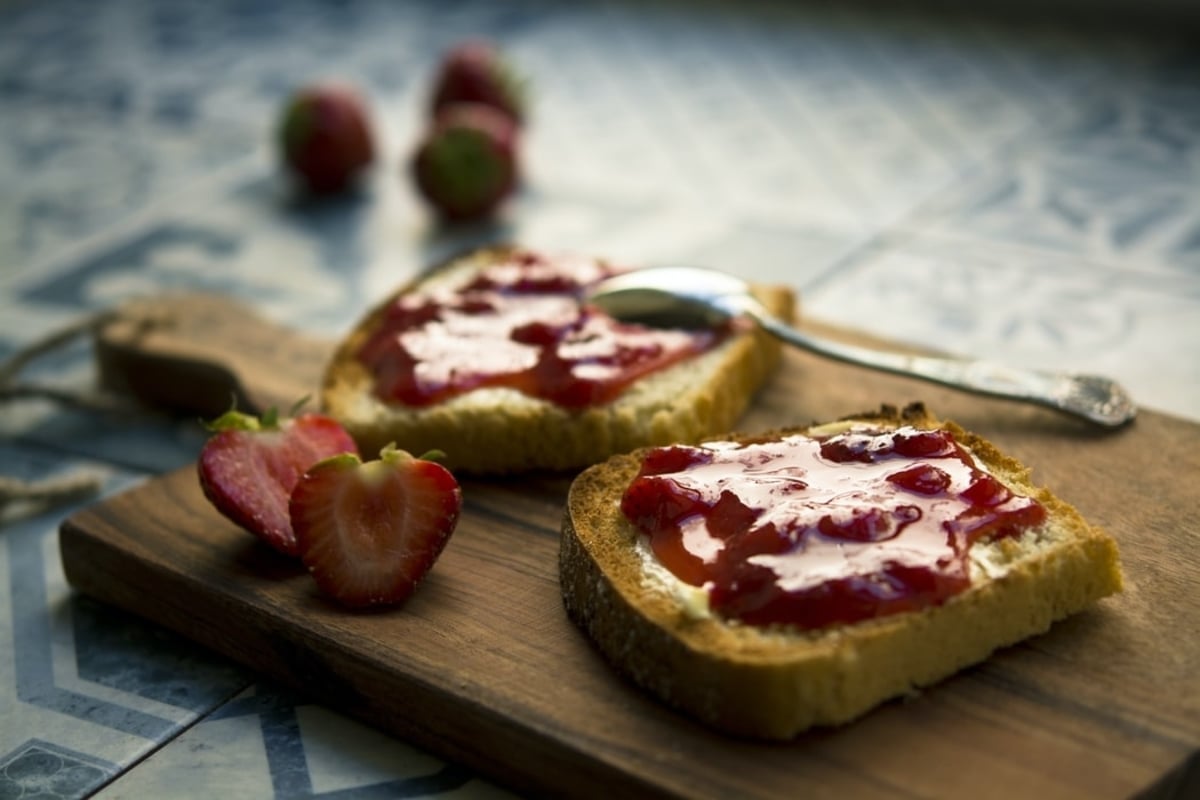
This version of strawberry jam is made with strawberries, sugar, pectin, lemon juice, and lemon zest. Following a similar process as for the homemade strawberry jam without pectin, combine strawberries, pectin, lemon juice, and lemon zest in a large pot. Bring the mixture to a boil and stir occasionally. Add the sugar and stir until it is dissolved. Return the jam mixture to a rolling boil and boil for one minute, stirring constantly. Remove from heat and ladle into sterilized jars.
Find the full recipe at Food.com.
Strawberry-Thyme Jam
If you want to get a little bit fancy, try out this homemade jam that adds fresh thyme to strawberries, sugar and lemon juice. Combine the ingredients in a large pot and bring it to a boil over medium heat. Reduce the contents of the pot to a simmer and cook until thickened, about 30 minutes.
If you plan on eating it right away, cool the jam to room temperature before transferring it to resealable containers and storing it in the refrigerator for up to three weeks. Otherwise, follow the directions below to can and store your homemade Strawberry-Thyme Jam for longer.
For the full recipe, visit Food Network.
Peach Jam
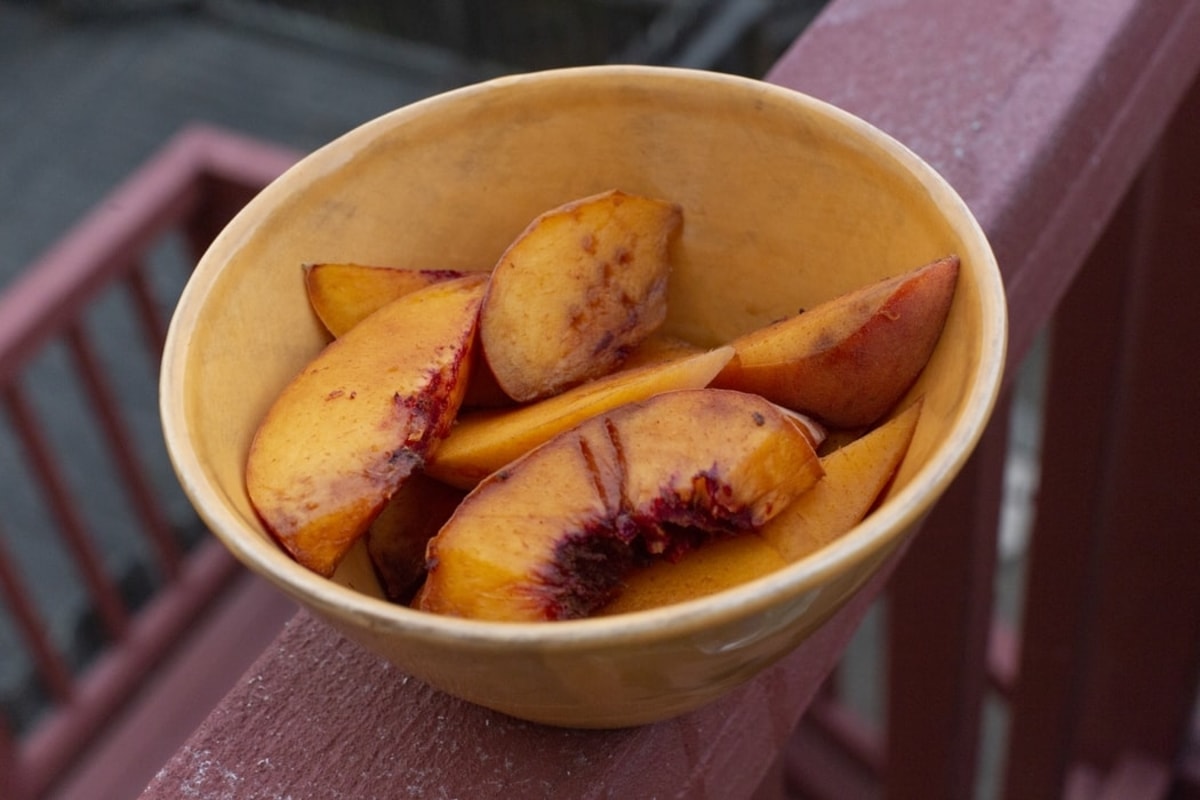
When peach season hits, break out the canning jars and make a batch of peach jam to preserve that delicious peachy goodness all year. All this recipe calls for is peaches and sugar.
Start by bringing a large pot of water to a boil. Add the peaches to the boiling water for just a minute before removing them with a slotted spoon and placing them in cold water. Peel and slice the peaches. Place the peaches in a large pot and add the sugar. Bring to a boil and stir frequently for 45 minutes to an hour. To test whether or not the jam is ready, place a cold metal spoon in the mixture and tilt. The jam is when it forms a single stream on the spoon.
Add the juice from half a lemon to the peach and sugar mixture to help brighten and balance the flavor. You can also reduce the sugar by about a cup for a little less sugary option.
Find the entire recipe at Food Network.
Canning Your Homemade Jam
Now that you have sterilized the jars and made jam, it is time to can your homemade jam. It is not quite as simple as just filling the jars and putting on the lids. There are a few steps you have to take in order to keep your homemade jam shelf-stable so that it can be stored until you are ready to eat it.
Ladle hot jam into sterilized jars or use a wide-mouth funnel. Leave empty space at the top of the jar according to the specific jam recipe (this is usually referred to as “headspace”). Clean the rims on the jars with a damp paper towel, removing any spilled jam that would get in the way of the band and lid creating a tight seal. Place lids on the jars and screw the bands on just enough to hold it in place, but do not tighten. The jam can expand and if the lid is on tight during canning, the jar will crack.
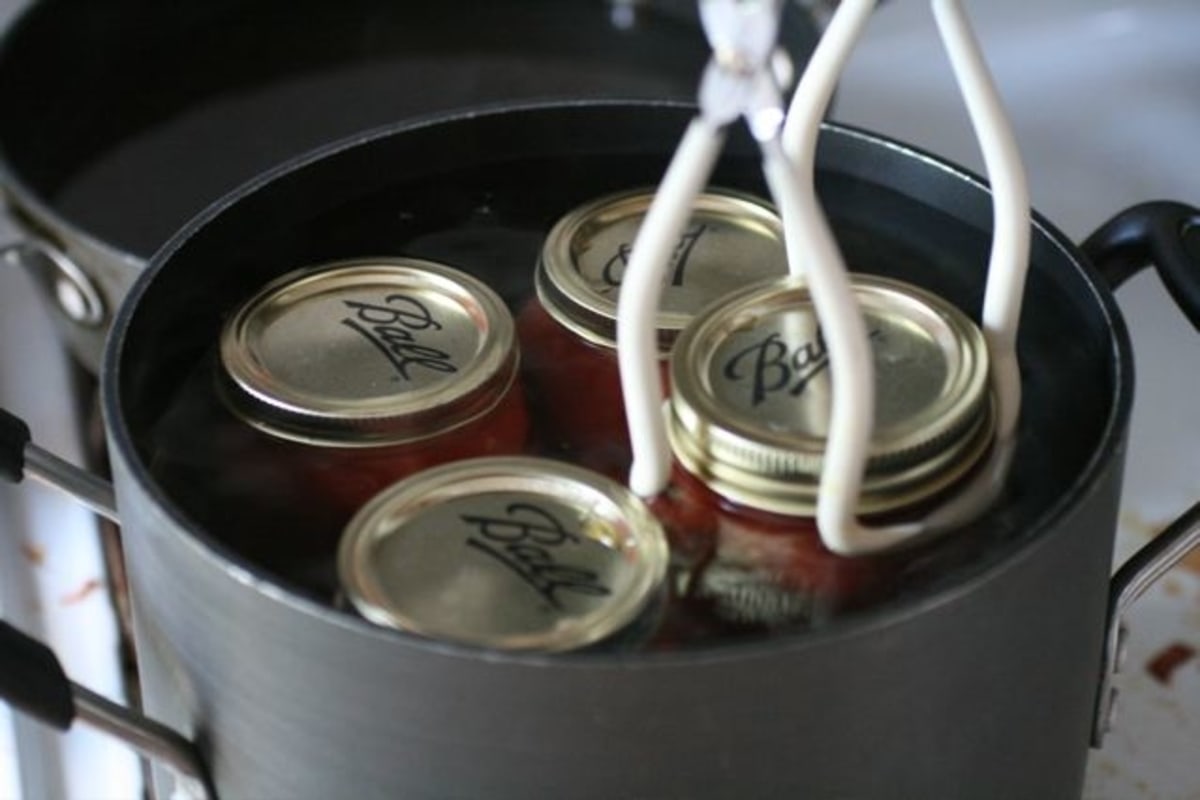
Fill a large pot with about four inches of water and bring it to a simmer. Carefully lower the filled jars into the pot, spacing them about an inch apart. Add water to the pot from a simmering kettle or saucepan if the jars are not fully covered in water. Simmer jars for 10 minutes. Remove jars with tongs or a jar lifter that has a rubber grip and place them about an inch apart on a towel to cool.
Once the jars are completely cooled, test the seal by pressing on the lid – it should stay flat and not flex up and down, meaning it is sealed and air can not get in. Now tighten the band on the jar, label them with the type of homemade jam inside, and store the jars in a cool, dark place. You can store them for up to a year, but you are likely to dig into your jam well before then.
Freezer Jam: A Homemade Jam Alternative
If you are a little intimidated by the whole canning process, there is still hope for enjoying your own homemade jam for longer than the three-week period you can keep jam in the refrigerator when you have not put it through the canning process to seal the jar.
Freezer jam is your answer. Storing food in the freezer allows for long-term storage, as well as requires little to no cooking. Store it in freezer-safe plastic containers, plastic bags, or glass jars and it will keep for up to one year in the freezer. Just be sure to leave about a half-inch of room at the top of the container to allow for the jam to expand as it freezes.
Double Berry Freezer Jam
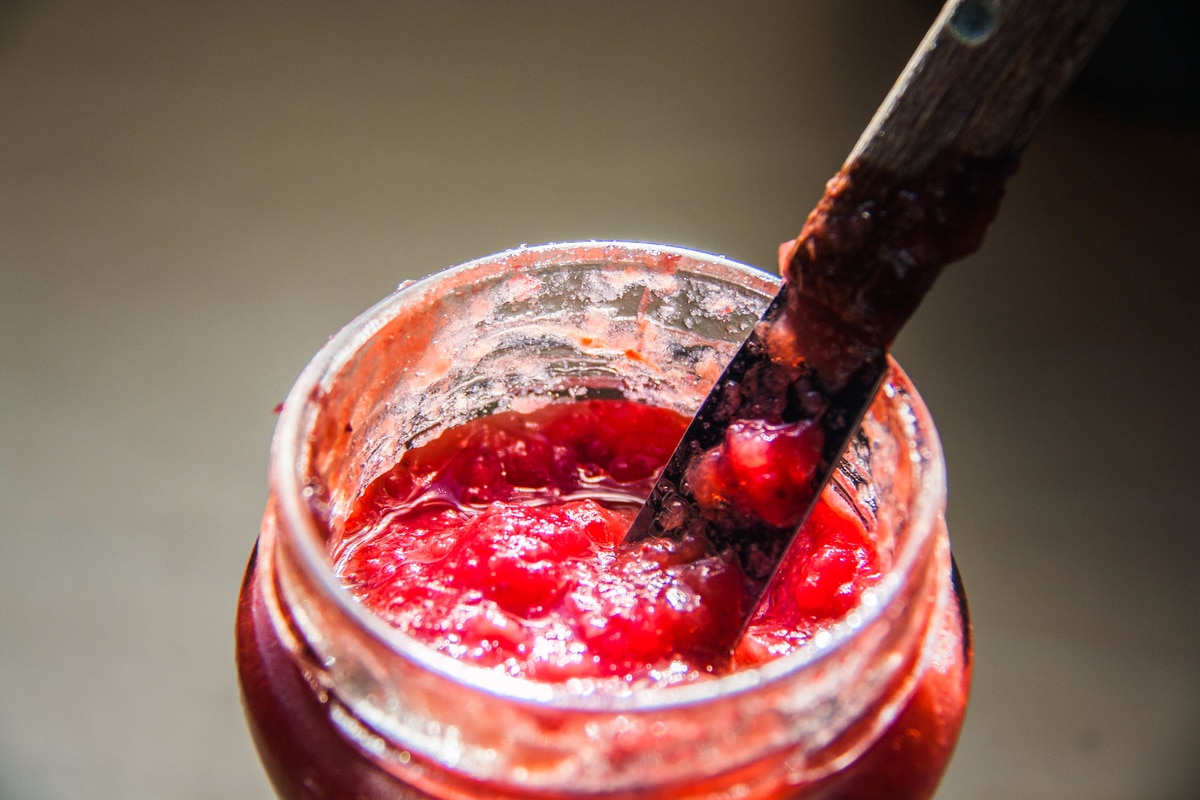
This easy recipe does not require any cooking. All you need is sugar, pectin, and fresh blueberries and raspberries. Start by stirring together the sugar and pectin. Set that aside. In a separate bowl, mash the fruit (a potato masher works great). Add the sugar mixture to the fruit and stir for three minutes. Ladle your homemade jam into containers and set them aside for 30 minutes to set. Cover and store in the freezer for up to a year.
For the full recipe, as well as a delicious Peach, Plum & Fig Freezer Jam, visit Food Network.
Although it may seem intimidating, once you break down the steps to making and canning homemade jam, it is not that difficult. It is a little time consuming, but a Saturday afternoon spent making jam is certainly well worth the time. One of the nice things about homemade jam is that it lets you enjoy those delicious summer fruits all year long. Not to mention, homemade jam will bring your PB&J game to the next level.
WANT TO READ MORE?
Need some bread for all that jam? Check out this article on Baking Bread at Home Made Easy.
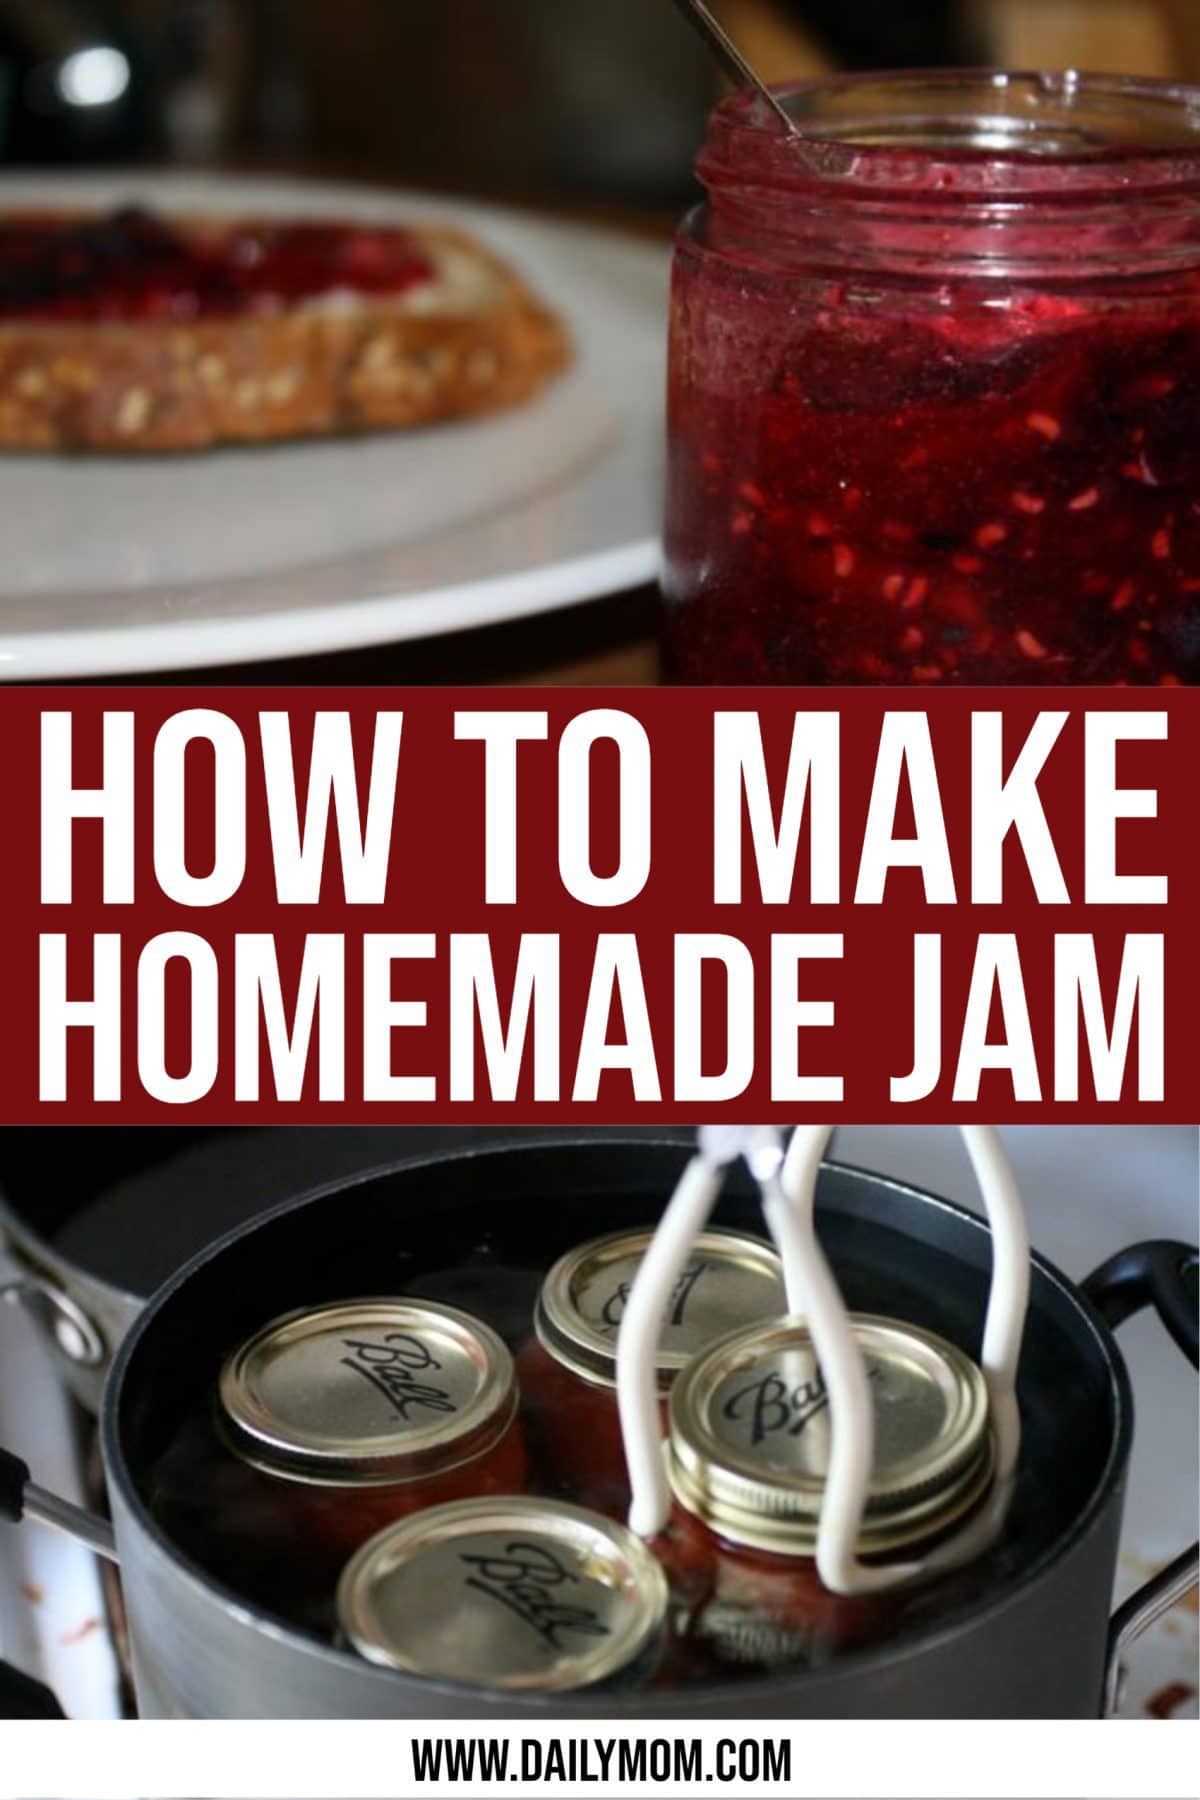
Photo Credits: Unsplash.com, Flickr.com
Sources: The Point of Pectin: 5 Reasons to Add Pectin to Your Homemade Jam, How to Sterilize Jars for Canning Jam


