Diastasis Recti most commonly occurs after pregnancy. It is a midline separation of the ligament that joins your rectus abdominis muscle, which lies vertically on each side of your abdomen running from the bottom of your rib cage to the top of your pelvis. Luckily, there are many exercises for Diastasis Recti that can be done to reverse that separation.
Throughout the course of a pregnancy, a baby grows at a rapid rate, which causes abdominal separation due to undue stress on that ligament. Performing exercises during your pregnancy can help avoid Diastasis Recti from occurring, however, many of us still end up with abdominal separation despite prevention methods.
Typically, after birth, within 6-8 weeks, an abdominal separation will resolve independently. However, there are many cases where that natural resolve doesn’t occur, you may continue to notice a bulge-like protrusion in the middle of your stomach that doesn’t feel or look the same as pre-pregnancy.

If you are dealing with Diastasis Recti, you can easily begin with exercises that can be done at home targeting a specific group of muscles to heal your Diastasis Recti correctly. Most of the exercises for Diastasis Recti will allow you to progress yourself as tolerated by simply adding some resistance, increasing repetitions, or holding an isometric contraction for a longer period of time.
You may start treating Diastasis Recti as soon as you receive clearance from your doctor. It is okay if a significant amount of time has passed and you then choose to correct it. It is never too late to begin exercises for Diastasis Recti, whether you choose to initiate a program in your home or see a medical professional for treatment.
Read More: 6 Pregnancy Workouts To Keep You Healthy & Fit During Motherhood
You will want to focus on targeting pelvic floor muscles, core stabilizers, glutes, hip abductors, and hamstrings to avoid any complications caused by Diastasis Recti. Studies have concluded that correcting diastasis recti can improve back pain after having children and urinary incontinence.
Diastasis Recti Complications can Include
- Low back pain
- Weak pelvis floor muscles
- Poor posture
- A hernia
- Weak trunk mobility / abdominal strength

Read More: 12 Effective Ways to Improve Lumbar Strength and Stretches for Flexibility
Diastasis Recti Self-Test
- Lie down on your back in a hook-lying position: bend both knees up with feet flat on the floor.
- Lift your head and shoulders slightly up and place two fingers just below your belly button, and gently push your fingers into your stomach to feel if you have a gap.
- If you feel a gap of two or more fingers wide, you most likely have diastasis recti.
Sometimes, you can fit one, two, or even three fingers in that gap depending on the severity.
You must consult with your doctor before you conclude you have this to ensure you will be targeting the proper exercises to help heal your core.
We’ve selected 8 of the best exercises for Diastasis Recti correction. When performed correctly and consistently these exercises will effectively impact your recovery.
Pelvic tilts
Diastasis recti exercises for beginners involve pelvic tilts. They are great as a starting point as it helps activate your deep abdominal core musculature.
- Lie on your back with both bent, feet shoulder width apart while keeping your glutes and hip relaxed
- Roll your hips back by pushing your low back into the table while sucking in your belly button
- Tighten your belly for roughly 3-5 seconds and then relax
- Breathe, it is not recommended to hold your breath
- Perform 3 sets of 10 repetitions.
Heel Slides with Pelvic Tilts
As you set yourself up into a pelvic tilt, ensure your back is flat with your pelvis in the proper position. Tip: You should not be able to slide a hand under your back during this exercise.
- Perform a pelvic tilt while in the hook-lying position
- Take one leg and slide your heel straight out
- Slide your heel straight back toward your bottom
- Alternate each leg
- Perform 3 sets of 10 repetitions for each leg
Heel Slide with Straight Leg Raise
This one is a progression from the heel slides with pelvic tilt, you may need to reduce the number of repetitions, and progress yourself as tolerated to maintain proper form for each repetition.
- Perform a pelvic tilt
- Slide your heel straight out
- Lock your knee and raise your leg straight up, roughly 45 degrees
- Slowly lower your leg back down
- Slide your heel back toward your bottom
- Repeat on the other side alternating each leg
- Perform 3 sets of 10 repetitions for each leg
Bent Toe Taps
The closer your knees are to the chest, the easier this one will be. Try your best to keep your core engaged by keeping your low back in contact with the floor for each repetition.
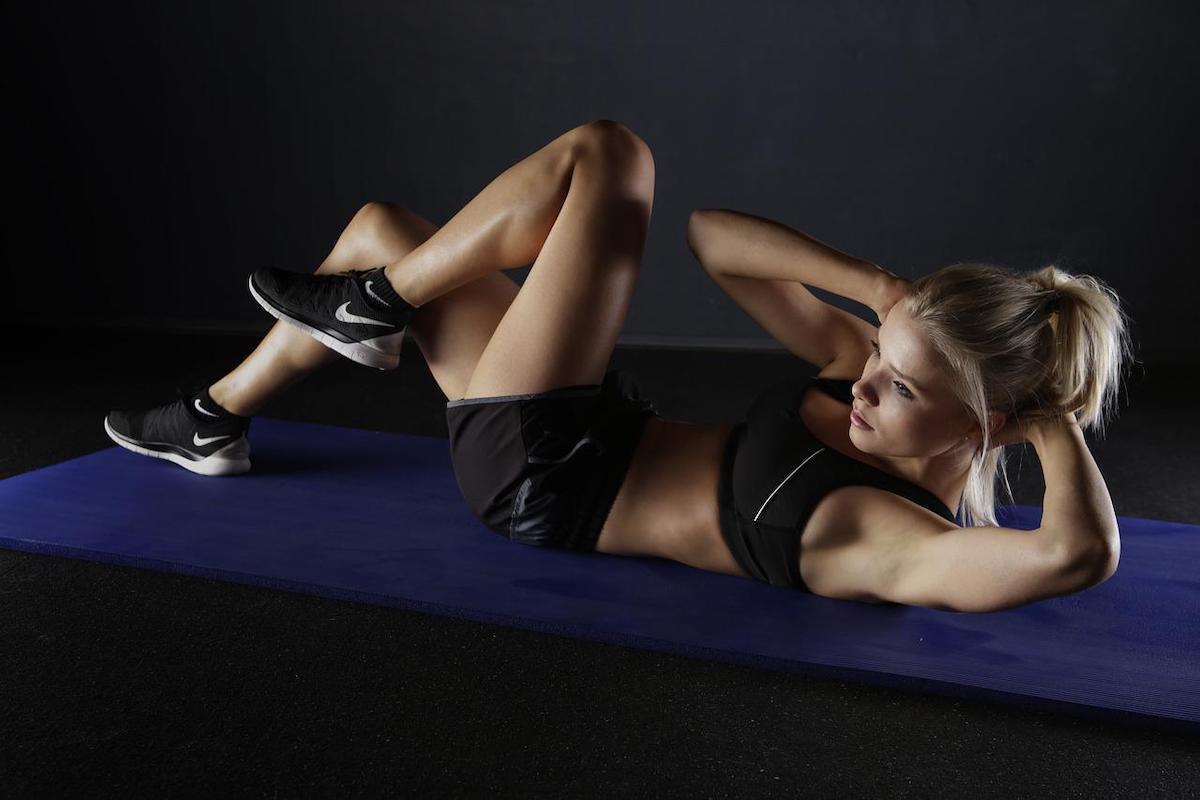
- Lie on your back with both legs up in a tabletop position, creating a 90-degree angle at your knees
- While maintaining knee flexion, slowly lower one leg at a time gently tapping the floor
- Bring your leg back to the tabletop position
- Repeat with the opposite leg
- Alternate each leg by performing 3 sets of 10 repetitions
Alternating Single-Leg Reach
- Same starting position as the bent toe taps; lie on your back with both legs up in a tabletop position, creating a 90-degree angle at your knees
- Inhale while slowly straightening your leg out, lowing your leg about halfway down to the floor
- Keep toes pointed up
- Exhale while pulling your leg back into the tabletop starting position
- Inhale and then perform on the opposite leg, extending the leg out
- Continue to alternate each leg, performing 10 repetitions each 3 sets
Alternating Knee to Chest
Keep your abdomen tight and engaged throughout each movement
- Begin with lying on your back bending both knees up with your feet flat on the floor, hence the hook-lying position.
- While keeping your knee bent, bring your knee toward your chest
- Slowly lower back down to the floor
- Perform on the opposite side
- 10-15 repetitions each leg, 3 sets
Elevated Leg Extension with Circles
- Begin with lying on your back bending both knees up in a tabletop position
- Kick one leg straight out, pointing toes out while performing a circle 1-2 times
- Bring knee back to starting position and perform on the opposite side
- Keep core engaged the entire time, keeping your back as flat as possible
Bridging
- Lay down on your back, bend both knees up with feet flat on the floor
- Arms are kept by your side
- Raise your hips to create a straight line from your knees to your shoulders
- Squeeze your core and pull in your belly button towards your spine
- Begin by holding for 10 seconds, and progress yourself to 20-30 second holds.
- Slowly lower hips to starting position, then repeat
- Perform 10-15 repetitions, 3 sets
Exercises to Avoid
Surprisingly, some basic abdominal exercises that everyone is familiar with, such as crunches, can actually do more harm than good. Remember, it’s best to focus on activating your transverse abdominis as that muscle group targets “drawing in” your stomach vs inflicting stress on your rectus abdominis which will stretch the ligament that runs vertically.
- Crunches or Sit Ups
- Traditional Straight Plank
- Ab Twists
- Roll-Ups


Read More: Women’s Health Awareness Month: 16 Practical Ways to Prioritize Yourself
Carefully targeting the proper exercises for a Diastasis Recti correction will not only improve your posture, and functionality of your core, but it can help you avoid pelvic floor dysfunction. It is best to try to correct that separation with exercises before turning to surgical methods.
You can start to build a stronger core by taking initiative in your own home to close that gap. These exercises only require a yoga mat, a timer, and a glut band, if you wish, to further progress yourself. As mentioned before, it is recommended to address a definitive diagnosis with your doctor prior to creating an exercise plan for yourself. If your doctor confirms, that you do in fact have Diastasis Recti, a few exercises a day will do wonders to attain a healthy functional abdomen again.
This is also a great guide on how to fix Diastasis Recti years later. As mentioned before, there is no expiration date on healing, it is never too late to begin exercises for Diastasis Recti correction. Give yourself grace and accept that it will take time to recover, begin slowly and progress yourself as tolerated.
WANT TO READ MORE?
Looking for ways to lose weight after pregnancy? Then read about the 21 Tricks to Start Losing Weight After Baby Is Born.
CONNECT WITH DAILY MOM
💖 NEWSLETTER: DAILY READS IN YOUR INBOX 💖
Sign up to receive our picks for the best things to do, see and buy so you can relax and focus on more important tasks! Let us help you be the best version of yourself you can be!
BE SOCIAL WITH US
📌 LOVE IT? PIN IT!📌


