


‘Tis the season to get crafty. Whether it’s baking Christmas cookies in the kitchen, decking the halls with boughs of holly, or shopping until you drop, the holidays are the perfect time to show off your DIY skills. Here are 7 creative DIY holiday pallet projects to keep you festively busy this holiday season.
For all these DIY holiday pallet projects, begin by acquiring FREE pallets from local businesses, buy-sell-trade websites, or Facebook Marketplace. As always, be safe! If the location is looking more like Halloween (with ghosts and goblins and such) than like Christmas (cheerful and bright), steer clear!

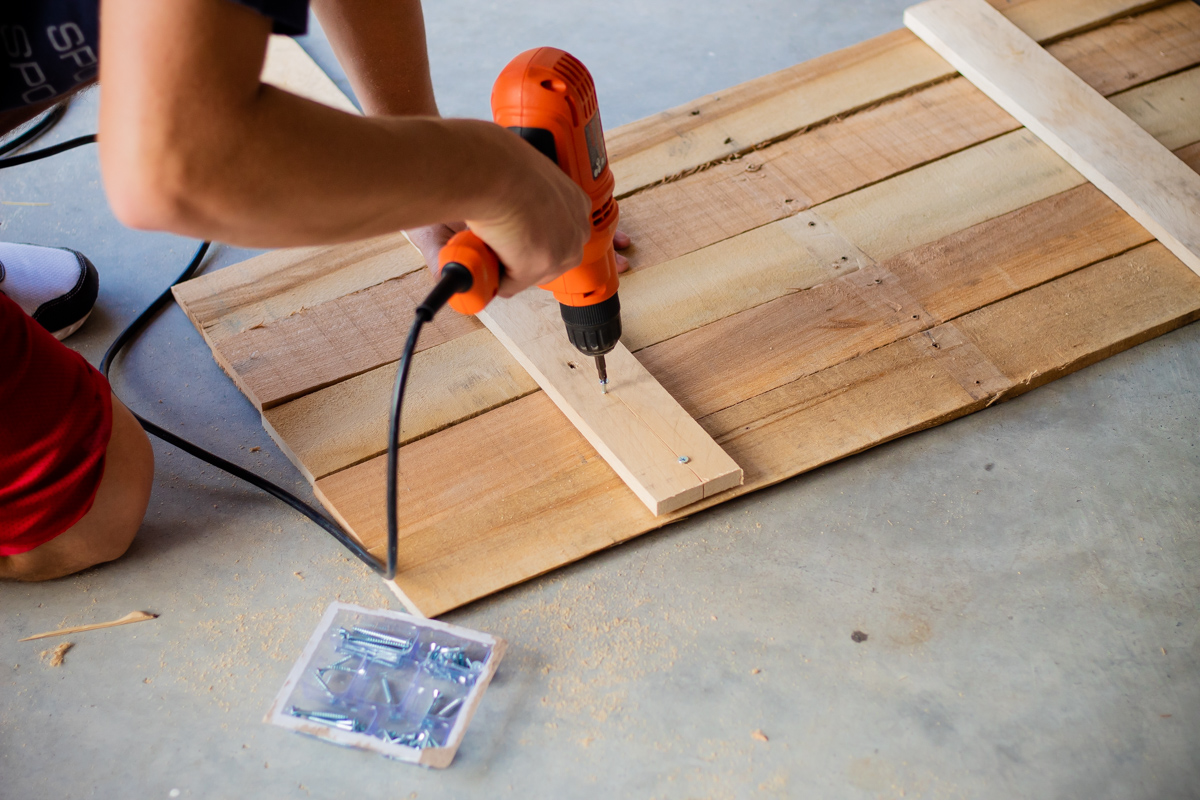
Once you have your pallets, break them down. Be sure to carefully remove all the old nails. Now you have slats to work with. Each project will require various shapes and sizes of wood. Go ahead and grab the saw, hammer, drill, and screws. Let’s get to work.
Tip: These pallet projects can be brutal on your hands. We are talking splinterville. Hitting these pallets with a light sanding will help save your hands and your paintbrush.

1Tree
Oh, Christmas Tree. How you belong on the front porch. Decorating the inside of the house during the holidays is probably one of the best experiences. Cookies in the oven, candle burning, carols playing softly in the background. No matter if you live in a warmer climate or you are buried in snow, decorating inside your home can be a winter wonderland of bright and merry things.
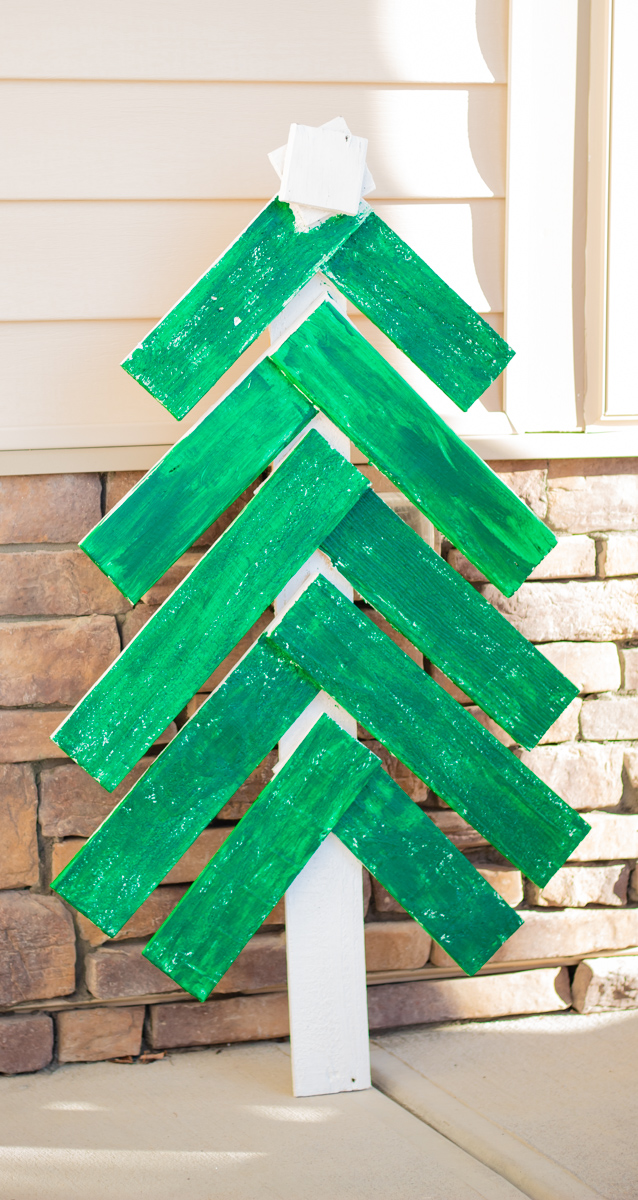
Now, when it comes to decorating the outside of the house there may be a little more difficulty. Especially if you live somewhere where snow and cooler weather is not on the radar. Also, if you want to present a chic holiday look to your house instead of a fairytale gingerbread house, outdoor Christmas décor can be scarce. Look no farther for budget-friendly DIY pallet projects that say chic holiday décor for the outside of your home than DIY pallet project trees.

- Cut 6 pallet boards into 17-inch sections.
- Cut 4 pallet boards into 14-inch sections.
- Place one end of the pallet board on top of the other (see in the picture above).
- Alternate placing one end of the pallet board on top of the other until you have the outline of the tree to your desired height.
- Place a pallet board along the back of the aligned pallet boards.
- Secure pallet boards into place by using screws.
- Paint tree with paint colors of your choice (stay classic or get a little fancy).
2Truck

If you have bought into the holiday truck craze this holiday pallet project is an absolute must! Some pallet projects take a little more planning and execution to complete. The holiday truck pallet project is one of those. So buckle up!

- Sketch your desired truck design.
- Cut 3 pallet boards at 38 inches.
- Cut one pallet board at 40 inches and curve the top of one corner (top board of the truck hood).
- Cut one pallet board at 13 inches, another at 12.5 inches, and another at 11.25 inches. Curve the top of one corner on the 11.25-inch board. These will be used for the truck cab.
- Cut one board at 21.5 inches for the back of the tree.
- Cut a small triangle for the top of the tree.
- Cut 3 boards at 13, 11, and 11.25 inches. Cut a 45-degree angle on each end of the 13 and 11-inch boards. Cut the 11.25-inch board to fit between the truck cab and truck bed.
- Use a board that is 1.5 inches wide to line the bottom of the truck between the wheels and the lip of the truck bed. Cut at 14 and 14.5 inches.
- Stack pallet boards to the desired height of the wheels. Cut out the wheel shape for the front and back tires.
- Lay the pallet boards face down on the ground in the desired design (see the picture above).
- Use screws to secure the truck.
- Paint the truck (black, white, gray, green, and red).
- Proudly display your masterpiece.
Read More: Holiday Baking With Kids Made Easier
3Holiday Card Display
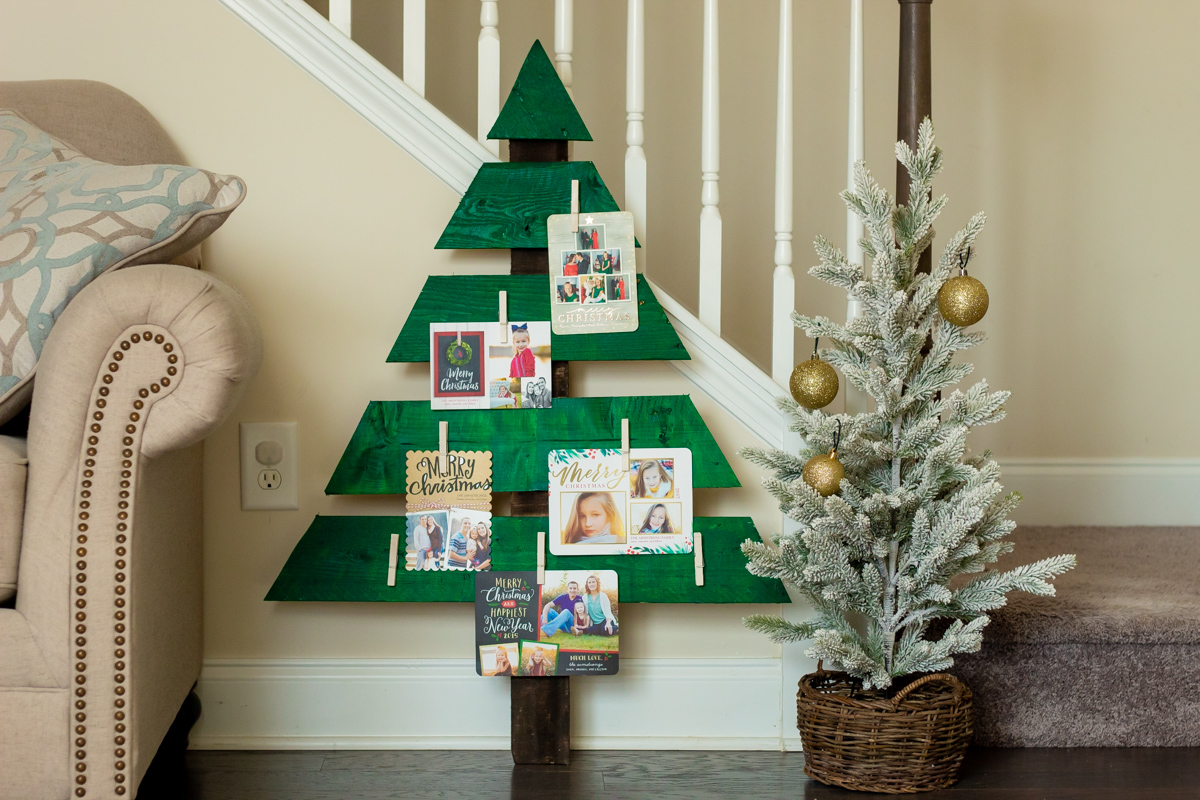
A holiday card display is something that almost everyone needs. Don’t dare tape holiday cards up just anywhere and don’t waste time picking them up 100 times when they get knocked over. This holiday card display project will prove itself useful, cheery, and easy to build.

- Cut a triangle approximately 5 inches wide of the pallet board. This will serve as the top of the tree.
- Cut increasing lengths of pallet boards, each with a 45-degree angle on each end.
- Lay outline of tree face down on a secure surface with approximately one inch spacing between boards.
- Place pallet board on top of the tree outline.
- Secure pallet boards with screws on the back.
- Paint the tree with the desired colors.
- Secure clothespins to the front of the tree with hot glue.
- Display your treasured holiday cards or kid’s holiday art projects.
Read More: Fun Facts About Christmas Carols To Put You In The Holiday Spirit
4Candy Cane Fence
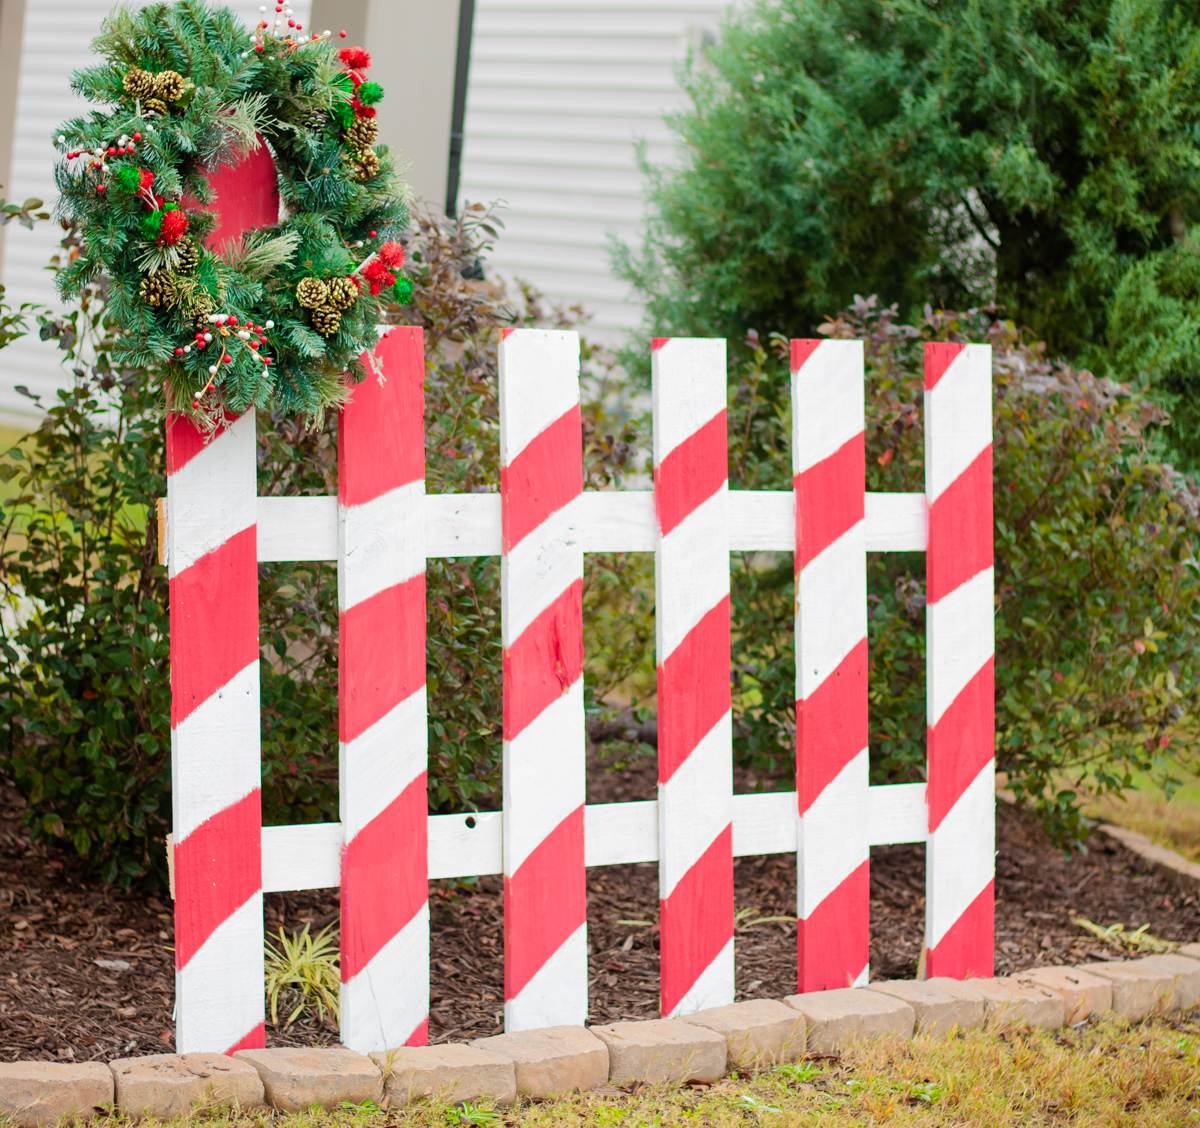

This holiday season the North Pole doesn’t have to be so far away. A candy cane fence is a great idea for the front of your home or around your Christmas tree (to keep little hands from stealing ornaments). The candy cane fence pallet project is playful, colorful, and is even cute for holiday photos.

- Paint 4 pallet boards with (snow) white paint.
- Lay those 4 pallet boards flat making 2 parallel lines.
- Cut and paint the desired number of boards with red and white paint in candy cane stripes.
- Secure the desired number of pallet boards to the parallel boards by securing screws to the back of the fence.
- Insert screws into stakes to the back of every other fence picket to safely secure the fence to the ground.
5Stocking Holder
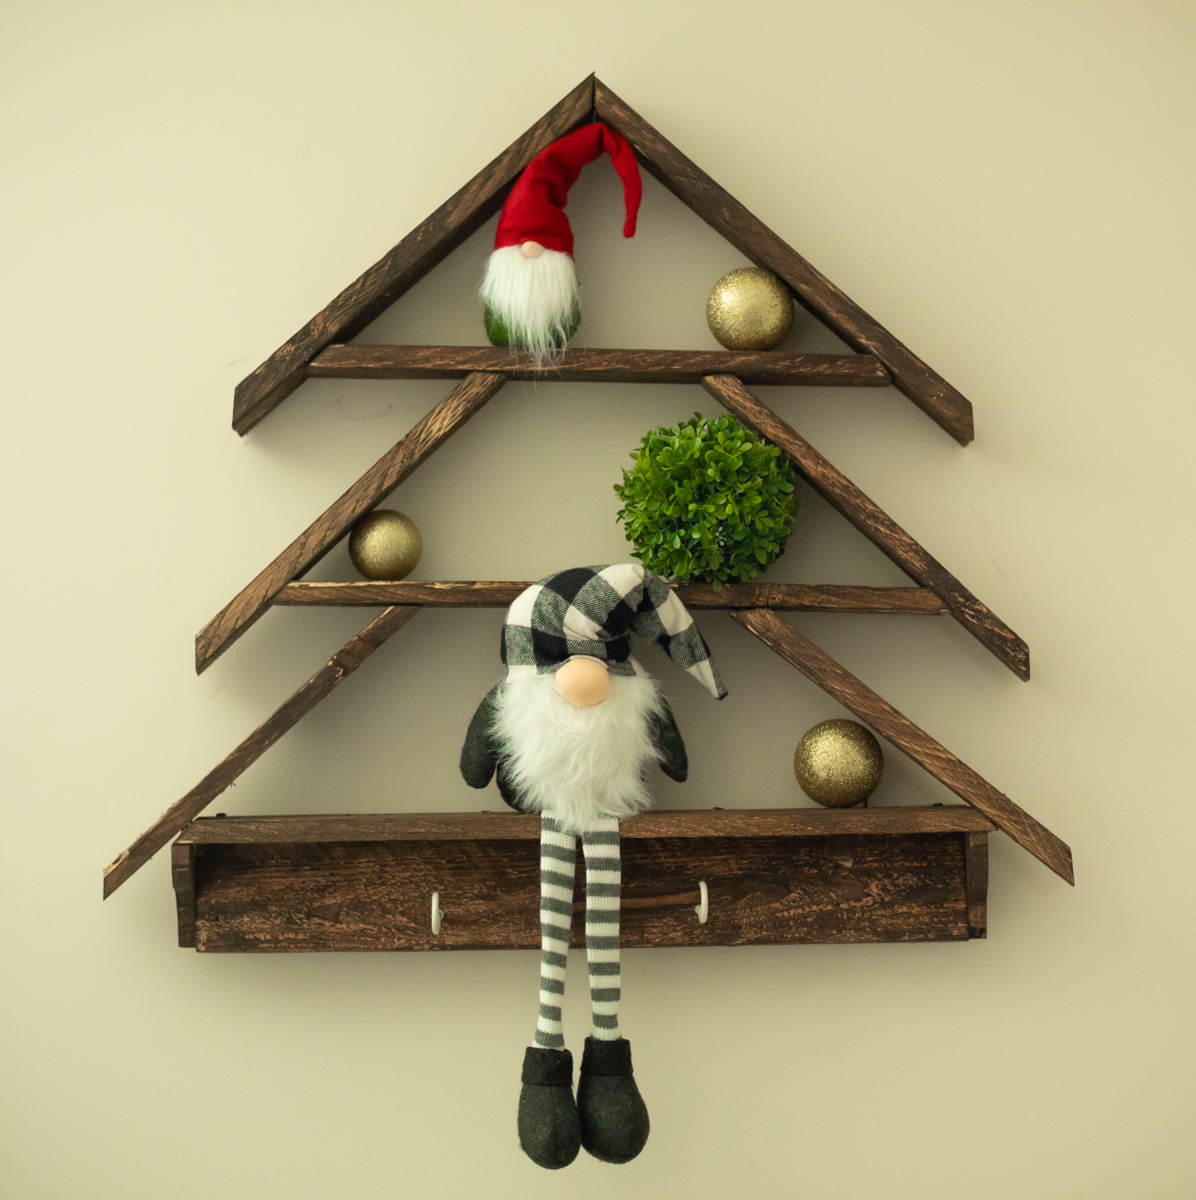
The possibilities are endless with DIY pallet projects. When you hang the stockings this year, hang them with care on this DIY stocking holder. The DIY stocking holder pallet project can provide a place for stockings to be hung in homes that do not have a fireplace (yes, Santa visits them too!).
- Use a pallet board to mark and cut out (2) 16-inch boards and (4) 13-inch boards (these will be the outside of the tree).
- Use more pallet boards to cut 17.75, 20.75, and 24.5-inch boards (these will be the shelves on the tree).
- Cut another pallet board 23.5 inches long.
- The (2) 16-inch boards and the (4) 13-inch boards will need to have the ends angled at 45 degrees using a miter saw (this will allow for a flush fit).
- Center the 23.5- inch board on the 24.5-inch board and attach the 24.5-inch board to the 23.5-inch board at a 90 degree angle on the long side (see picture above).
- Secure the boards together with wood screws.
- Take the (2) 13-inch boards from step 1 and place them on the outside of the structure that was just built and secure with screws.
- Lay the 20.75-inch board from step 2 on top and secure with screws.
- Take the other (2) 13-inch boards from step 1 and place them on the outside of the structure and secure them into place (see picture above).
- Lay the 17.75-inch board from step 2 on top and secure with screws.
- Take the (2) 16-inch boards from step 1 and place them on the top of the structure at a point and secure them into place (see picture above).
- Lay tree shelf on a flat surface and install 2-3 stocking hooks.
- Flip the tree over and add 2 large D-ring picture hooks.
- Stain or paint for your personal preference.
Read More: 10 Holiday Side Dishes
6Lighted Wall Hanging
Pallet projects can bring the family together. Put everyone to work crafting and creating fun pallet projects that you can display all winter long. The kiddos will love a front porch sign with twinkling lights. The directions for these bright and merry pallet projects is as follows:
- Cut 4 equal-sized pallet boards to make wall hanging (sized to your liking).
- Lay those 4 pallet boards flat on a secure surface, side by side with no gaps.
- Cut 2 equal-sized pallet boards to run across the top and bottom of the 4 pallet boards.
- Secure pallet boards on the back with screws.
- Paint the front of the wall hanging with the desired design.
- Drill holes in the front of the wall hanging in desired locations.
- Turn wall hanging over and insert a lighted section of string lights into holes.
- Secure battery pack to the back of the wall hanging.
- Attach sawtooth hangers (or other hanging hardware) to the back of the wall hanging.

7Ornaments
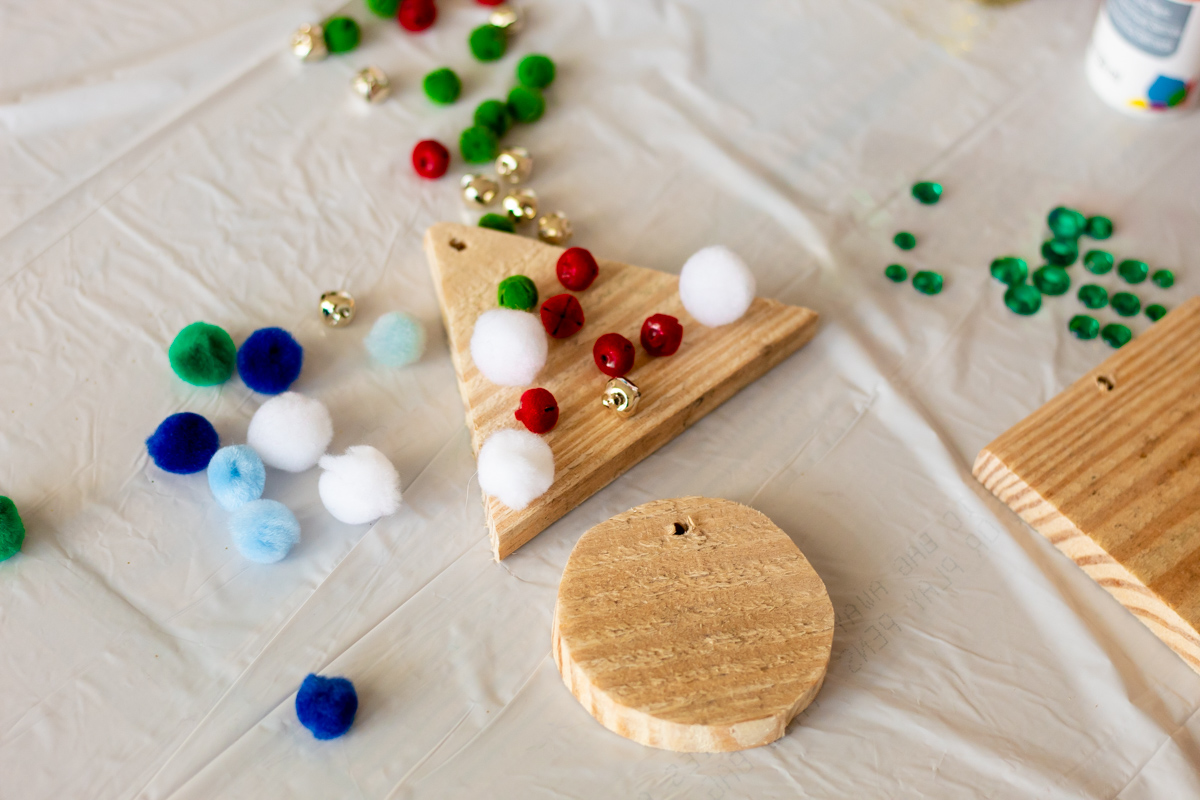
Even the kids want to get crafty! Use any wood scraps from your holiday pallet projects for your kids to create ornaments that can be painted, decorated, and hung on the Christmas tree. Feel free to make these as simple as a little paint here and there, to as intricate and detailed as you would like. Glue, glitter, pompoms, paint, stickers, photos, and drawings: The sky’s the limit. Add in a little hot chocolate, holiday music, and holiday headwear and you will have yourself busy little elves.
- Cut scraps of pallet boards into shapes such as triangles, squares, circles (not too big).
- Drill a hole into the top of the ornament and attach a string or pipe cleaner to hang the ornament on the tree.
- Decorate
- Enjoy!
These pallet projects are just what you need to spice up your holiday decor this year. Feel free to take these pallet projects and add your own magical touch. Add a little sparkle, shine, ribbons, and bows to customize any of the pallet projects. They also make for great (cheap) Christmas gifts.
WANT TO READ MORE?
Love what you decorated your house with this year? Make sure it stays in place with 5 Smarter Ways To Protect Your Home During The Holidays.
💖 NEWSLETTER: DAILY READS IN YOUR INBOX 💖
Sign up to receive our picks for the best things to do, see and buy so you can relax and focus on more important tasks! Let us help you be the best version of yourself you can be!
GET MORE FROM DAILY MOM, PARENTS PORTAL
Newsletter: Daily Mom delivered to you
Facebook: @DailyMomOfficial
Instagram: @DailyMomOfficial | @DailyMomTravel | @BestProductsClub
YouTube: @DailyMomVideos
Pinterest: @DailyMomOfficial
8📌 LOVE IT? PIN IT!📌
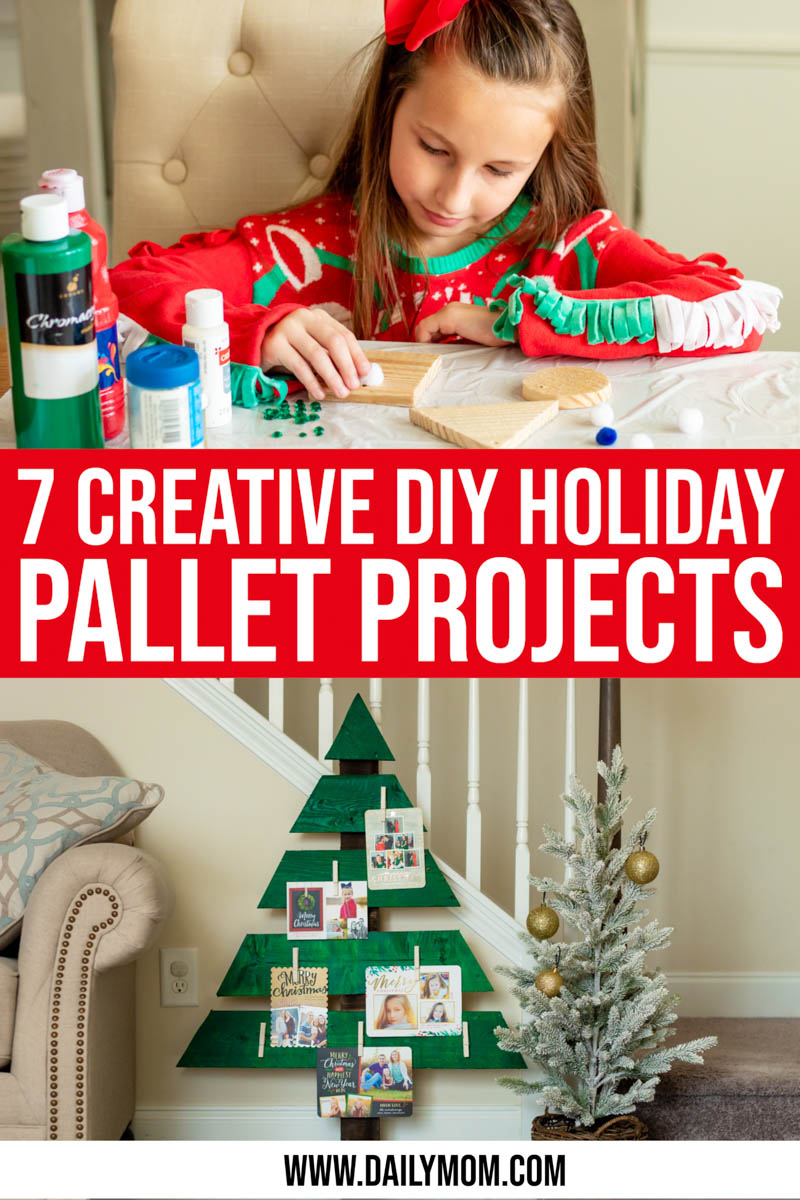
Photo Credits: Amanda Armstrong


