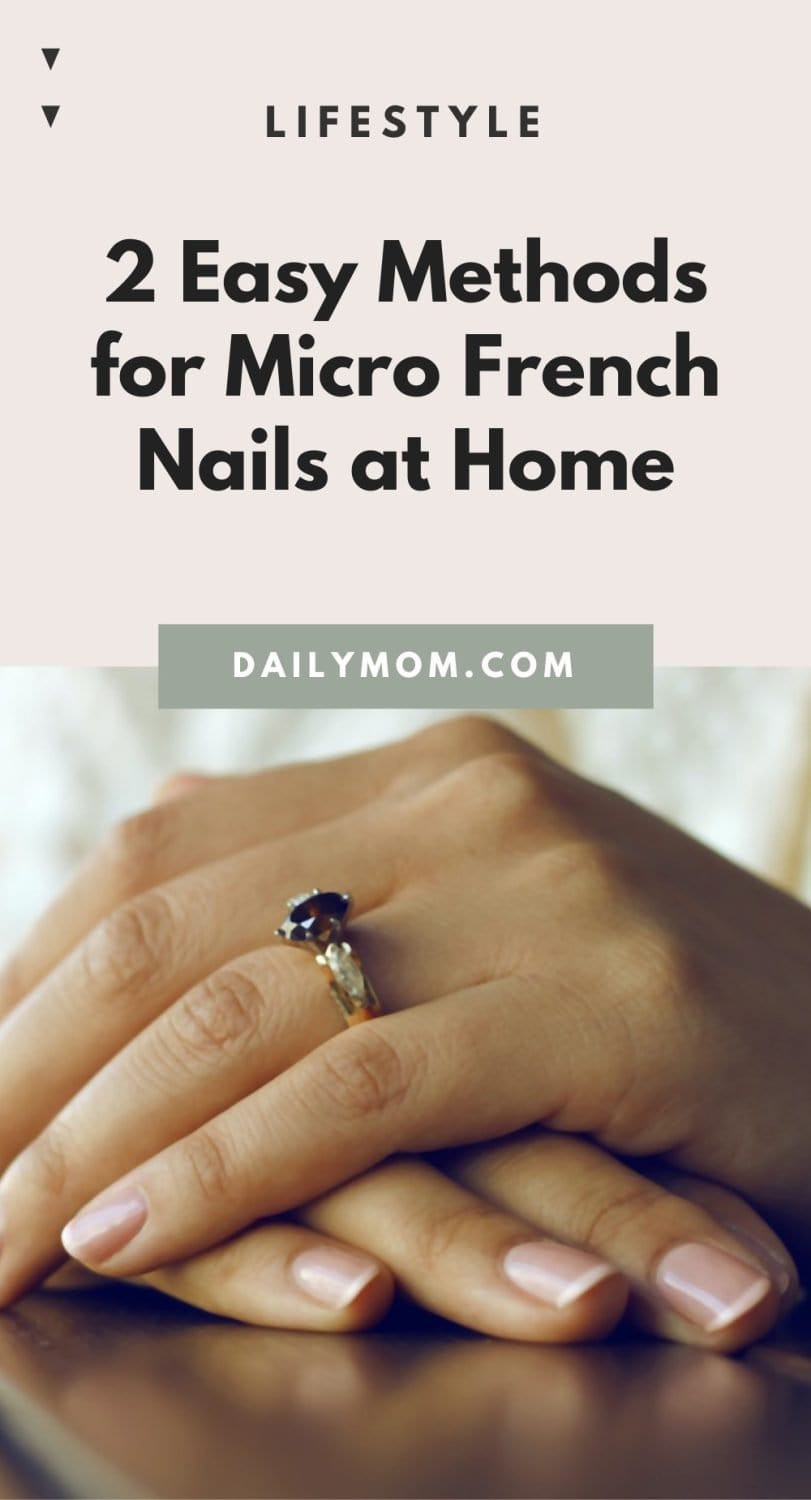
Do you love having your nails done but don’t like the time it takes to get them done at the salon? The micro French nails trend might be your new obsession. This simple, elegant style is perfect for short-nail lovers who love a polished look but don’t love spending an afternoon at the salon. Between work, managing the kids’ schedules, and keeping the house clean, sometimes getting away for an afternoon is just not an option. But don’t worry – we’ve got all the tips to get you started on your at-home micro French nails today.

Why Choose Micro French Nails?
Did someone say ooh-la-la? French manicures are a known classic in the nail art world. A natural base with a thick, white tip is a look you’ve seen in classics across the decades. Plus, this style of manicure never seems to get old. Even Margot Robbie rocked a pink French manicure in her Barbie era.
When it comes to French manicures, their timelessness and elegance make them the perfect style for every occasion. Plus, the French manicure is relatively simple to do at home, which makes them a popular choice for women who want to look their best without having to spend a fortune at the salon. The newest trend in French manicures is simply adorable – Micro French Nails!
This new style puts a fun twist on the traditional manicure we know and love. It is exactly what it sounds like. Instead of a thicker tip, micro French nails focus on a very thin line at your fingertips (hence the “micro”). Plus, even at the micro-level, this style of manicure is perfect for all occasions – whether it be formal or casual. Not to mention, if you choose the classic white tip and natural base combo, it goes perfectly with every outfit. You can’t really go wrong!
Read more: Health Benefits of Getting a Pedicure
Prep Your Nails and Workstation
The key to perfect micro French nails is a manicure plan. Firstly, you’ll want to set aside any materials you might need:
- A nail file
- Nail cutters
- A makeup sponge and cling wrap OR a small nail polish brush
- Your nail polish color for your French tips
- A clear top coat
- Paper towels
- Nail polish remover (or acetone)
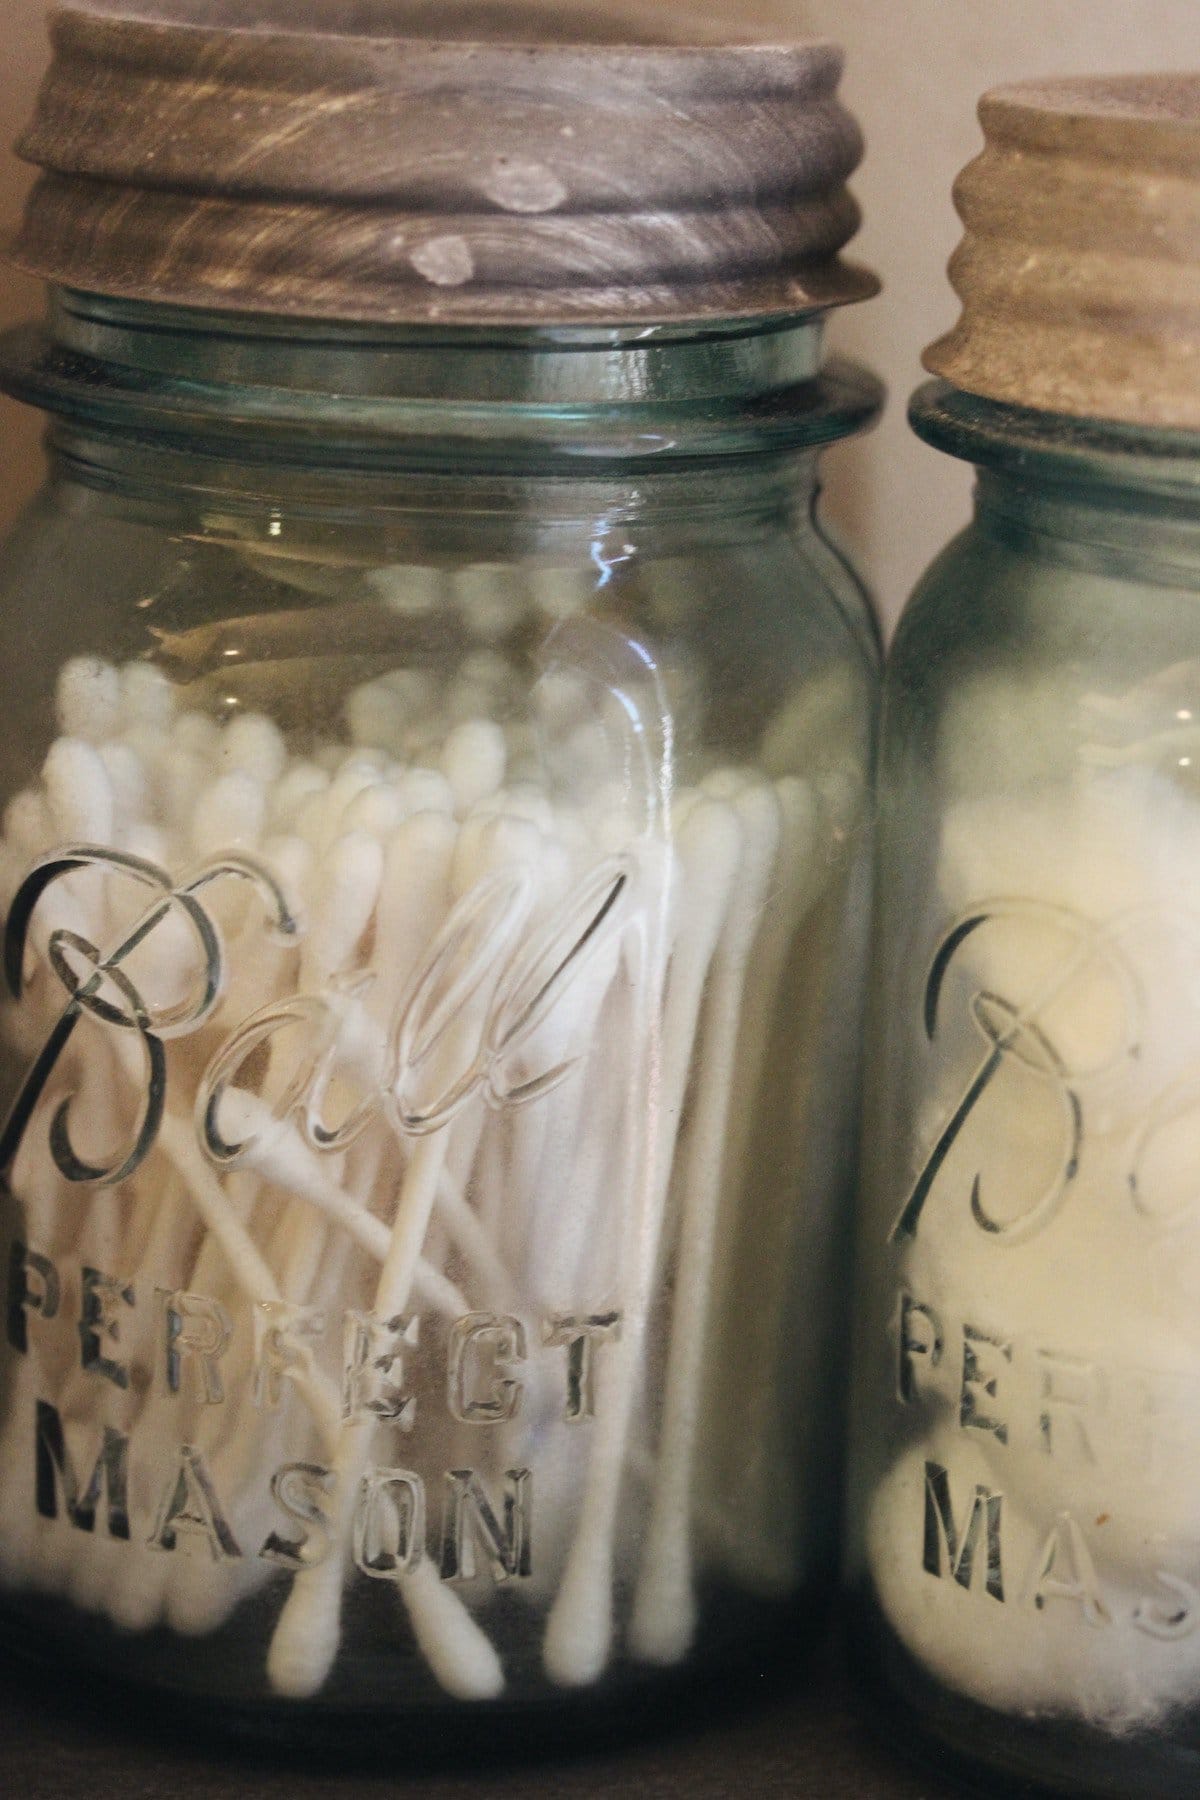
- Q-tips
Once your materials are set out, find a quiet, still space where you can dive into the details. Since you’ll be painting on tiny lines, you’ll want to have a workspace that is free of distractions (focus time) and relatively flat.
Before starting any manicure, make sure your nails are prepped and ready for their new paint job. Attention to detail is not only for the painting of the micro French tips themselves. You’ll want to spend extra time on your nails during every step of the process. We recommend starting with clean, unpolished nails. If there are remnants of your old manicure hanging around, be sure to remove the polish using acetone or nail polish remover and your Q-tips.
Next, you’ll need to use a file and nail cutter to shape your nails to your preferred shape. Start by cutting them evenly to a uniform length. Then, file the edges to refine them even further. For micro French nails, we recommend a short square or oval shape. Don’t forget to push back your cuticles, too!
Read more: 5 Super Stylish Spring Nail Art Trends to Help Say Bye-bye to the Winter Blues
Techniques for the Perfect Polished Look
Your nails are prepped and ready to paint, so now comes the fun part – you can start applying the micro French tips! There are two main techniques you can use to achieve the perfect micro French nails. One option is to use a small nail brush to paint on the micro French tip. Alternatively, you could use a makeup sponge to stamp on the color. We’ll walk you through both techniques. Remember – the key word here is “micro” – so aim for whichever application method is going to give you the thinner, more refined results.
Micro French Nails Using a Brush
If you’ve got a steady hand, your best option will be to apply the manicure using a fine brush. If you have one readily available, you can dip a small brush into an existing shade of polish. You can also purchase nail polish brushes specifically designed for detail painting, like the Sally Hansen Nail Salon Pro Tool Kit, or detail nail art pens like these from Olive and June. First, pick out your color. Then, paint on the micro French tip starting on one edge of the nail, applying a small even line across the tip until you reach the other side.
We recommend applying 2-3 layers of polish for a more opaque tip. If you mess up, don’t worry! You can clean up any imperfections using your nail polish remover on a Q-tip. Just be sure to wait for your first layer to dry before going in for the double-dip. To seal the deal, apply 2 layers of clear top coat in a glossy shade. This will add that extra shine that really makes your manicure pop.
Read more: 30 Striking OPI Nail Polish Colors
Micro French Nails Using a Sponge
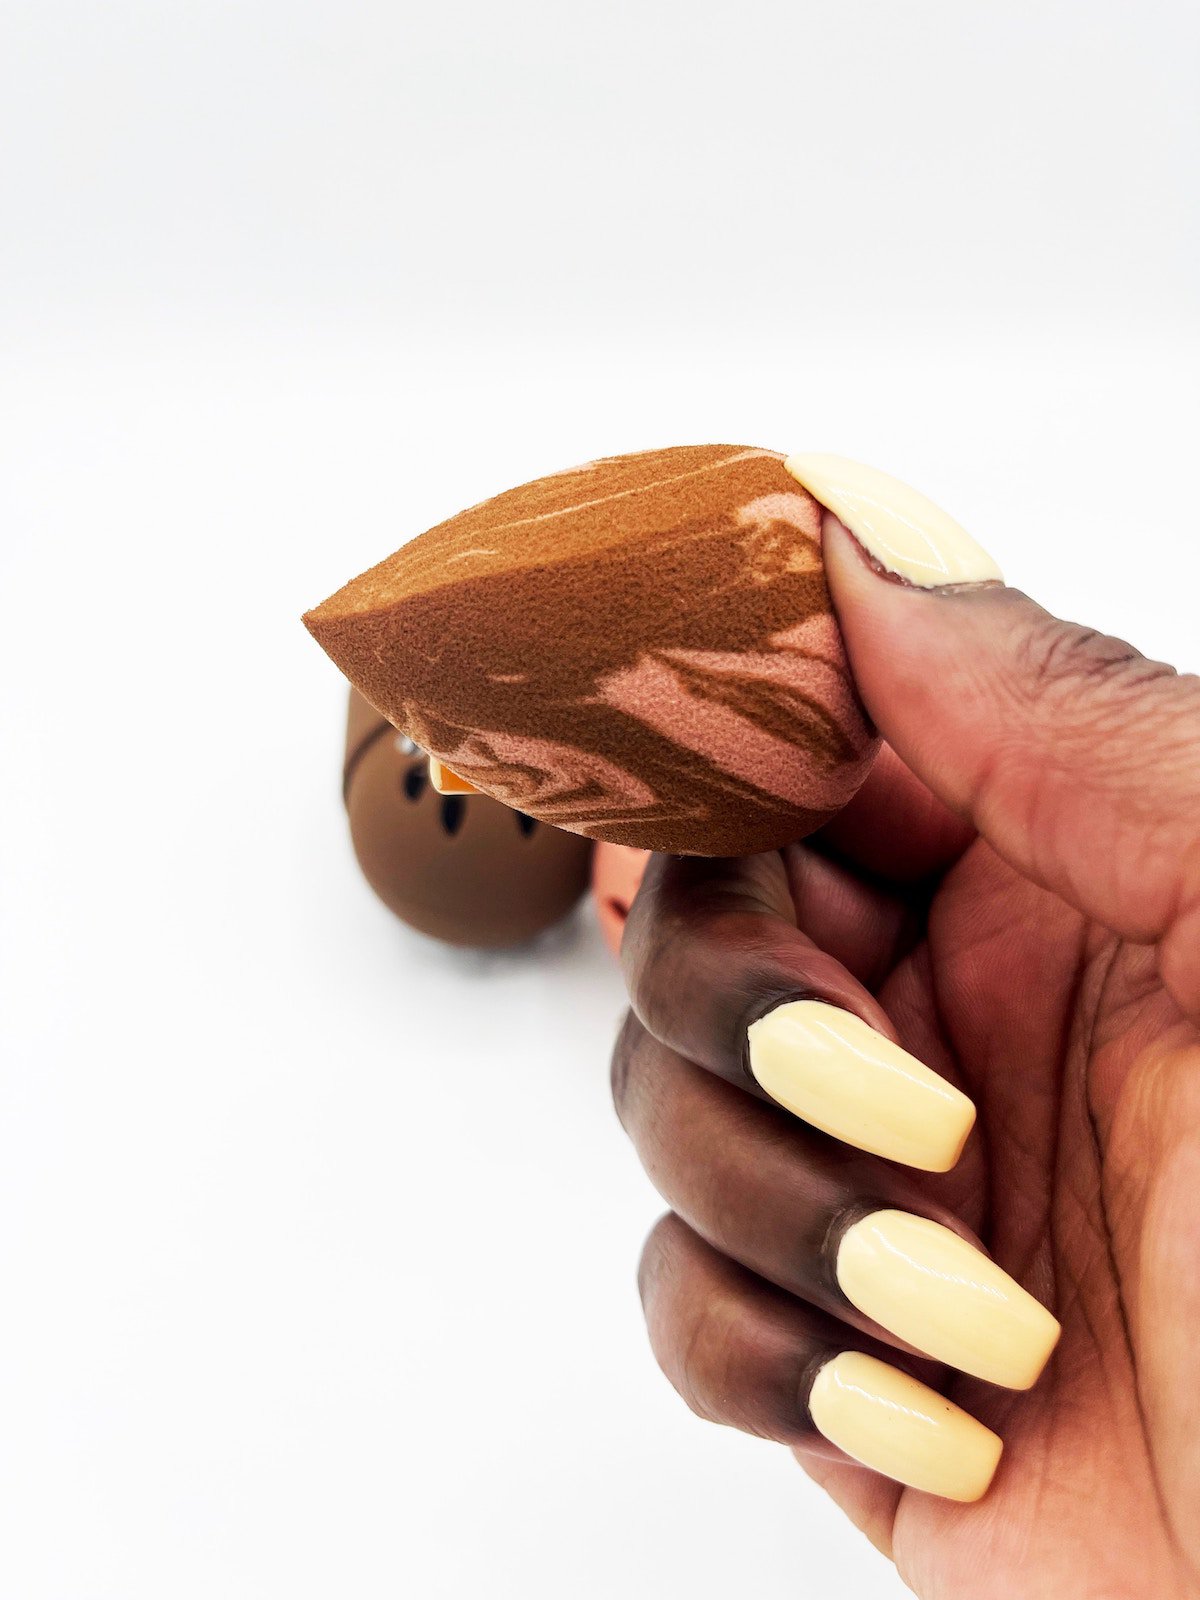
For those who are less steady-handed, don’t worry. You might want to opt for a stamp-style application, instead. You can use a makeup sponge covered in cling wrap or a plain silicone one (if you have one to spare) to apply a stamp to your nails. Simply paint a U-shape directly onto the sponge and gently press the tip of your nail onto the paint at the very edges. The key here is the gentleness of the press – if you press too hard you might end up smearing the polish. Apply to each finger until you’ve got micro French nails.
Like the brush method, this doesn’t have to be perfect on the first try. You can always clean it up using nail polish remover and a Q-tip. We recommend giving it 2-3 layers of stamps for a more opaque look, then adding the finishing touch (a couple of coats of glossy, clear polish).
Other Creative Micro French Nail Trends
- Get colorful: Add a pop of color to your manicure by applying the micro French nails in your favorite bold shade instead of white. For the boldest manicure, you could even do different colored micro French nails on each finger. If you do decide to go with a full on color palette, we recommend experimenting with Canva’s color palette tool for inspiration. Check out this set of colorful detail polishes by Shany.
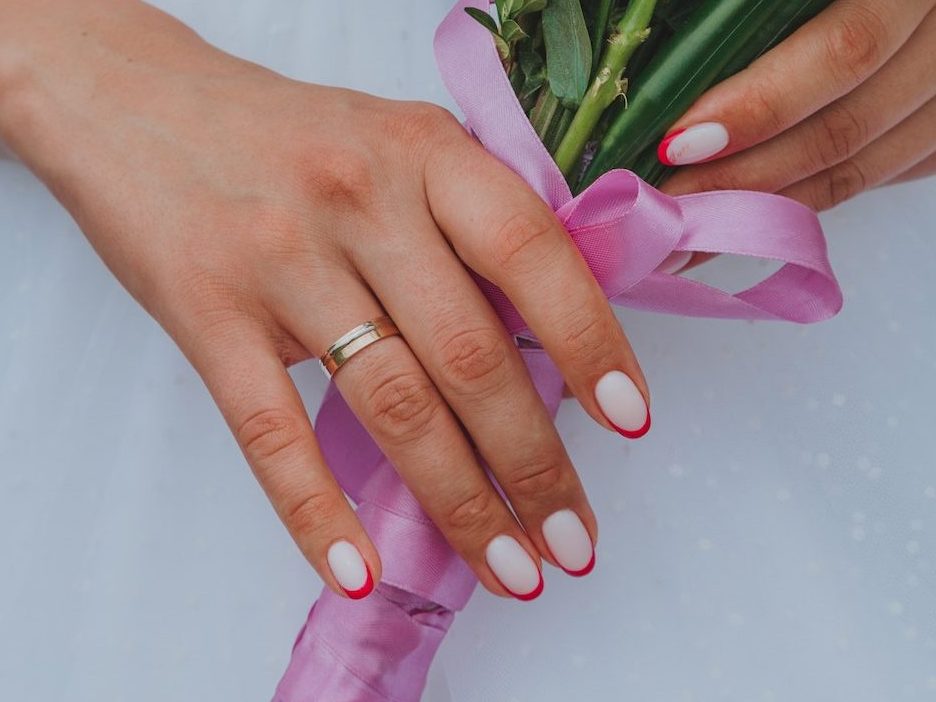
- Apply stickers: Just because this is a classic look doesn’t mean you have to abandon all the fun add-ons. You can add cute stickers to your micro French nails to make them go with special themes, like back-to-school or an upcoming holiday. Just be sure to add these on before your final top coat to ensure they stick.
- Start with a neutral base shade: Instead of using your natural nail as the base for the micro French nails, apply a color like light pink or tan. This can elevate the look to a more polished level. Plus, if you have longer nails, this technique works especially well to camouflage the natural divide of your nail under the newly-painted micro line.
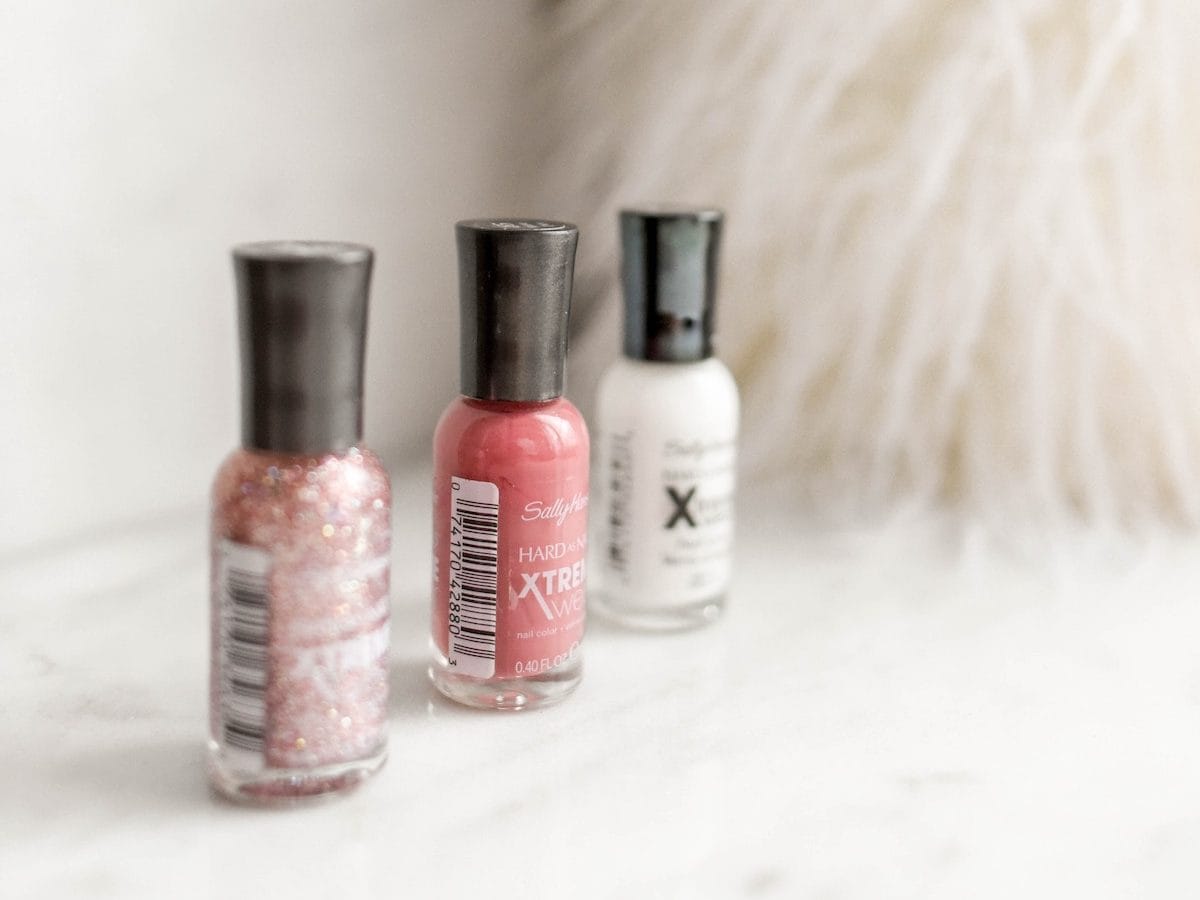
- Add glitter: Are you more of a razzle-dazzle girl? You can find detail-style nail polishes in a variety of glitter shades from brands like FlexBrush. By painting on the micro French nails in glitter shades instead of classic white, you can add a little something extra to your classic French look. Or, if you prefer the natural colors, you can always go in with a sheer glitter top-layer over your french tips. Choose your level of sparkle by layering as many or as few coats as you like.
Read more: Summer Nail Art 101: From Classic Manicures to Bold and Creative Designs
Whether you’re getting ready for a charity gala or simply picking the kids up from school, micro French nails truly are the new chic, trendy go-to. You’ll love the classic feel of this nail trend but people will notice the little details that make it truly special. Plus, with all the fun customization options, there’s truly a way to express yourself for every occasion. With these simple application methods, you’ll be ready to show off your new manicure in no time.
WANT TO READ MORE?
Become an at-home nail expert in no time. Check out DIY Manicure At Home: 4 Tips To Make Gel Nails Beautiful for even more helpful tips.
CONNECT WITH DAILY MOM
💖 NEWSLETTER: DAILY READS IN YOUR INBOX 💖
Sign up to receive our picks for the best things to do, see and buy so you can relax and focus on more important tasks! Let us help you be the best version of yourself you can be!
Photo credit: Sarah Cervantes | Element5 Digital | Marina Abrosimova | Nicola Styles | Jen Theodore
BE SOCIAL WITH US
📌 LOVE IT? PIN IT!📌
